![ideawake-logo-simple-no-padding-1.png]](https://academy.ideawake.com/hs-fs/hubfs/ideawake-logo-simple-no-padding-1.png?height=30&name=ideawake-logo-simple-no-padding-1.png)
This tutorial guides you through customizing the appearance of your Ideawake community.
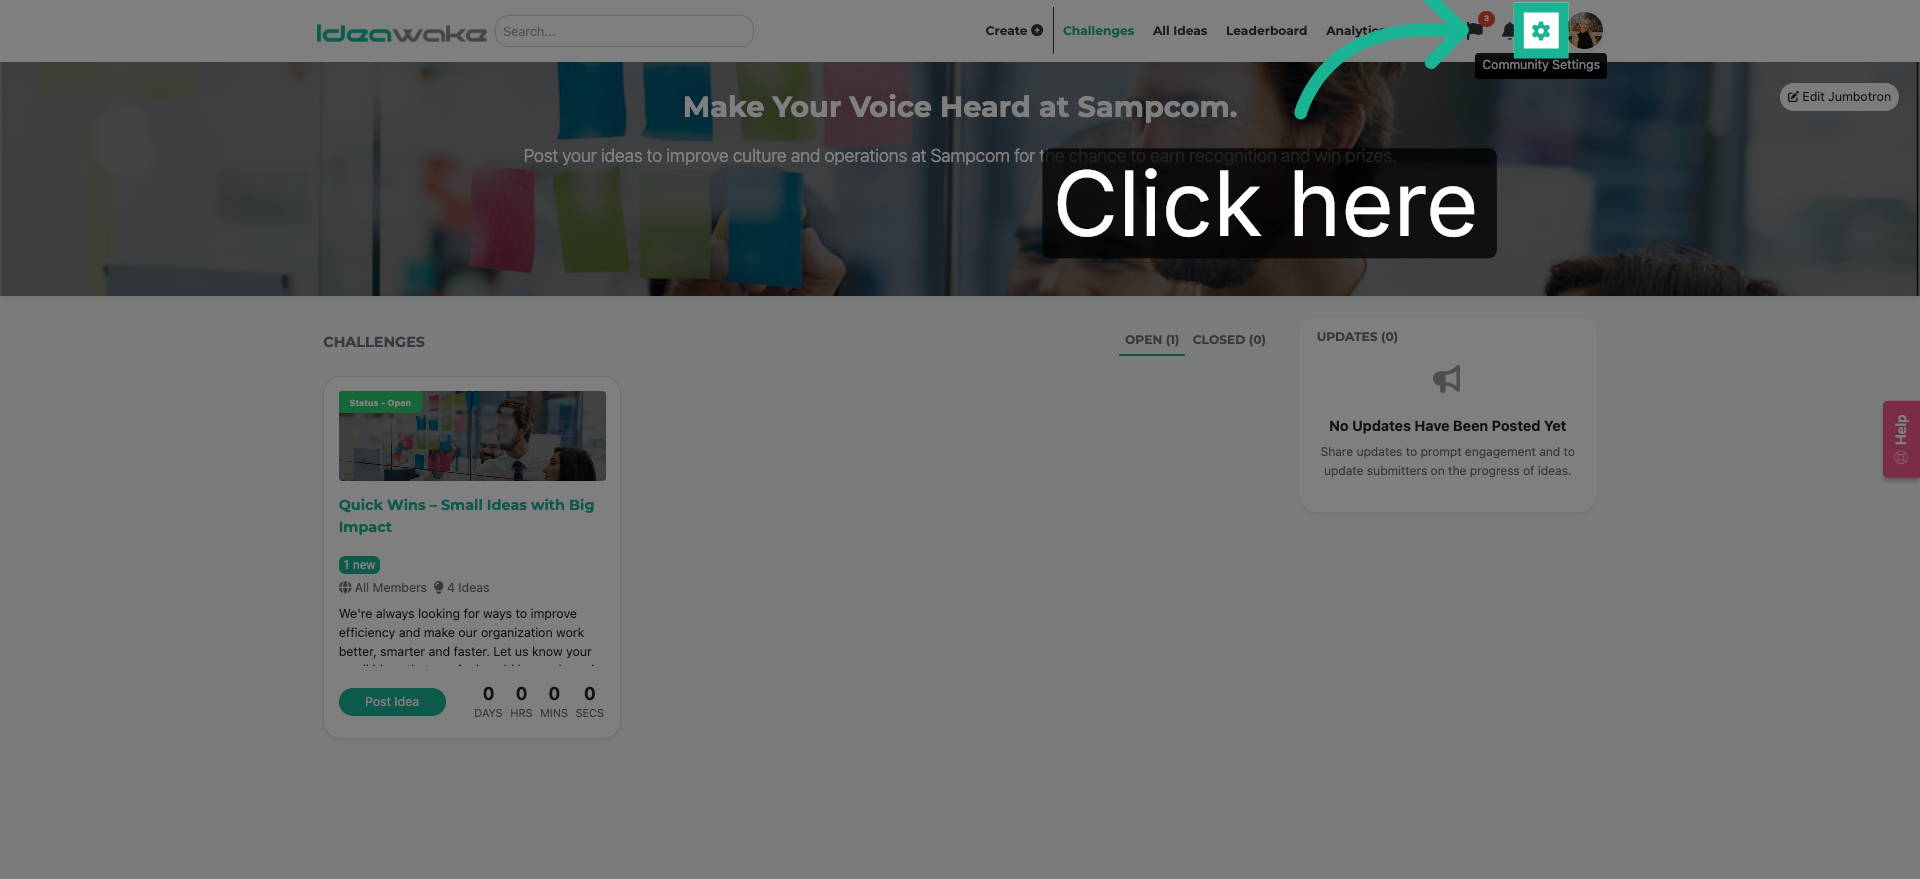
1. Access Community Settings
Click here to open the main menu where you can access various community options.
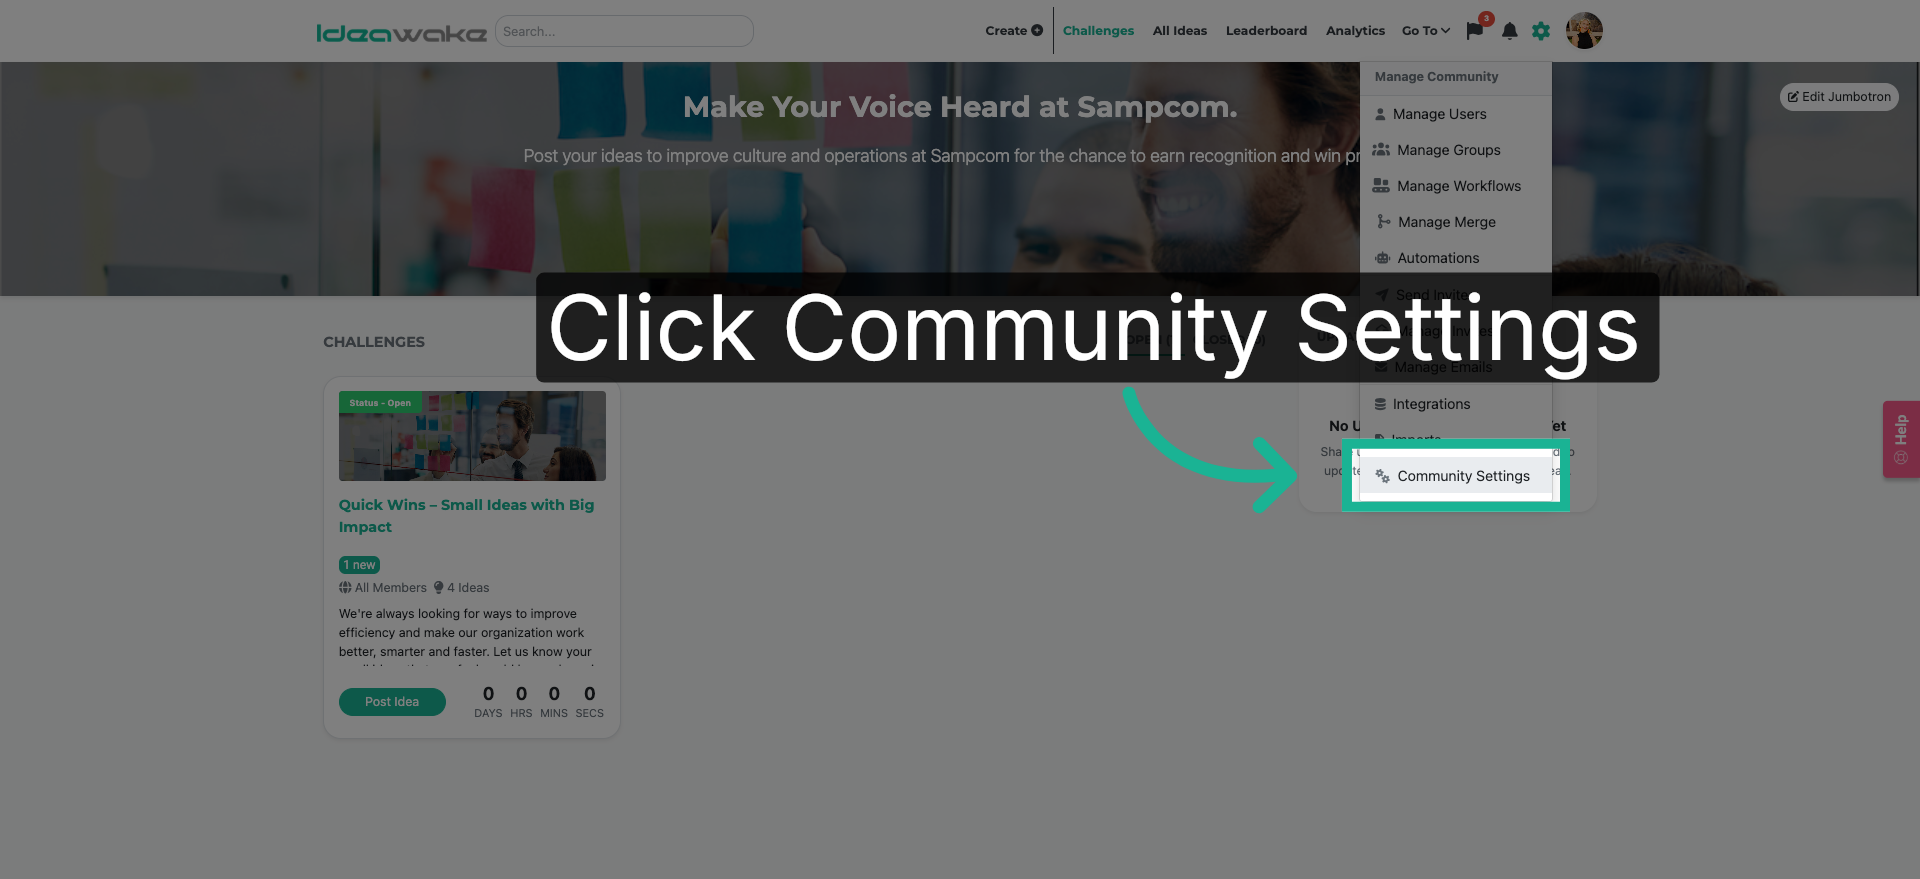
2. Open Community Settings
Click "Community Settings" to manage your community's configuration and preferences.
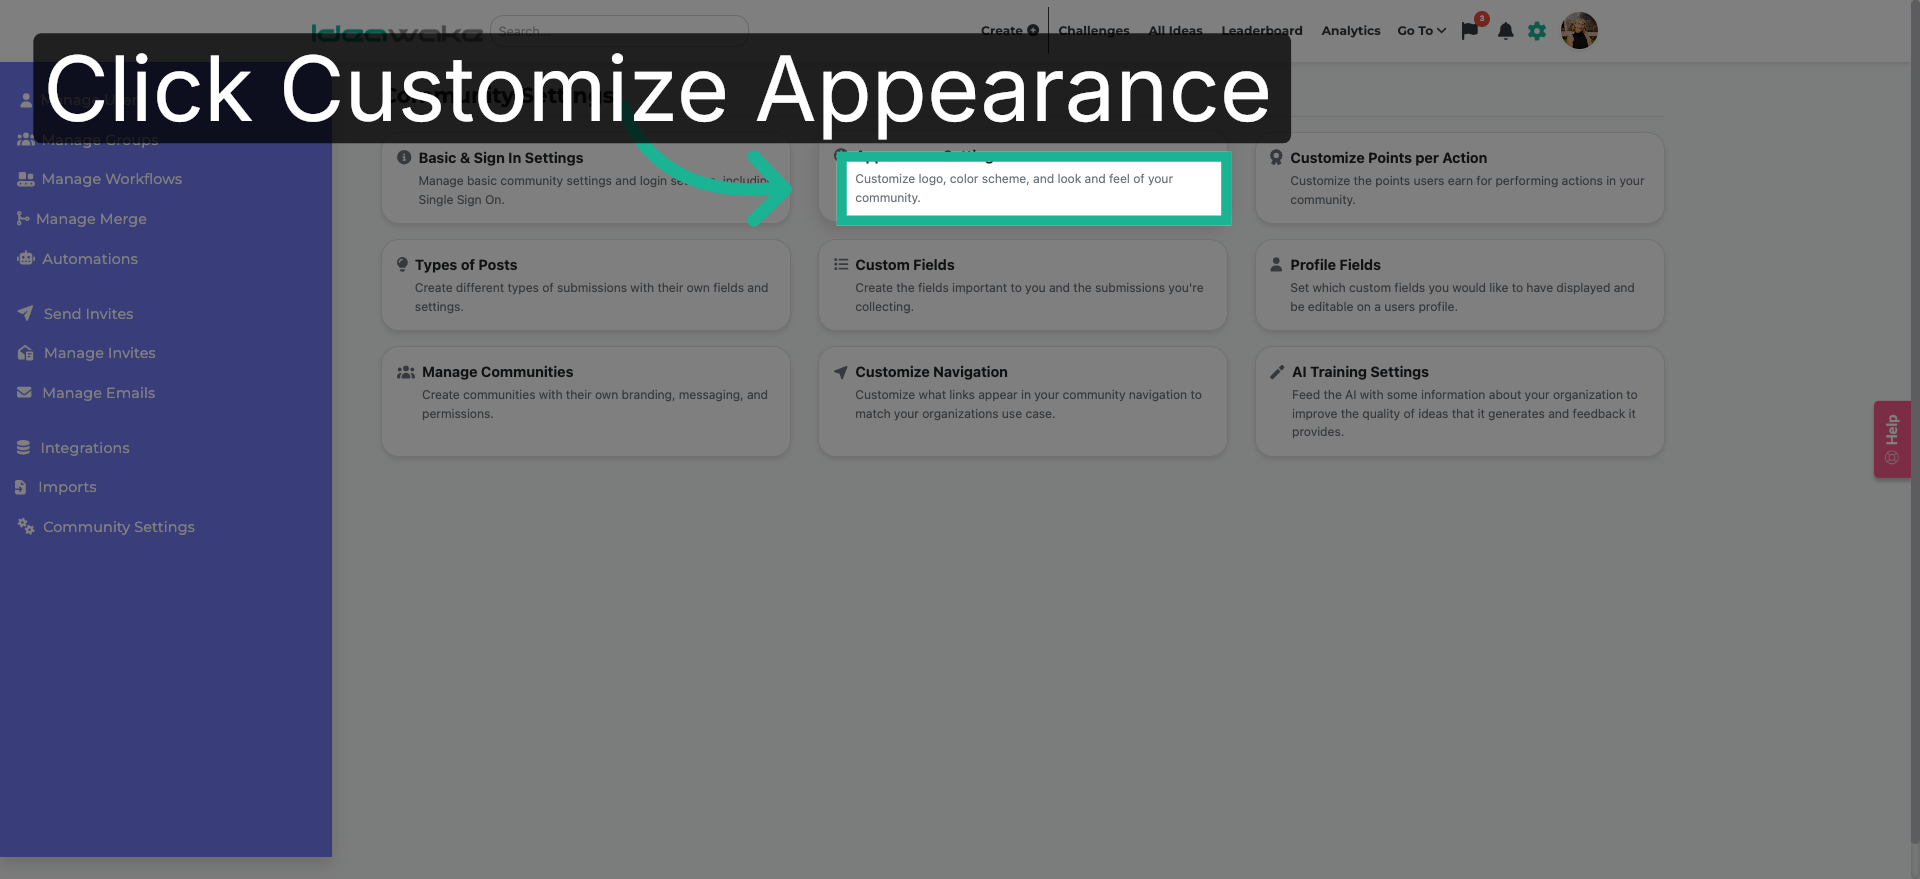
3. Customize Community Appearance
Click "Customize logo, color scheme, and look and feel of your community." to begin personalizing your community's visual elements.
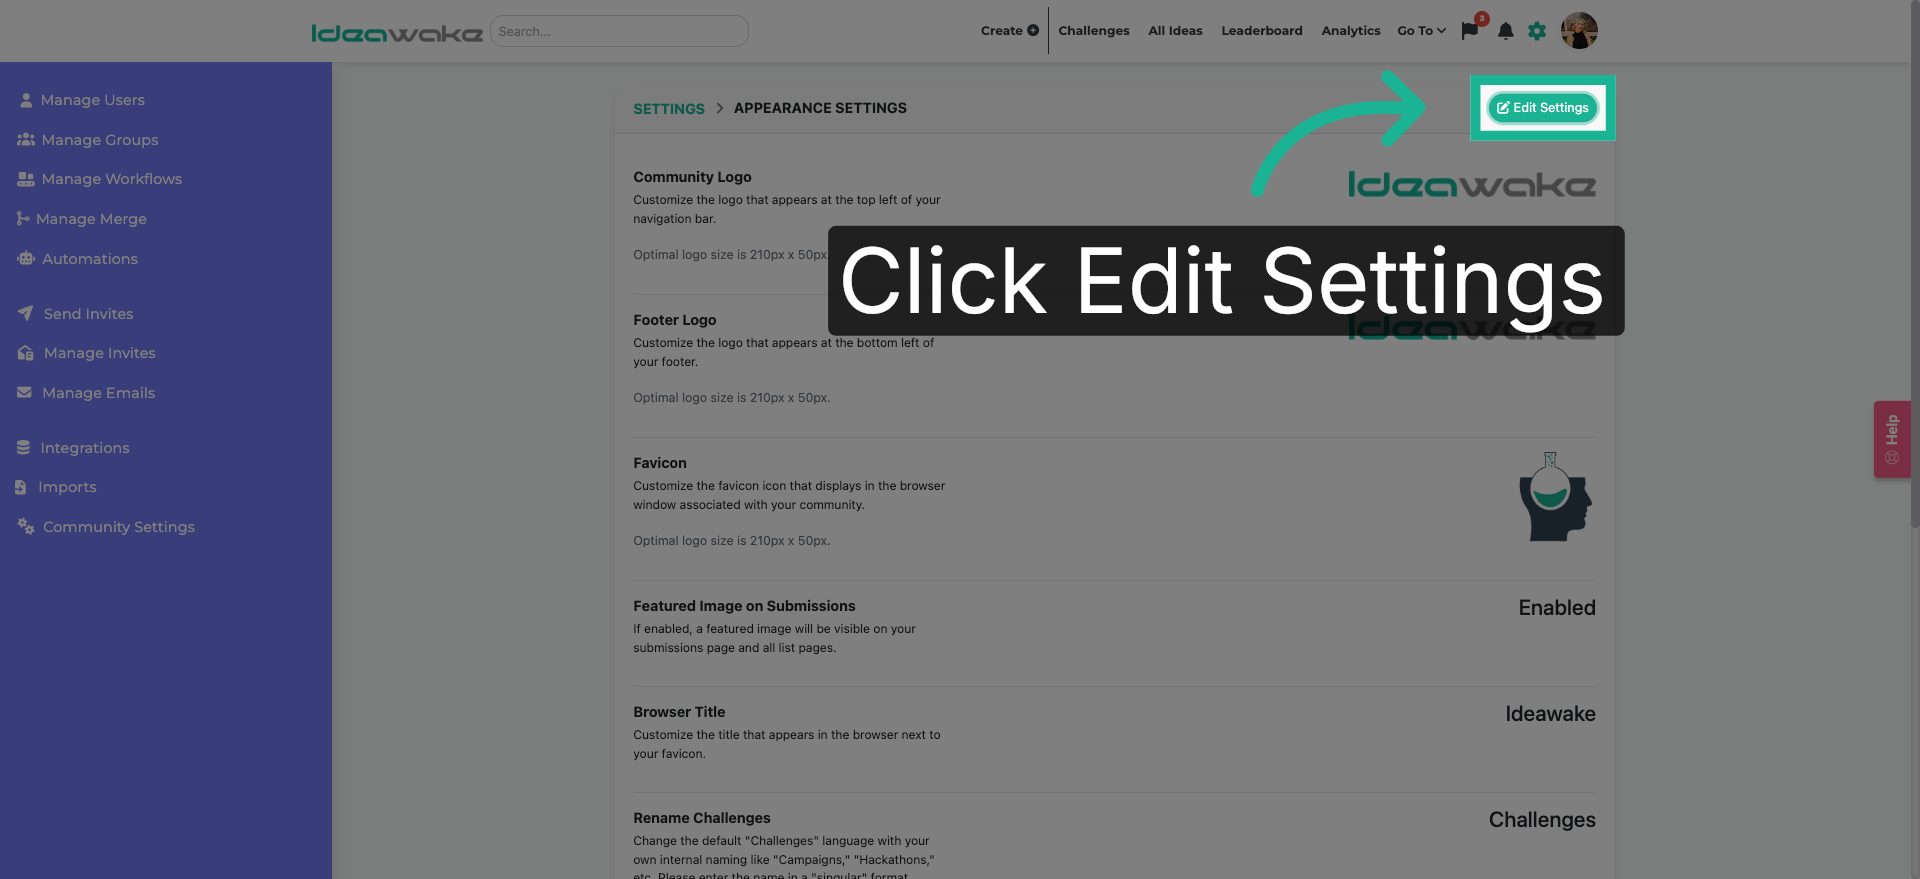
4. Edit Appearance Settings
Click "Edit Settings" to modify the current appearance options for your community.
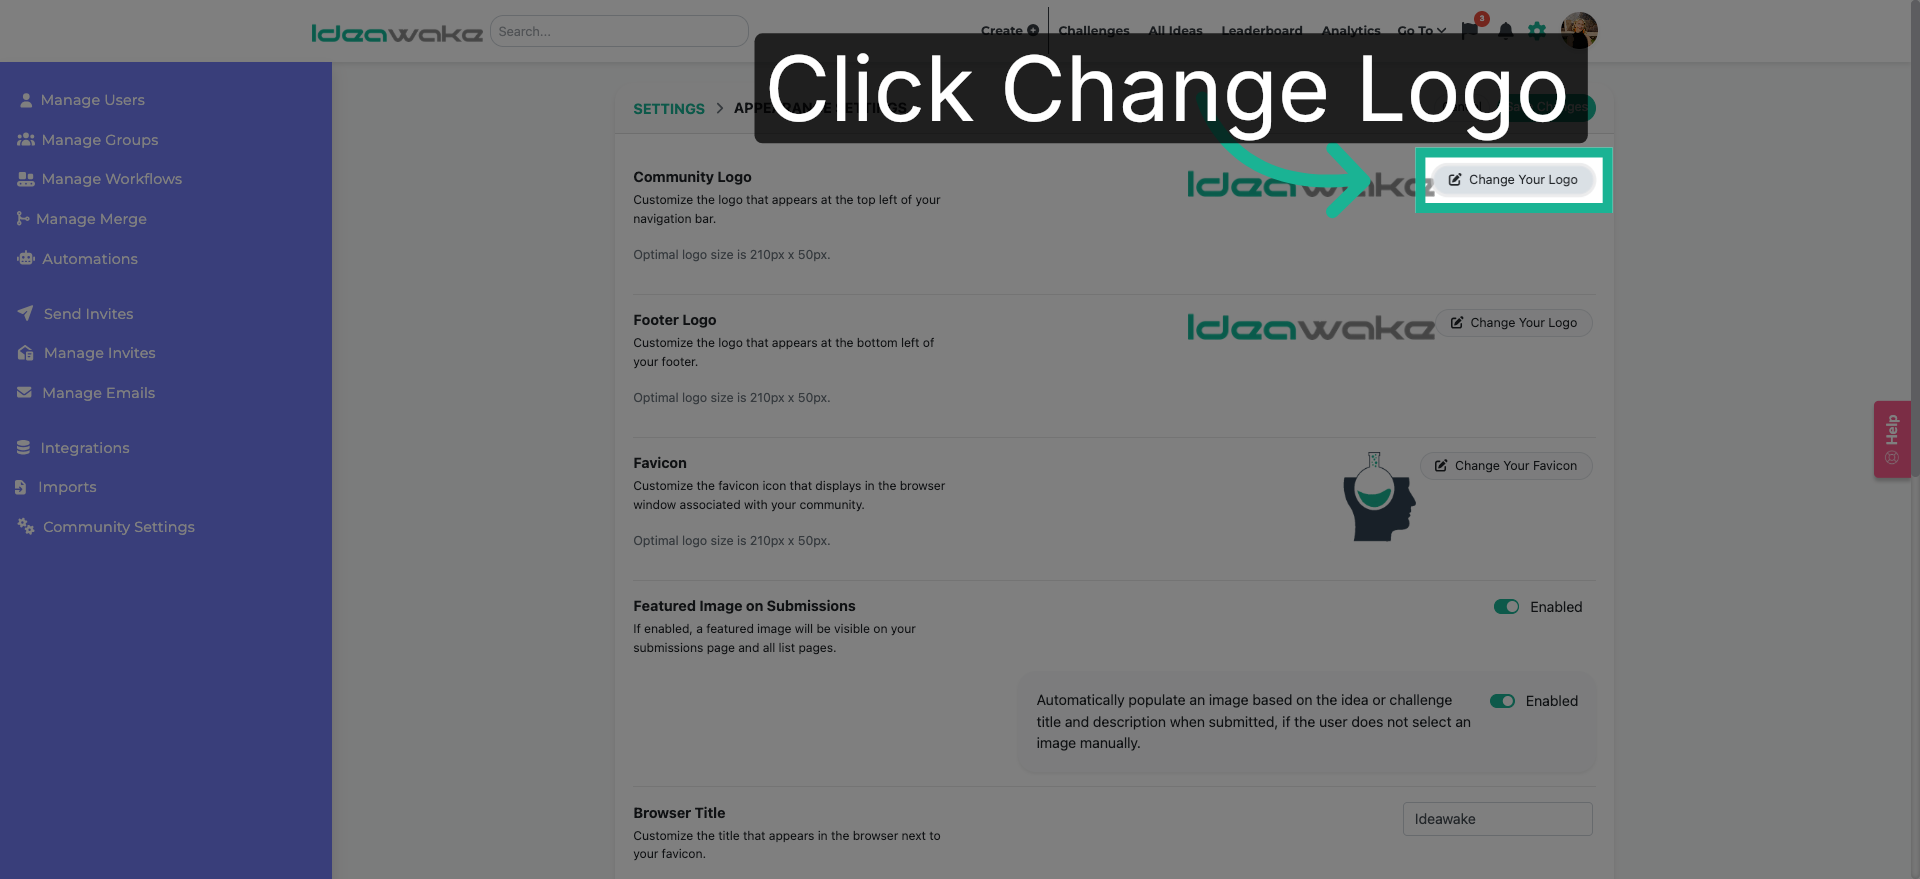
5. Change Community Logo
Click "Change Your Logo" to upload a new logo that represents your community's brand.
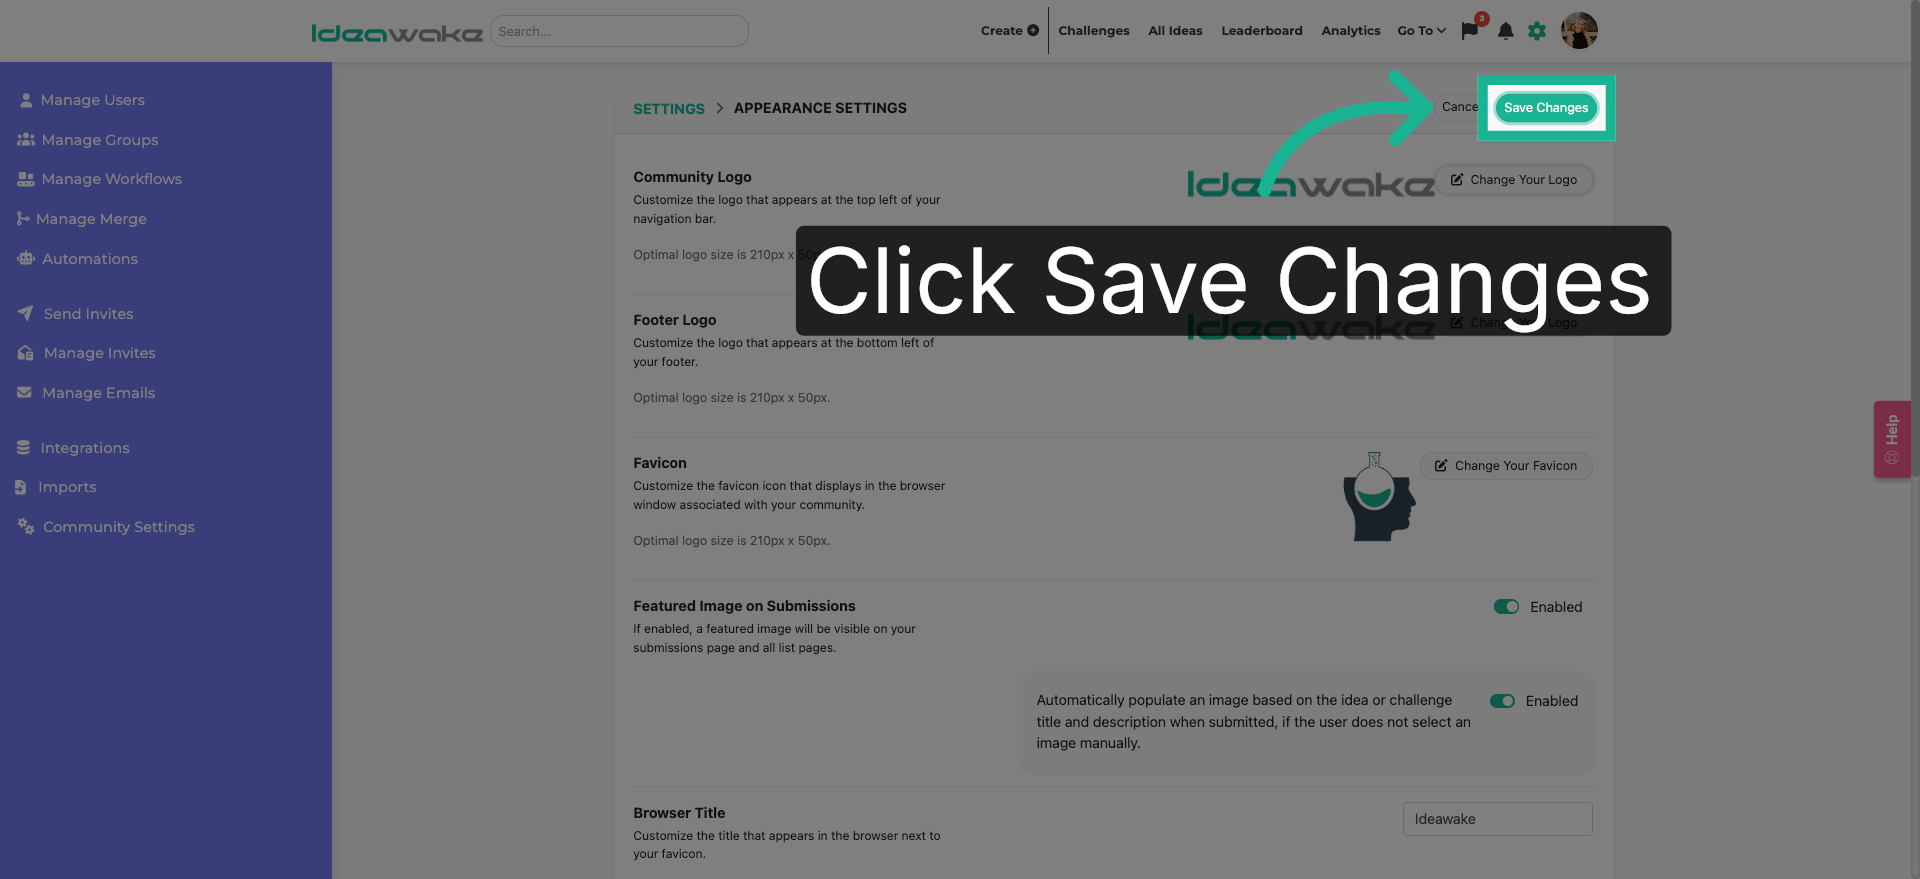
6. Save Appearance Changes
Click "Save Changes" to apply and save all your updates to the community's appearance settings.
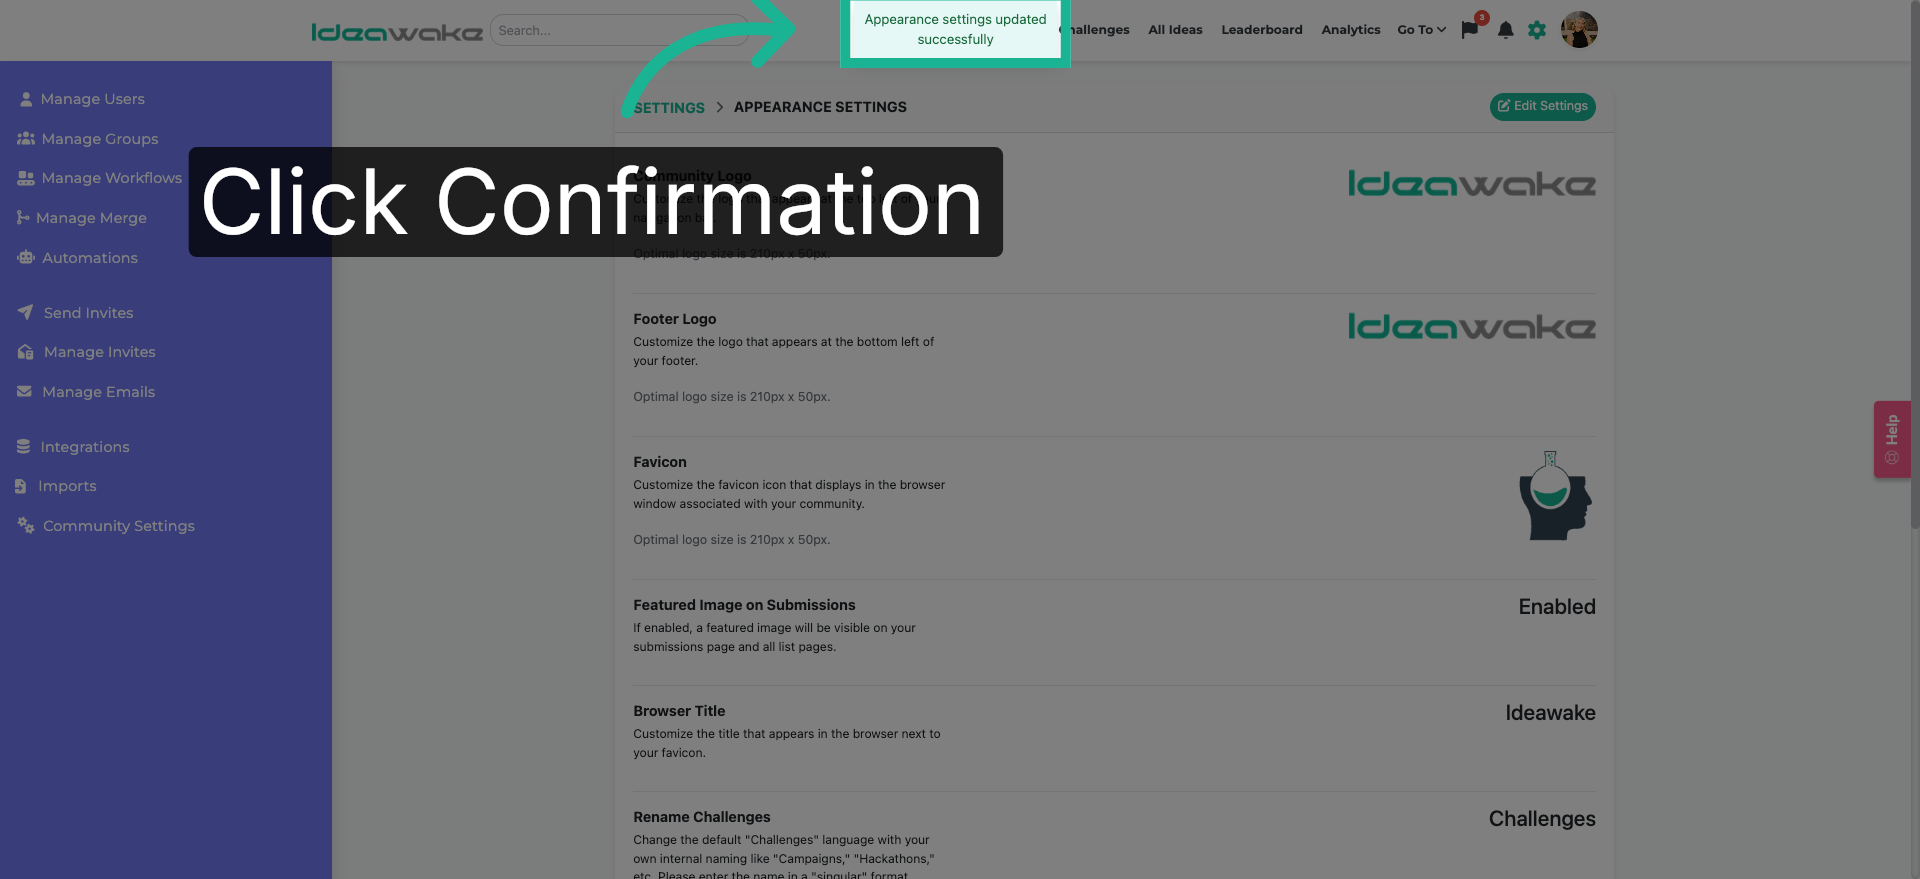
7. Confirm Appearance Update
Click "Appearance settings updated successfully" to acknowledge that your changes have been saved.
You have successfully customized your Ideawake community's appearance by updating the logo and color scheme. Your changes are now saved and reflected in your community's look and feel, enhancing your brand presence.