![ideawake-logo-simple-no-padding-1.png]](https://academy.ideawake.com/hs-fs/hubfs/ideawake-logo-simple-no-padding-1.png?height=30&name=ideawake-logo-simple-no-padding-1.png)
This tutorial guides you through customizing the appearance of your Ideawake community.
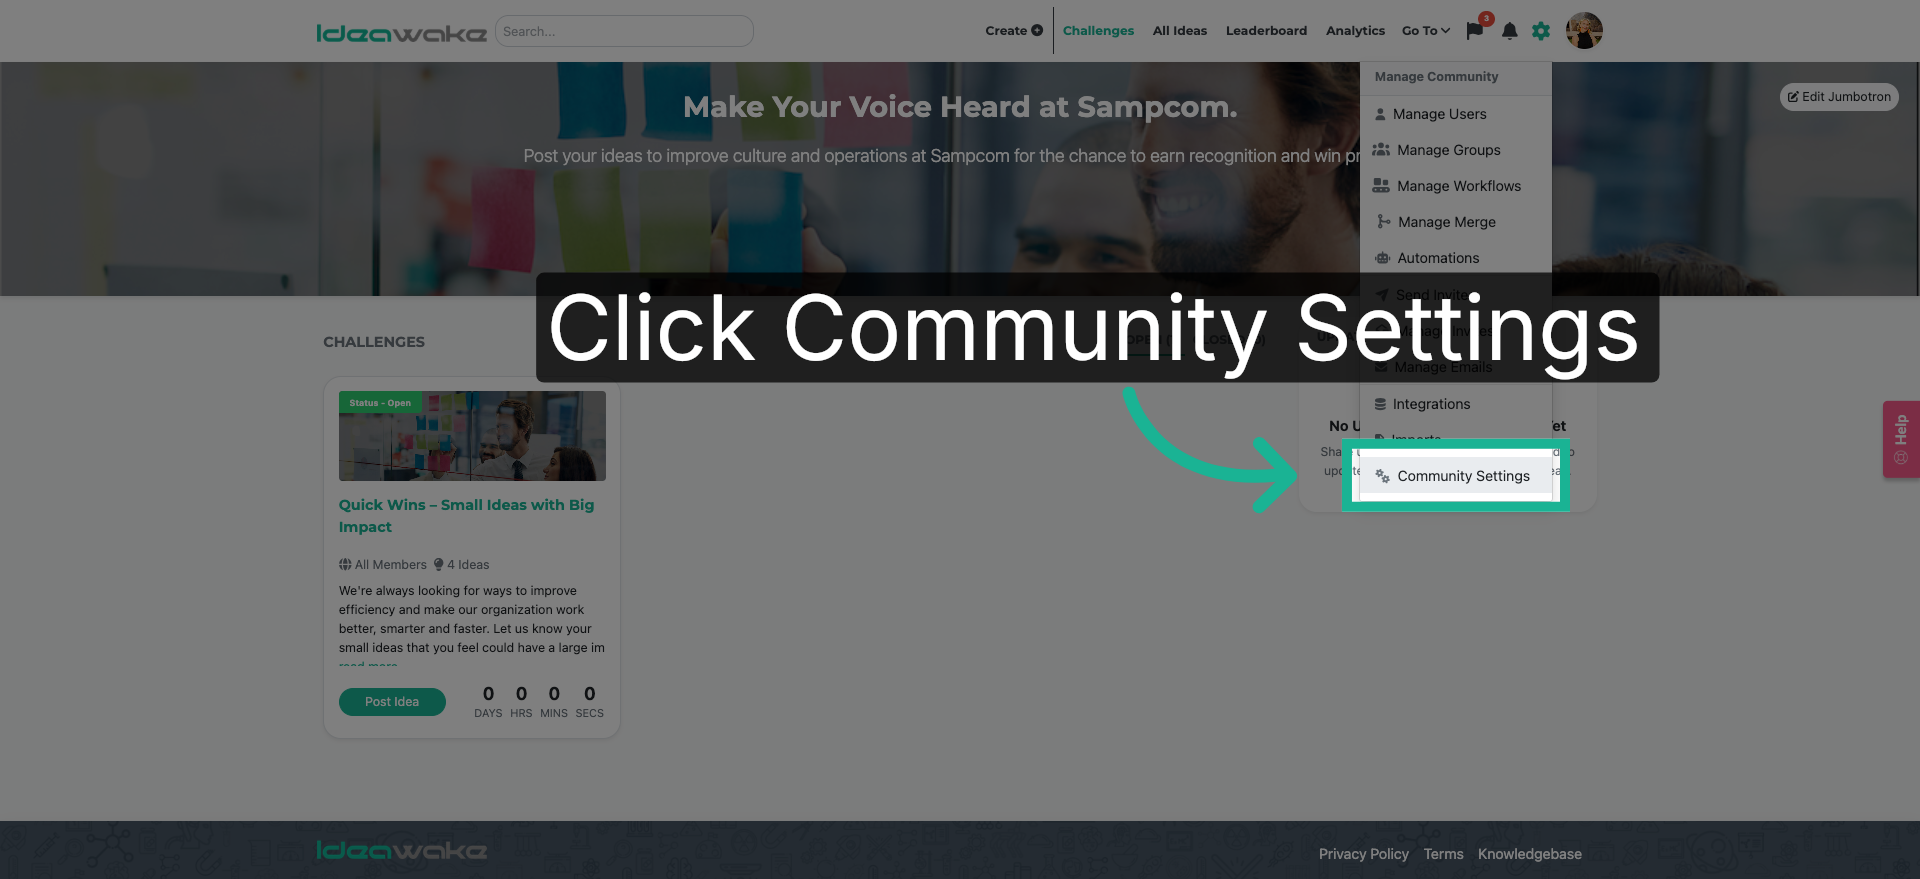
1. Open Community Settings
Navigate to and Click "Community Settings" from the drop down menu.
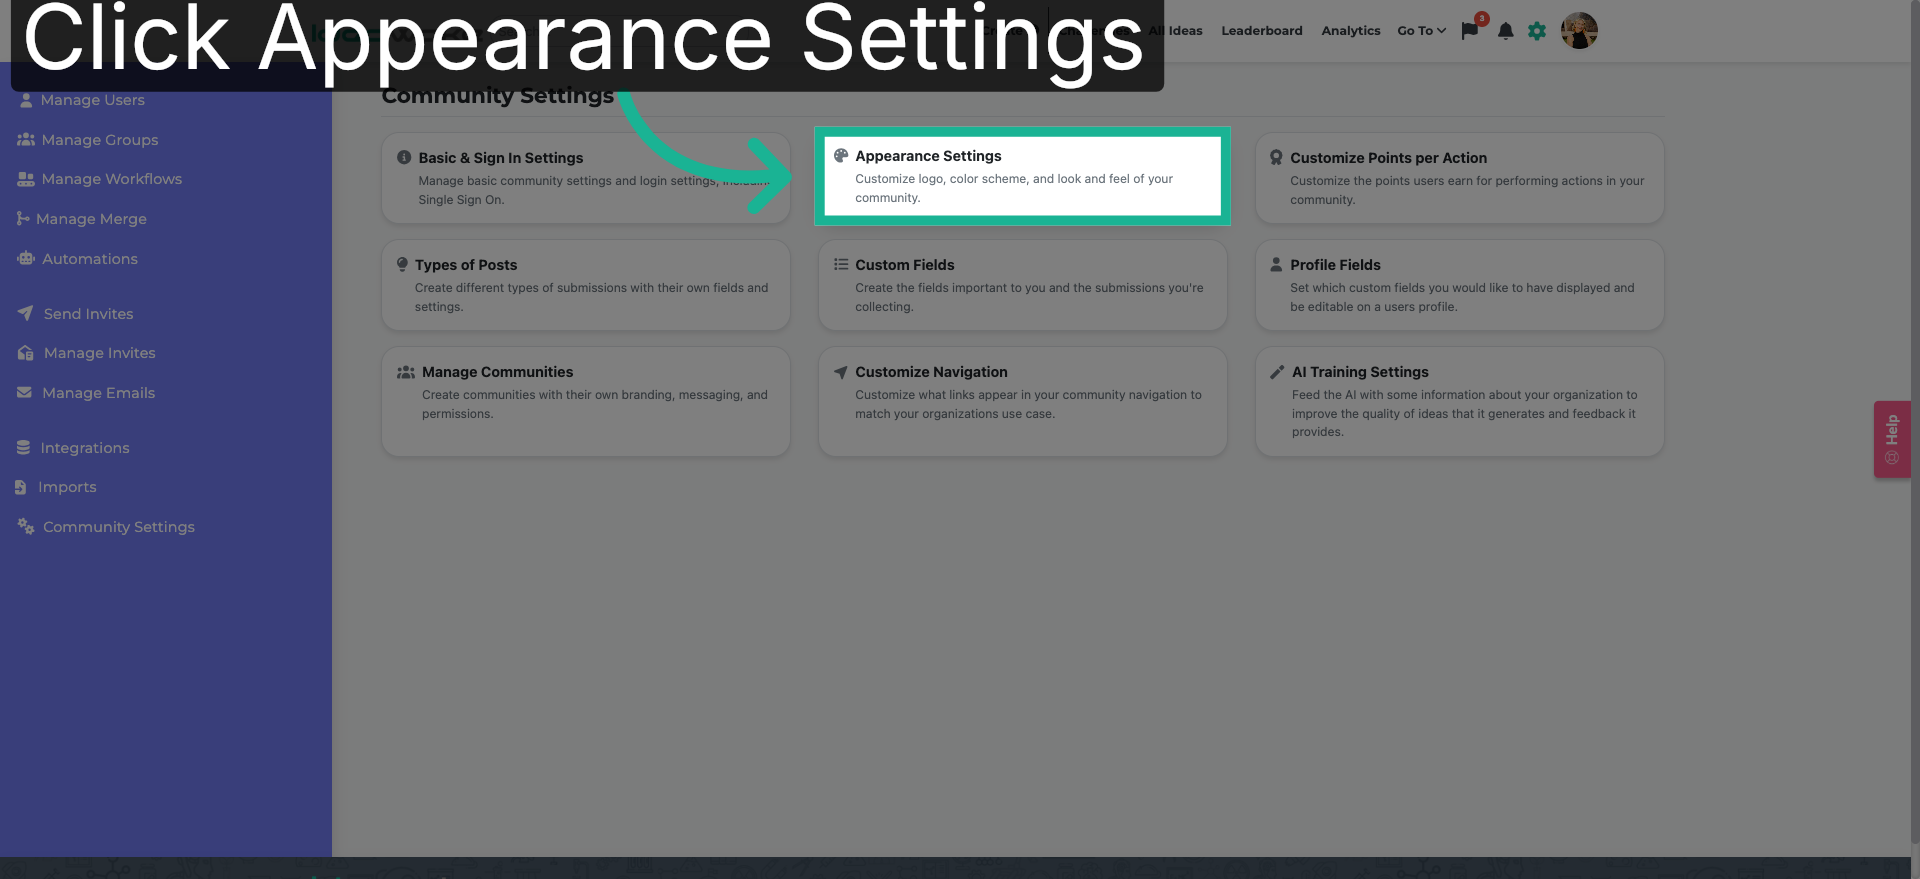
2. Access Appearance Settings
Click "Appearance Settings" to modify visual elements.
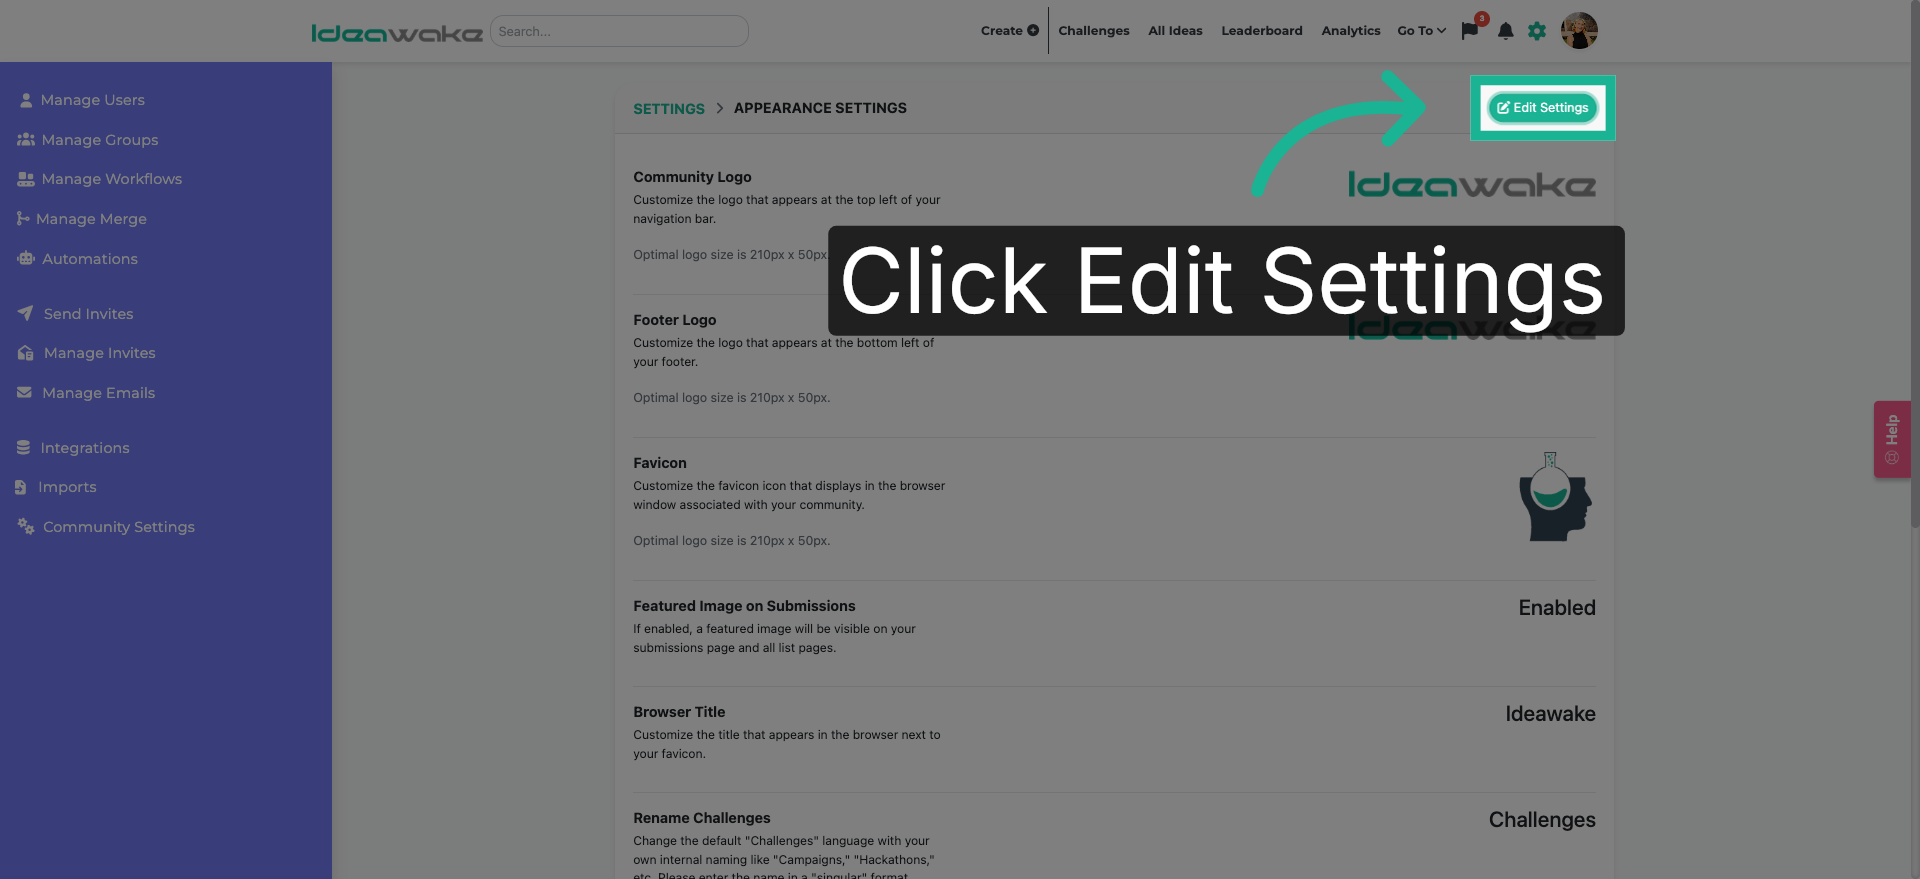
3. Edit Appearance Settings
Click on the "Edit Settings" button to begin customizing.
4. Select Footer Logo Option
Locate the footer logo setting.
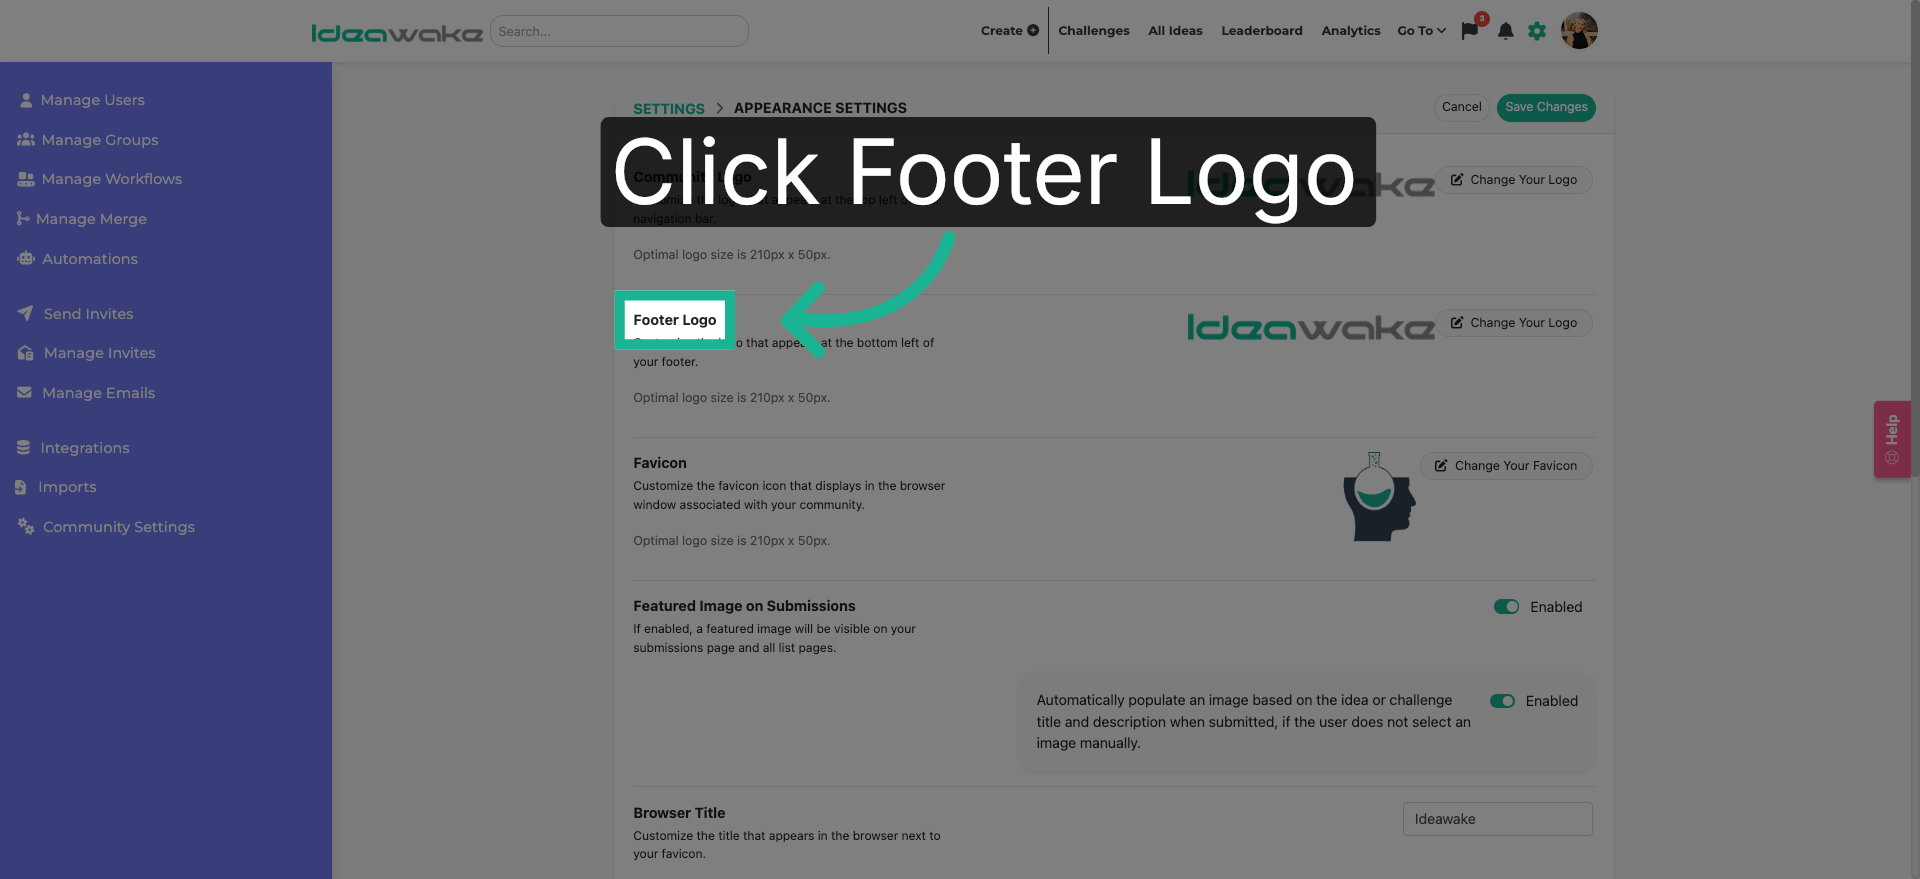
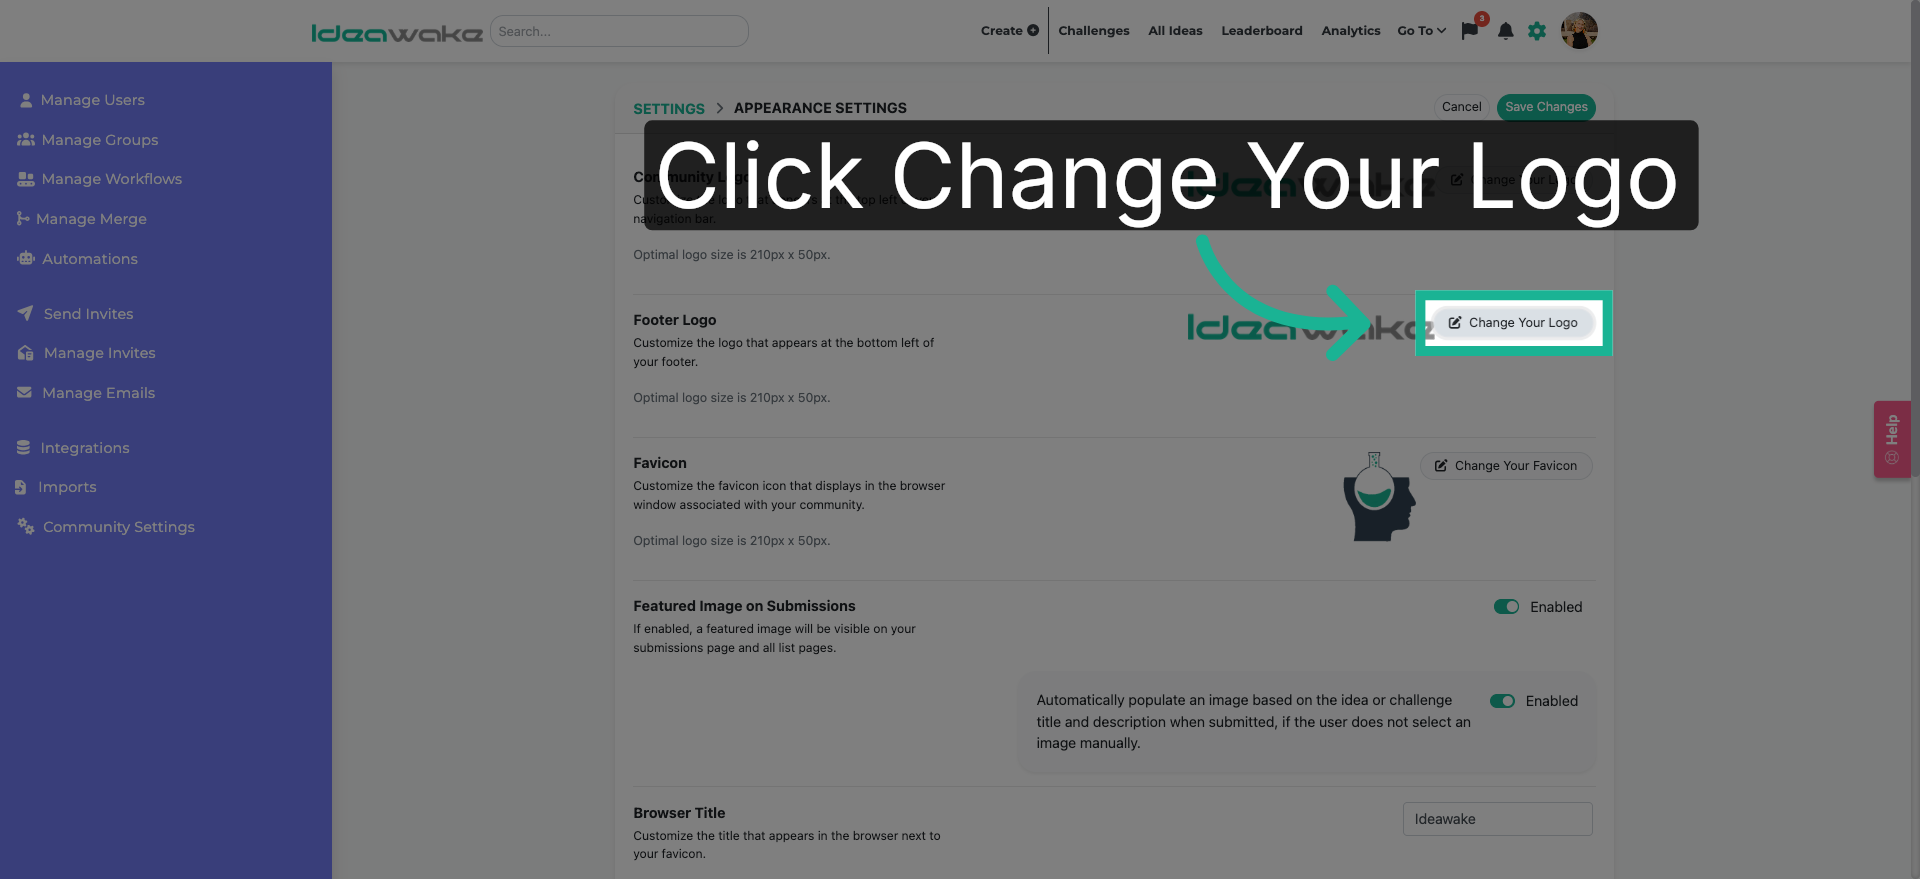
5. Change Footer Logo
Click "Change Your Logo" to upload a new image for your community's footer logo.
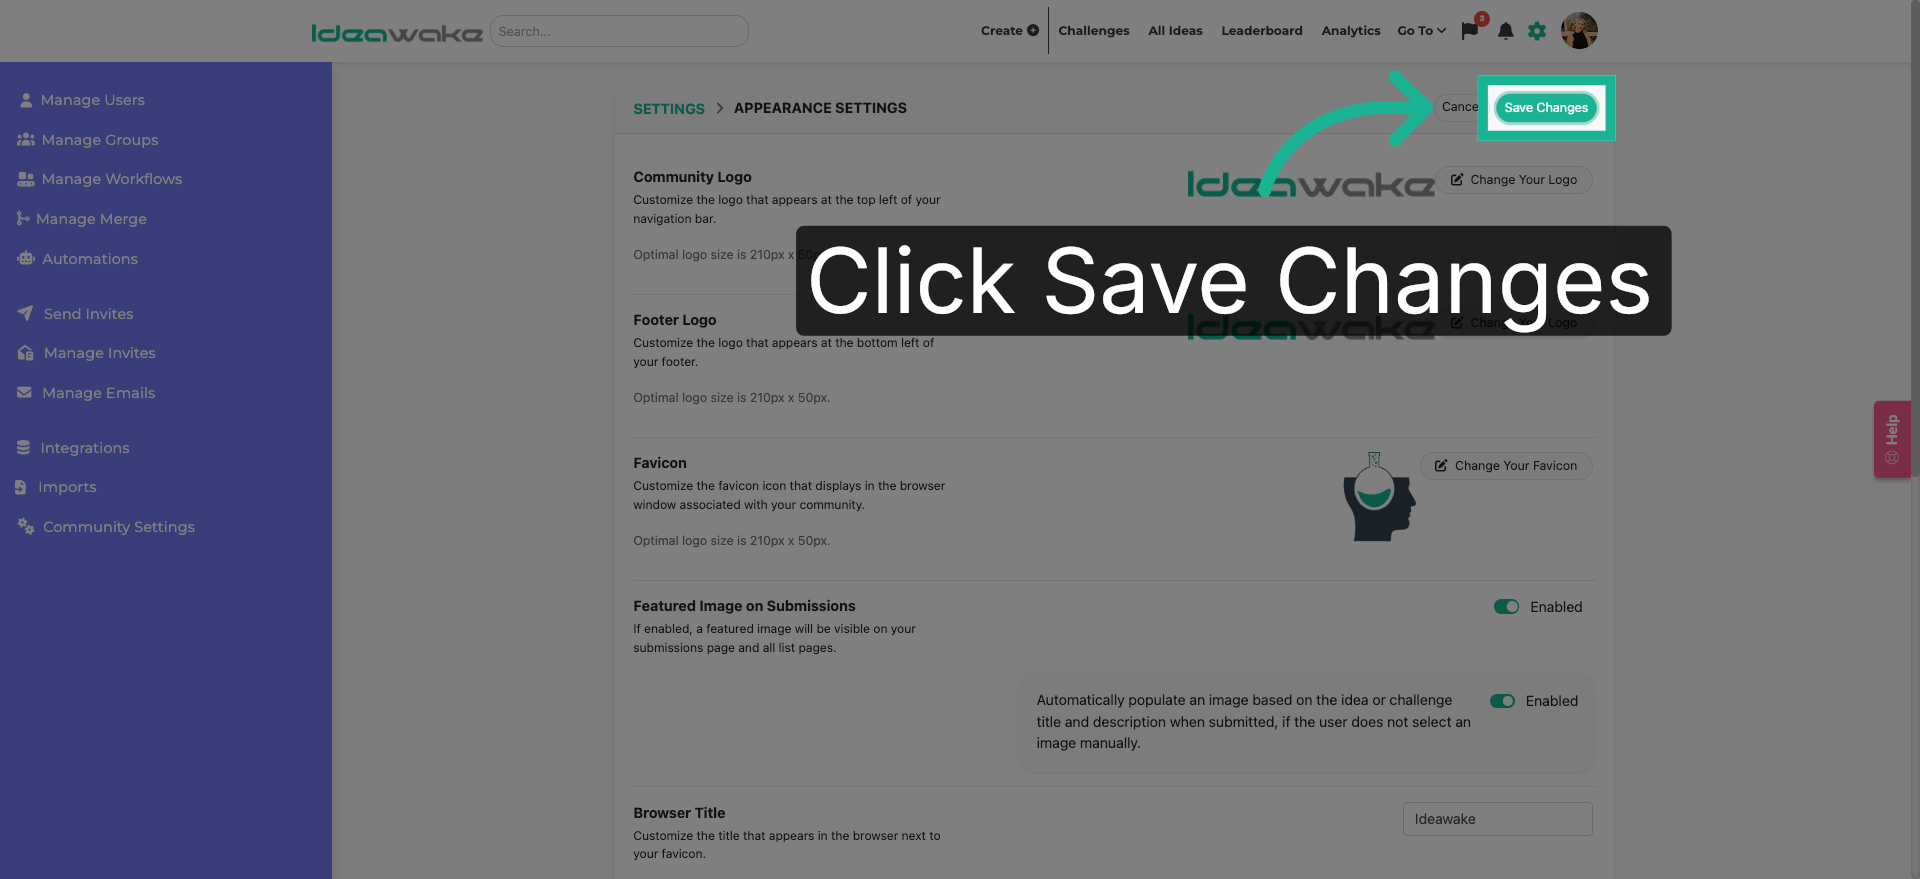
6. Save Appearance Changes
Once uploaded, Click on the "Save Changes" button to apply and save your updated footer logo settings.
You have successfully customized your Ideawake community's footer logo to enhance branding consistency.