![ideawake-logo-simple-no-padding-1.png]](https://academy.ideawake.com/hs-fs/hubfs/ideawake-logo-simple-no-padding-1.png?height=30&name=ideawake-logo-simple-no-padding-1.png)
This tutorial guides you through Customizing the SSO Login Button
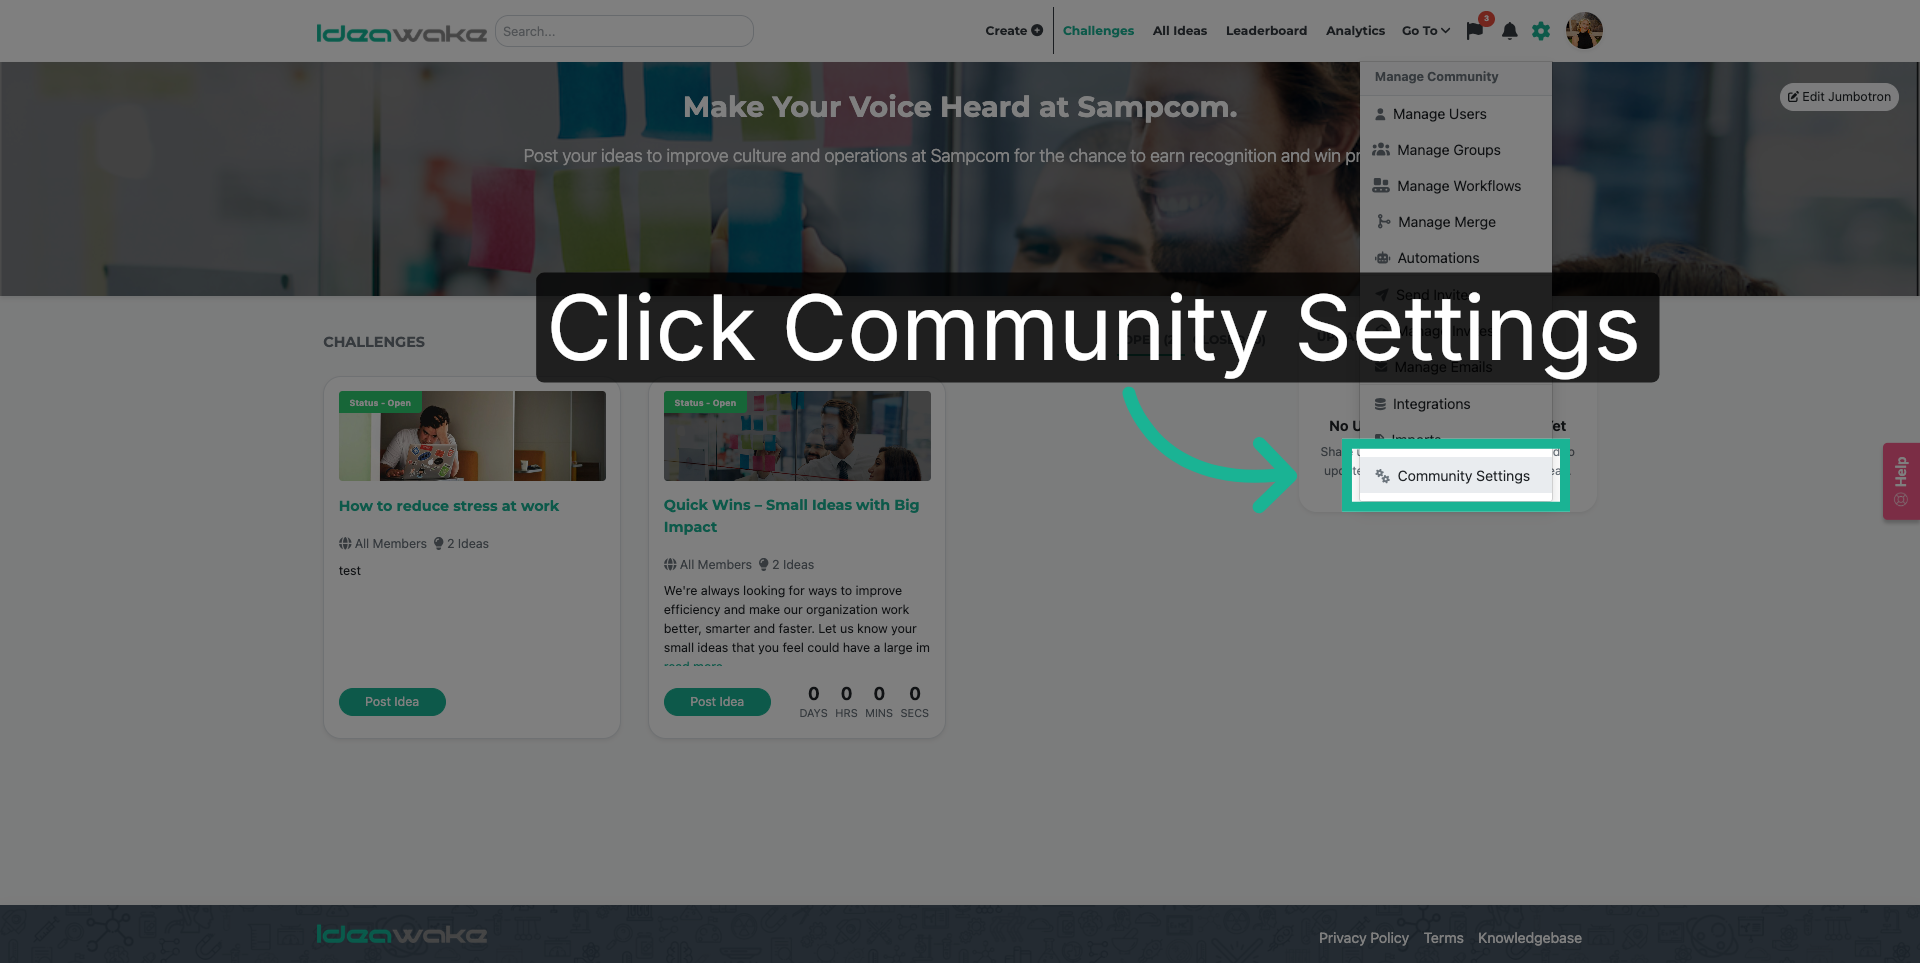
1. Open Community Settings Section
Navigate to and Click on "Community Settings".
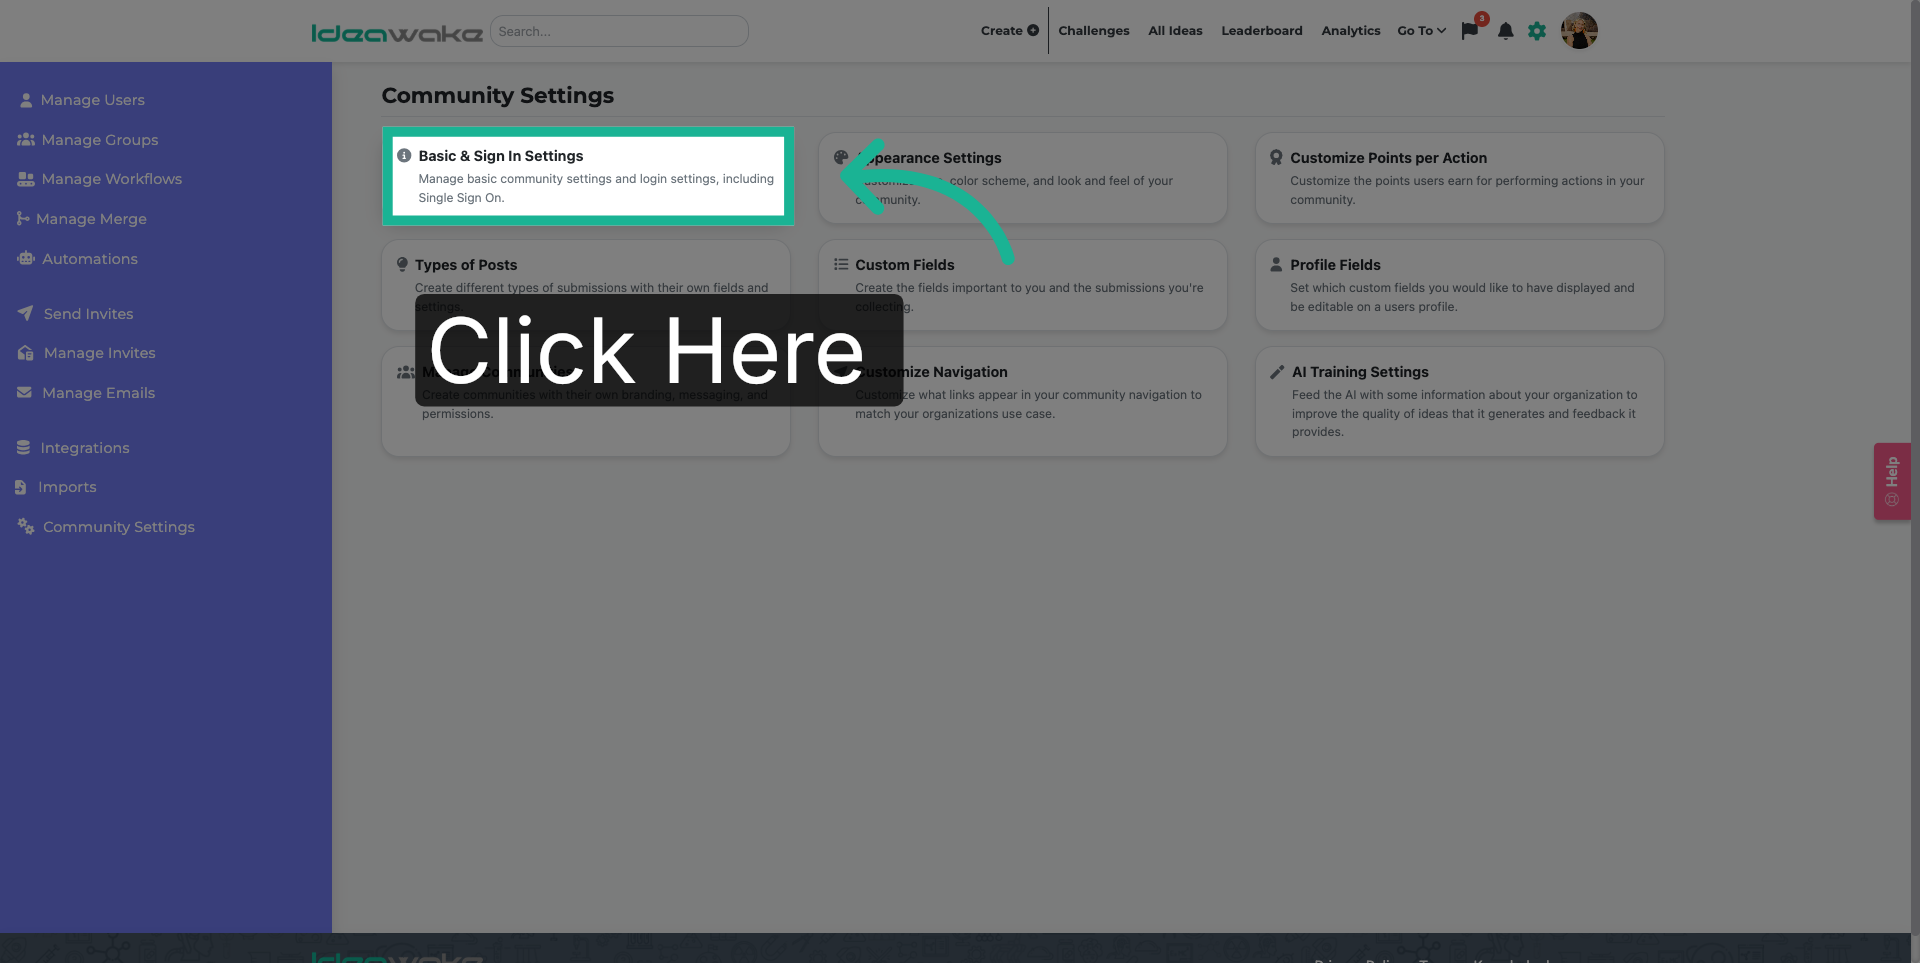
2. Manage Basic and Sign-In Settings
Next, Click on "Basic & Sign In Settings'
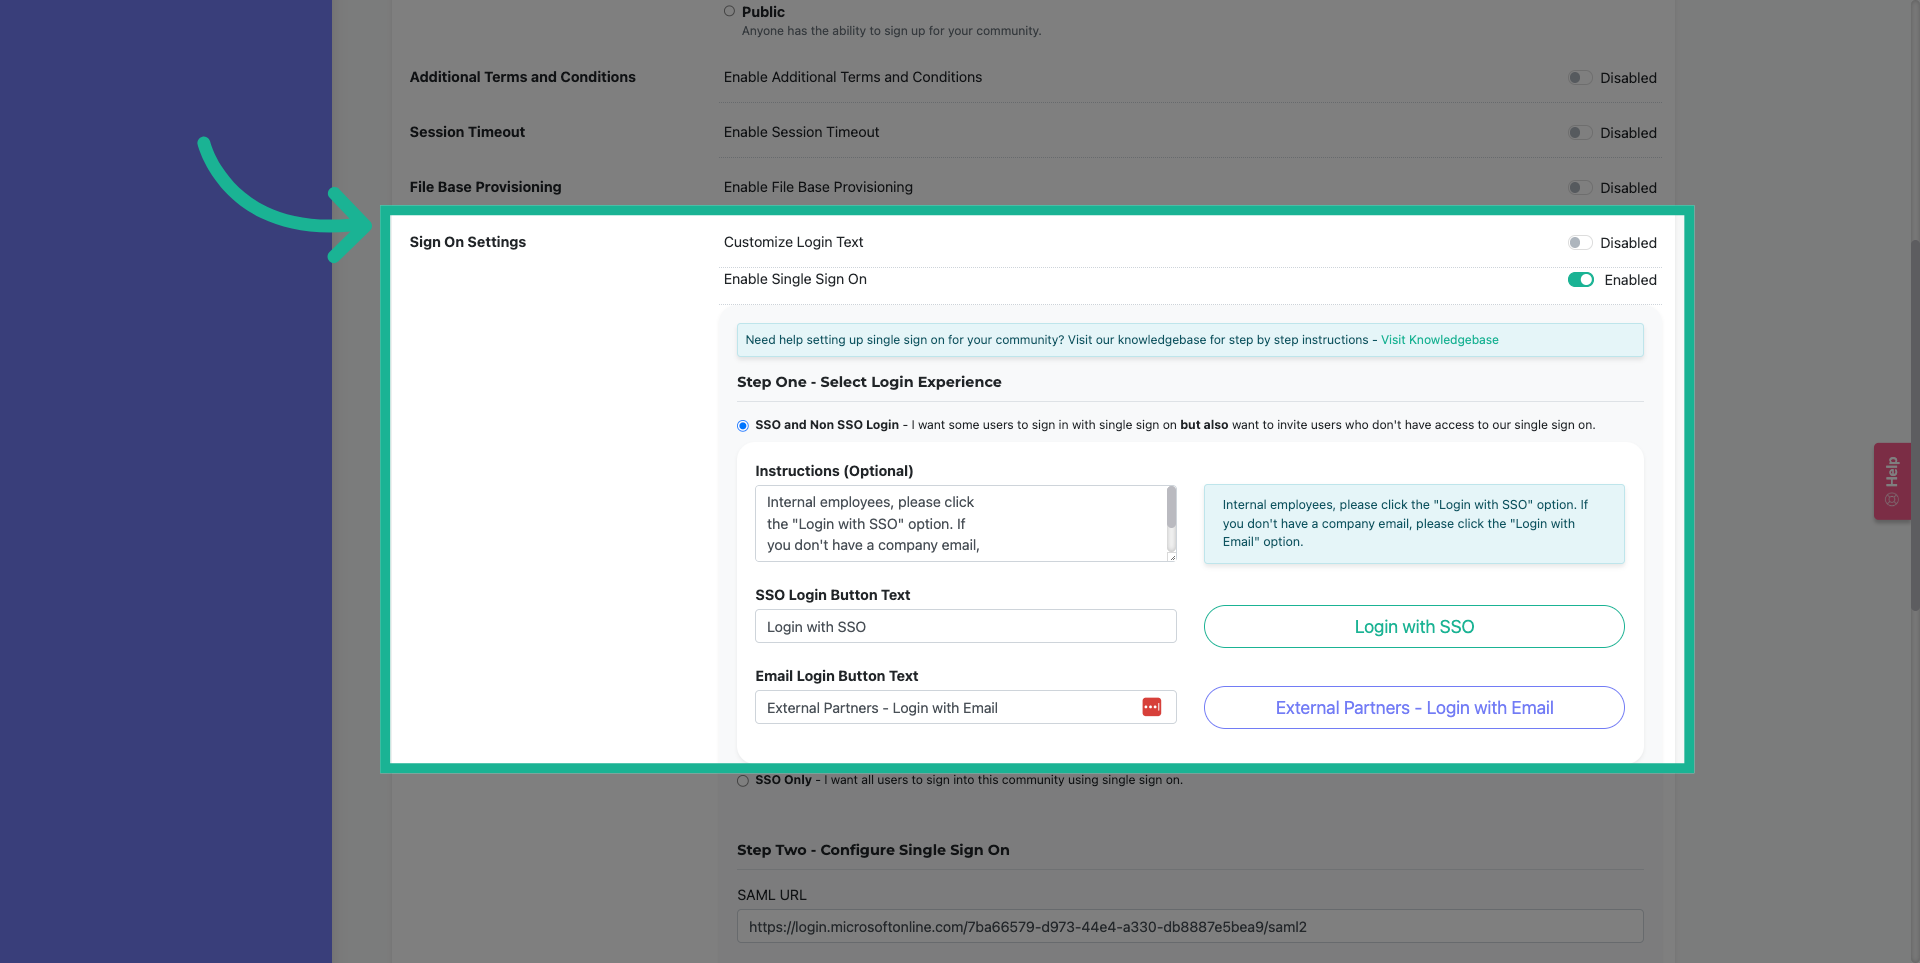
3. Select Login Experience Step
Scroll down and locate the SSO settings section.
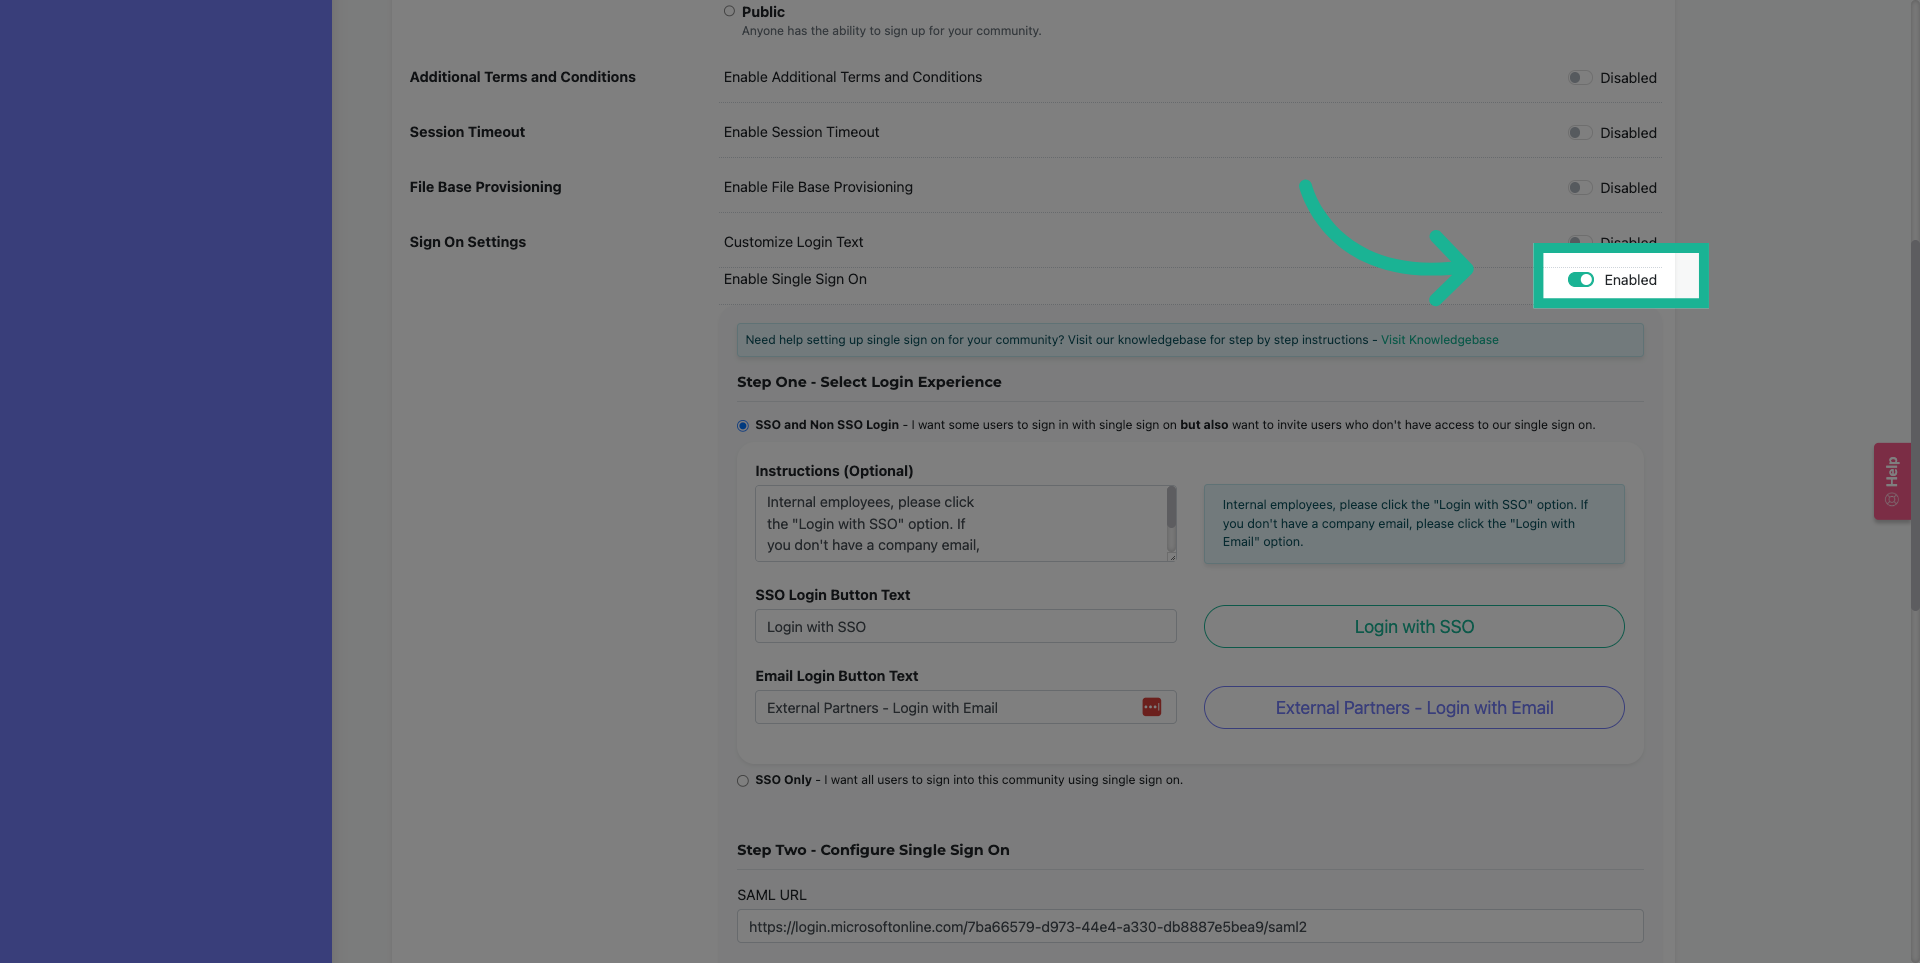
4. Select Login Experience Step
Note, this can only be accessed if SSO settings are enabled.
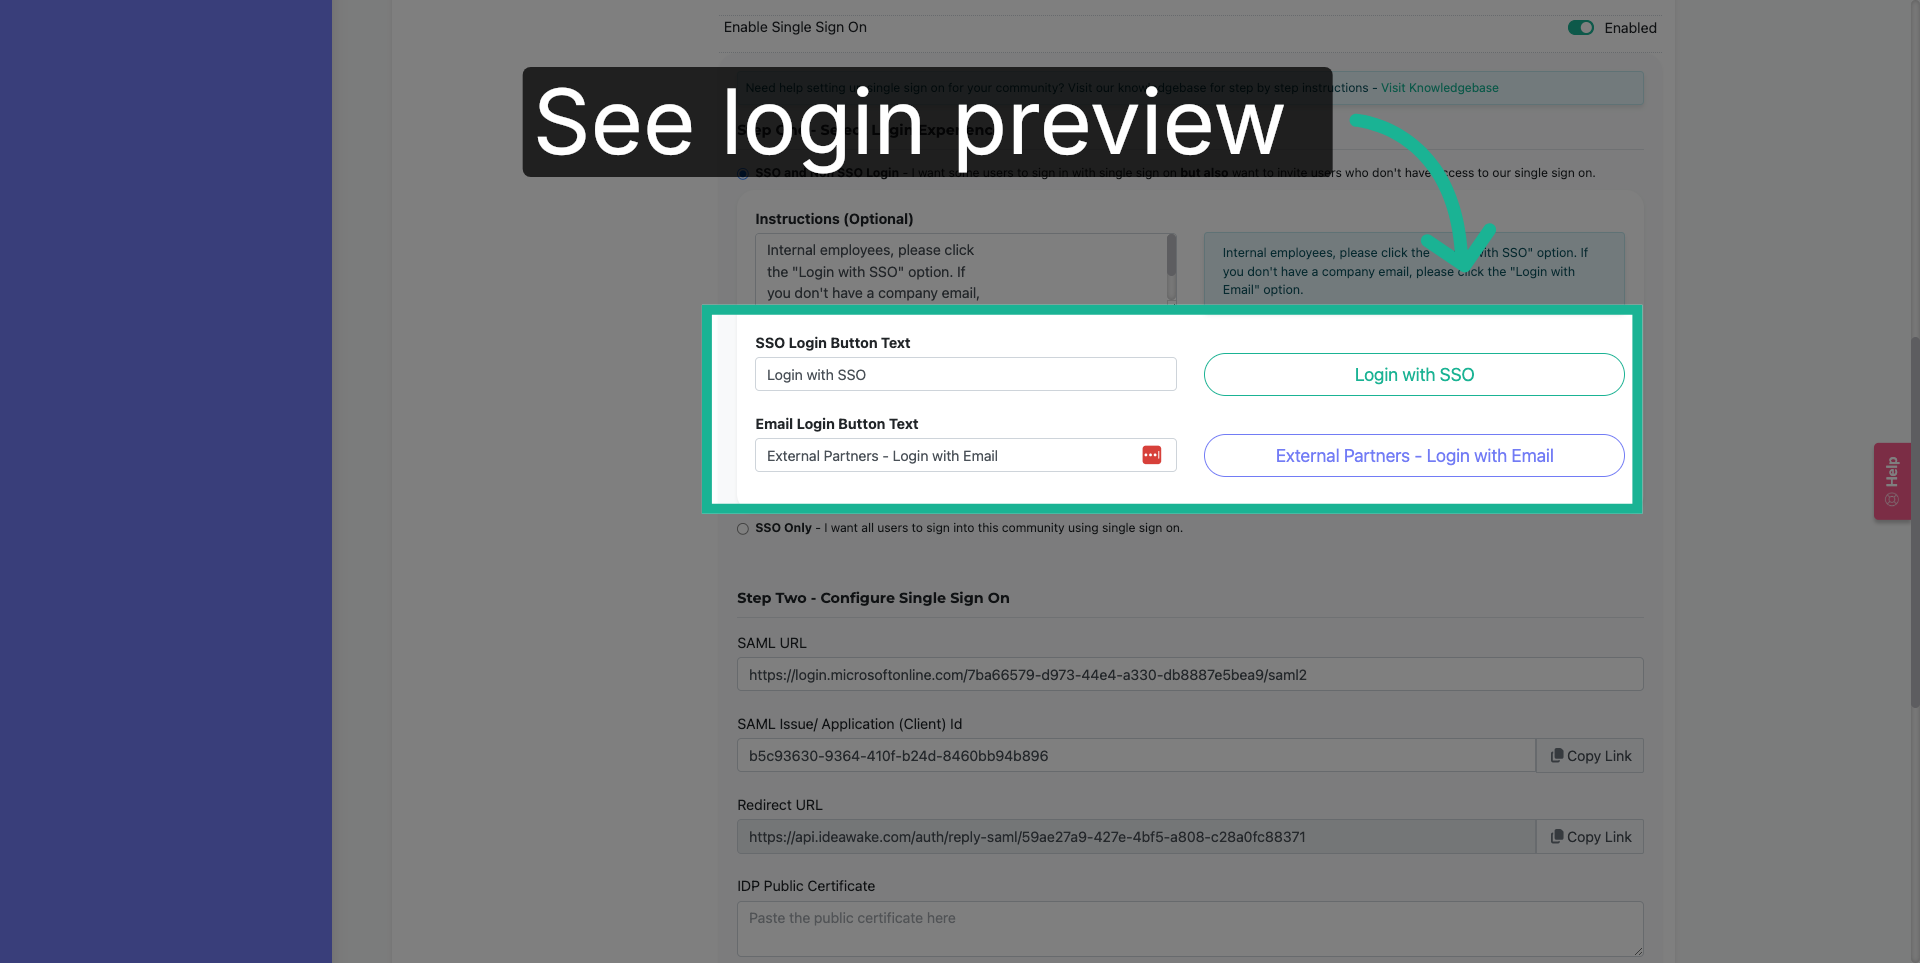
5. See Login Preview
On the right, you will see a preview of the login buttons displayed currently on the platform
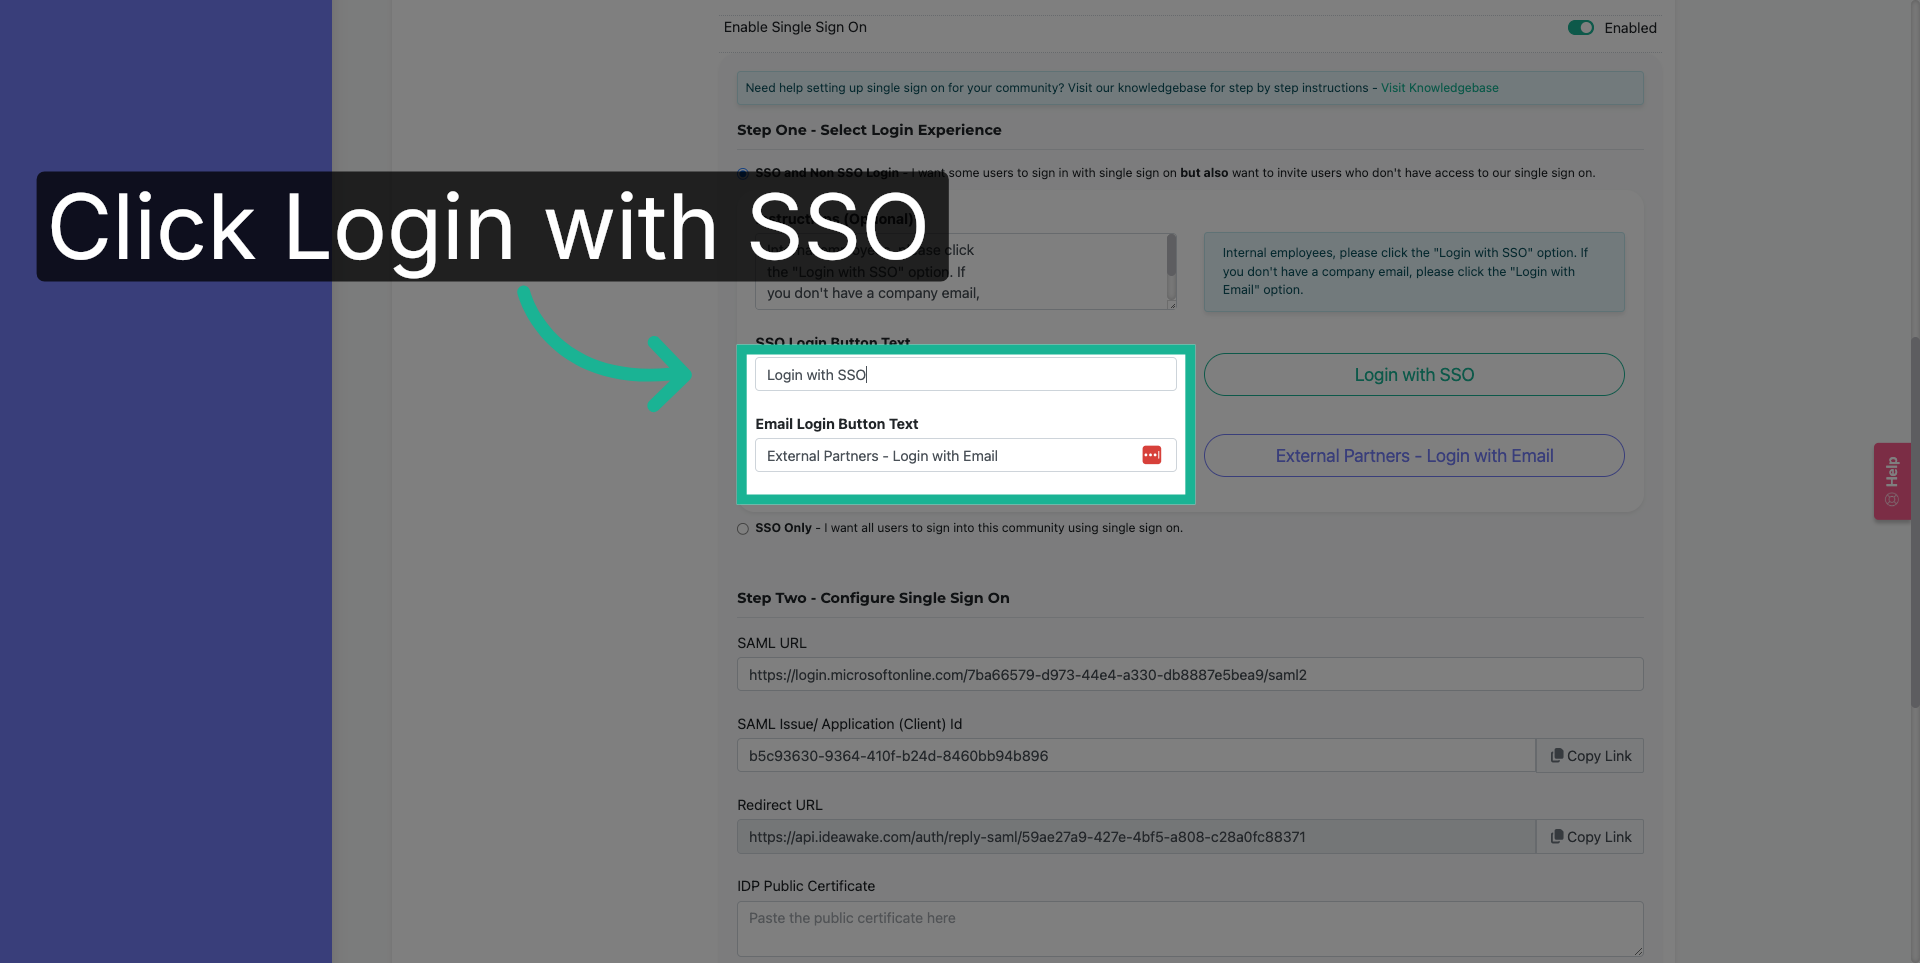
6. Choose Login with SSO
Click on the text field(s) to update the text on the button
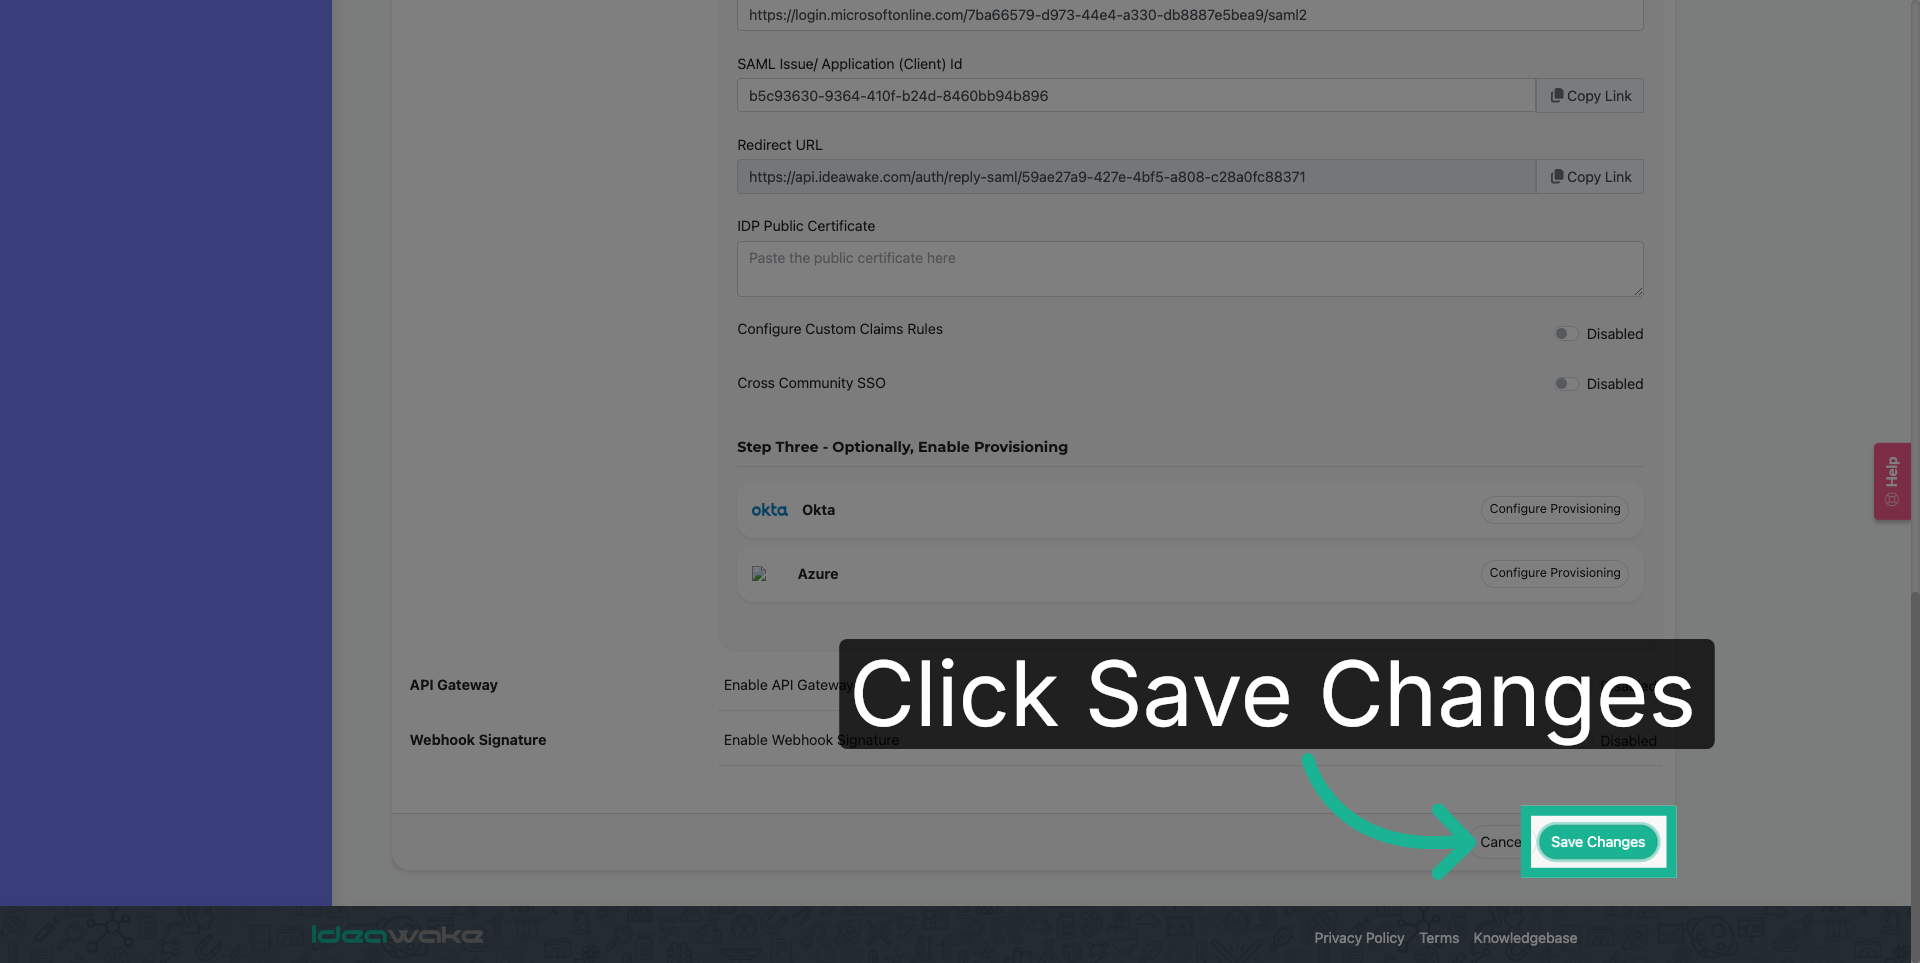
7. Save Configuration Changes
When ready, Click the "Save Changes" button to apply all your updates.
You have successfully learned how to update the login button text on the platform.