![ideawake-logo-simple-no-padding-1.png]](https://academy.ideawake.com/hs-fs/hubfs/ideawake-logo-simple-no-padding-1.png?height=30&name=ideawake-logo-simple-no-padding-1.png)
This tutorial guides you through configuring the community navigation settings in Ideawake
1. Open Ideawake Dashboard
Here you will see the current set-up of the community navigation bar. Note, users will likely have a different view than an admin.
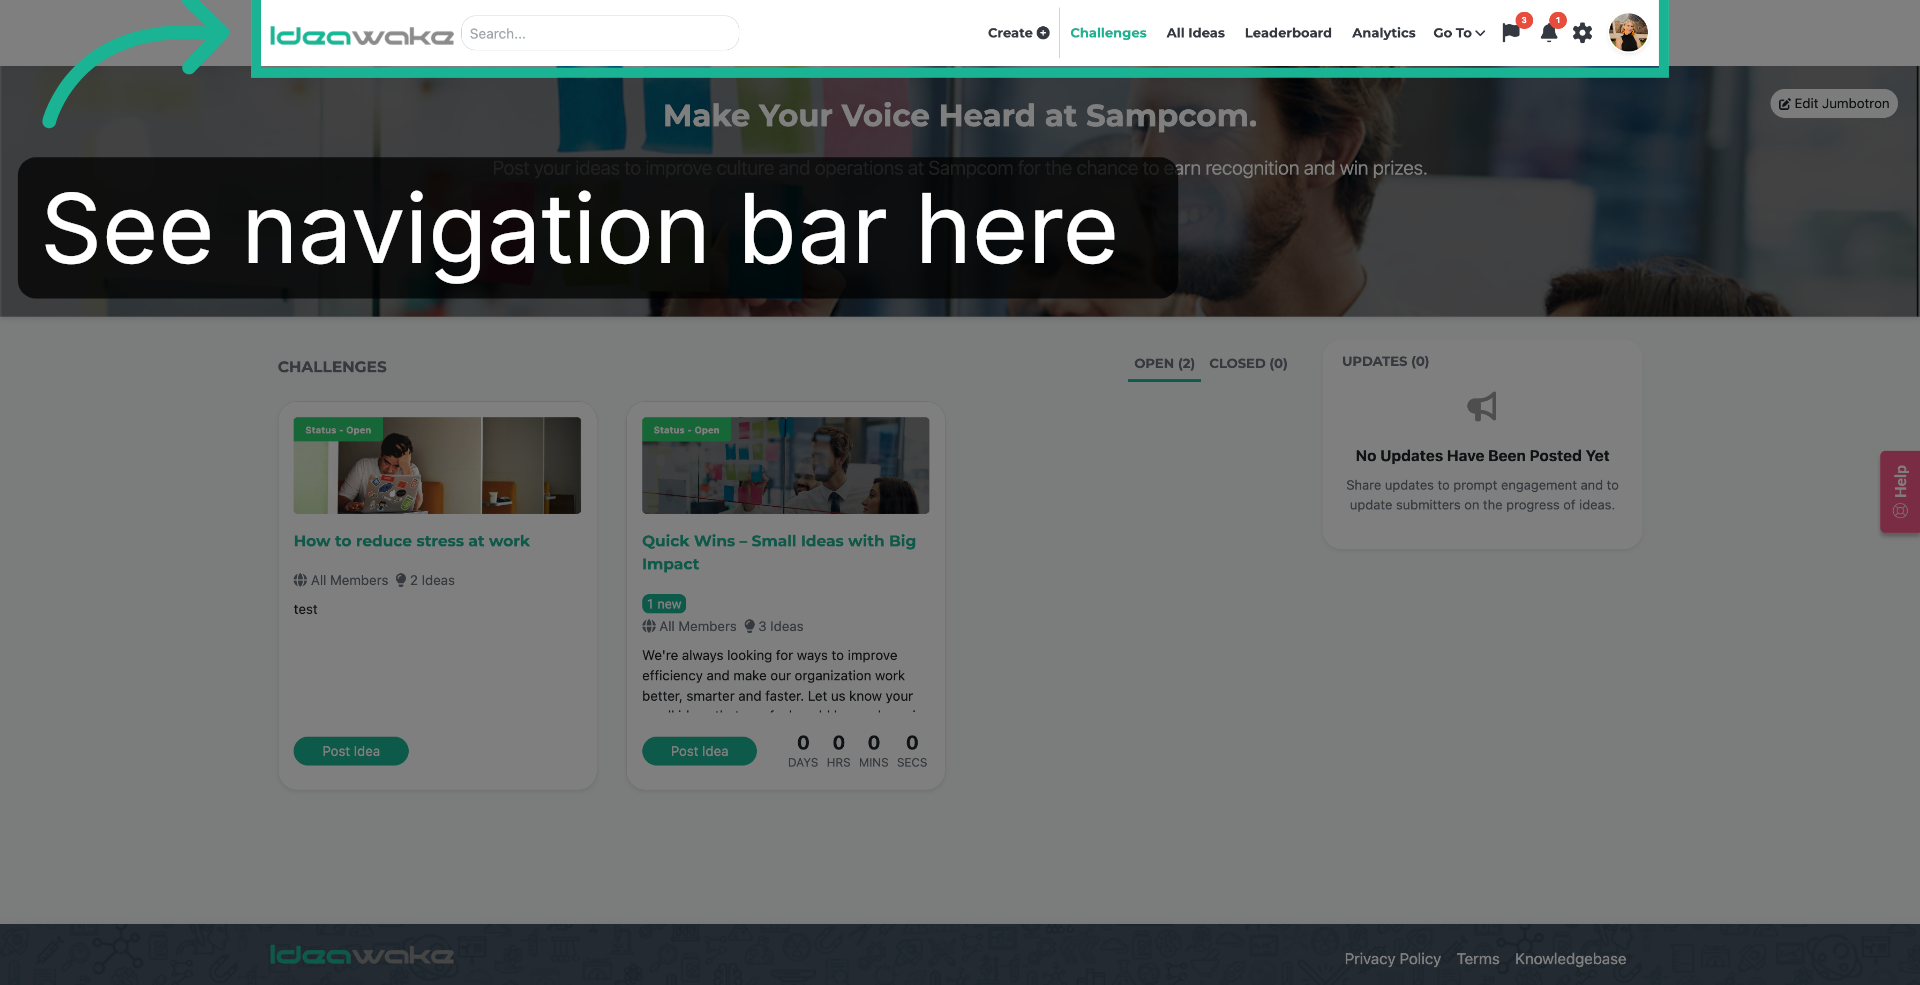
2. Access Community Settings
Click on the gear icon in the right hand corner.
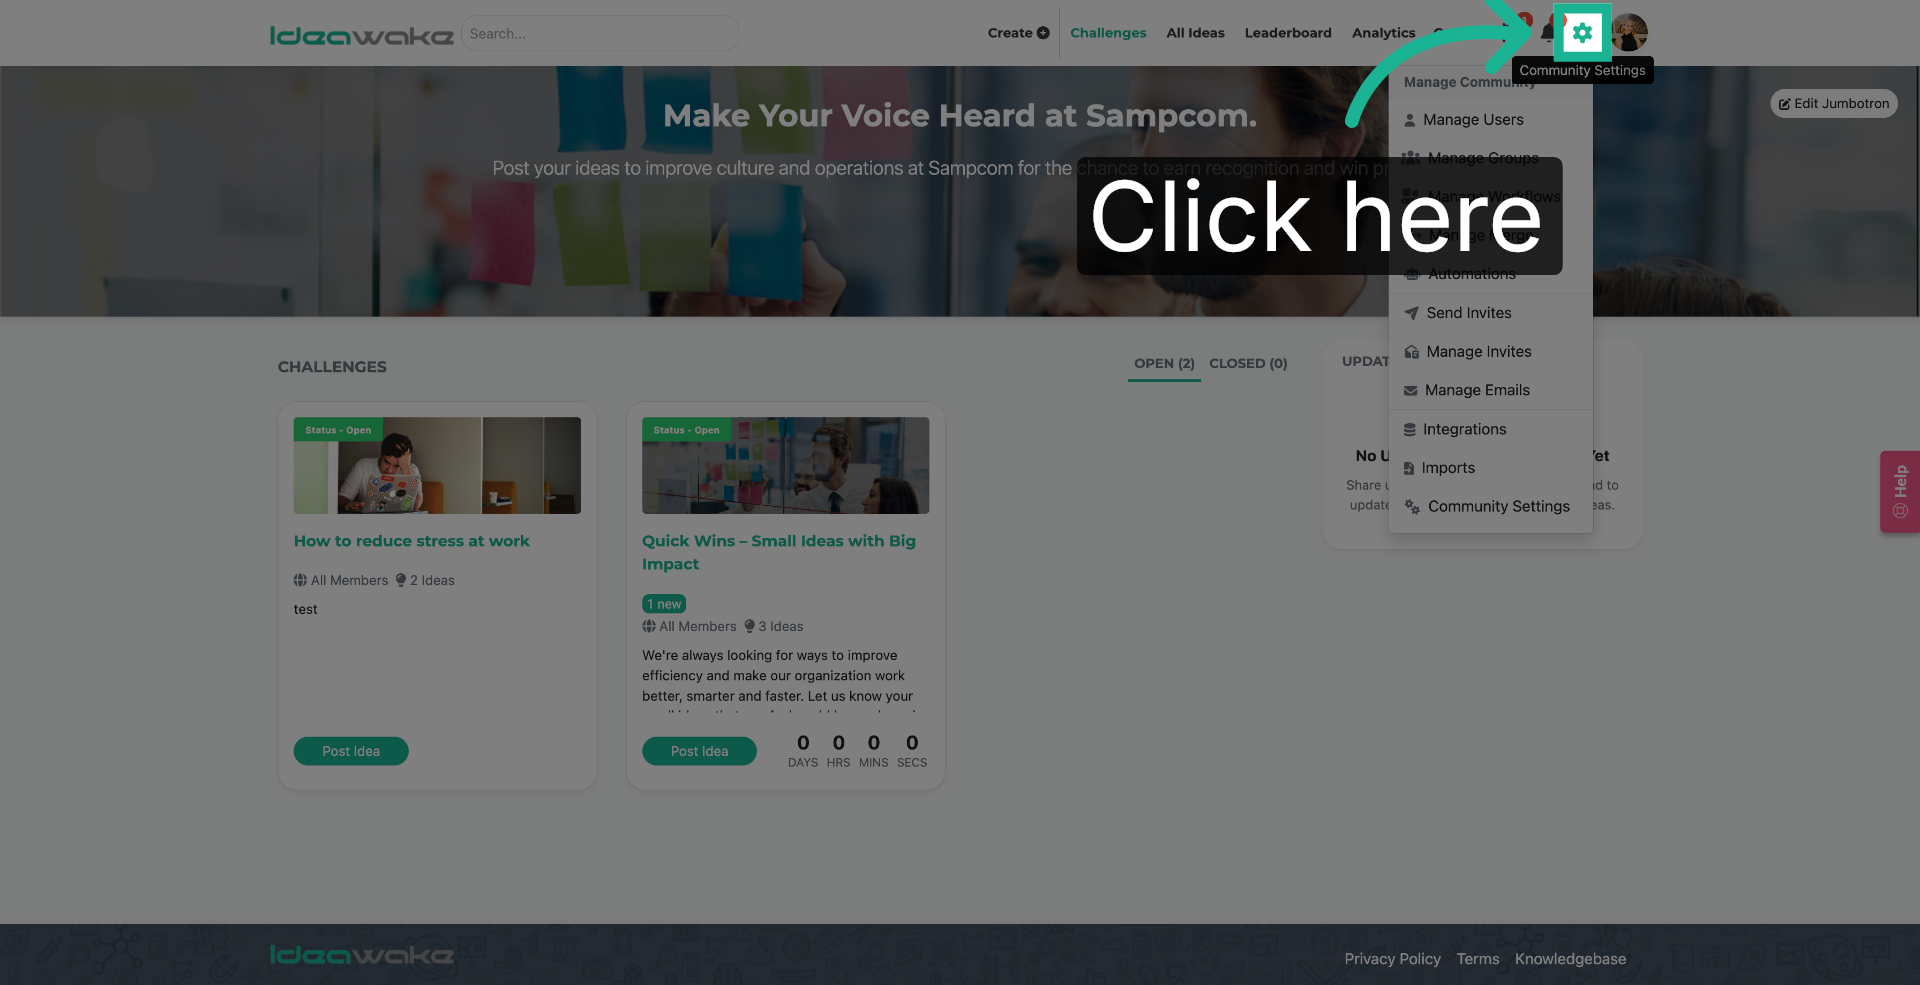
3. Select Community Settings Option
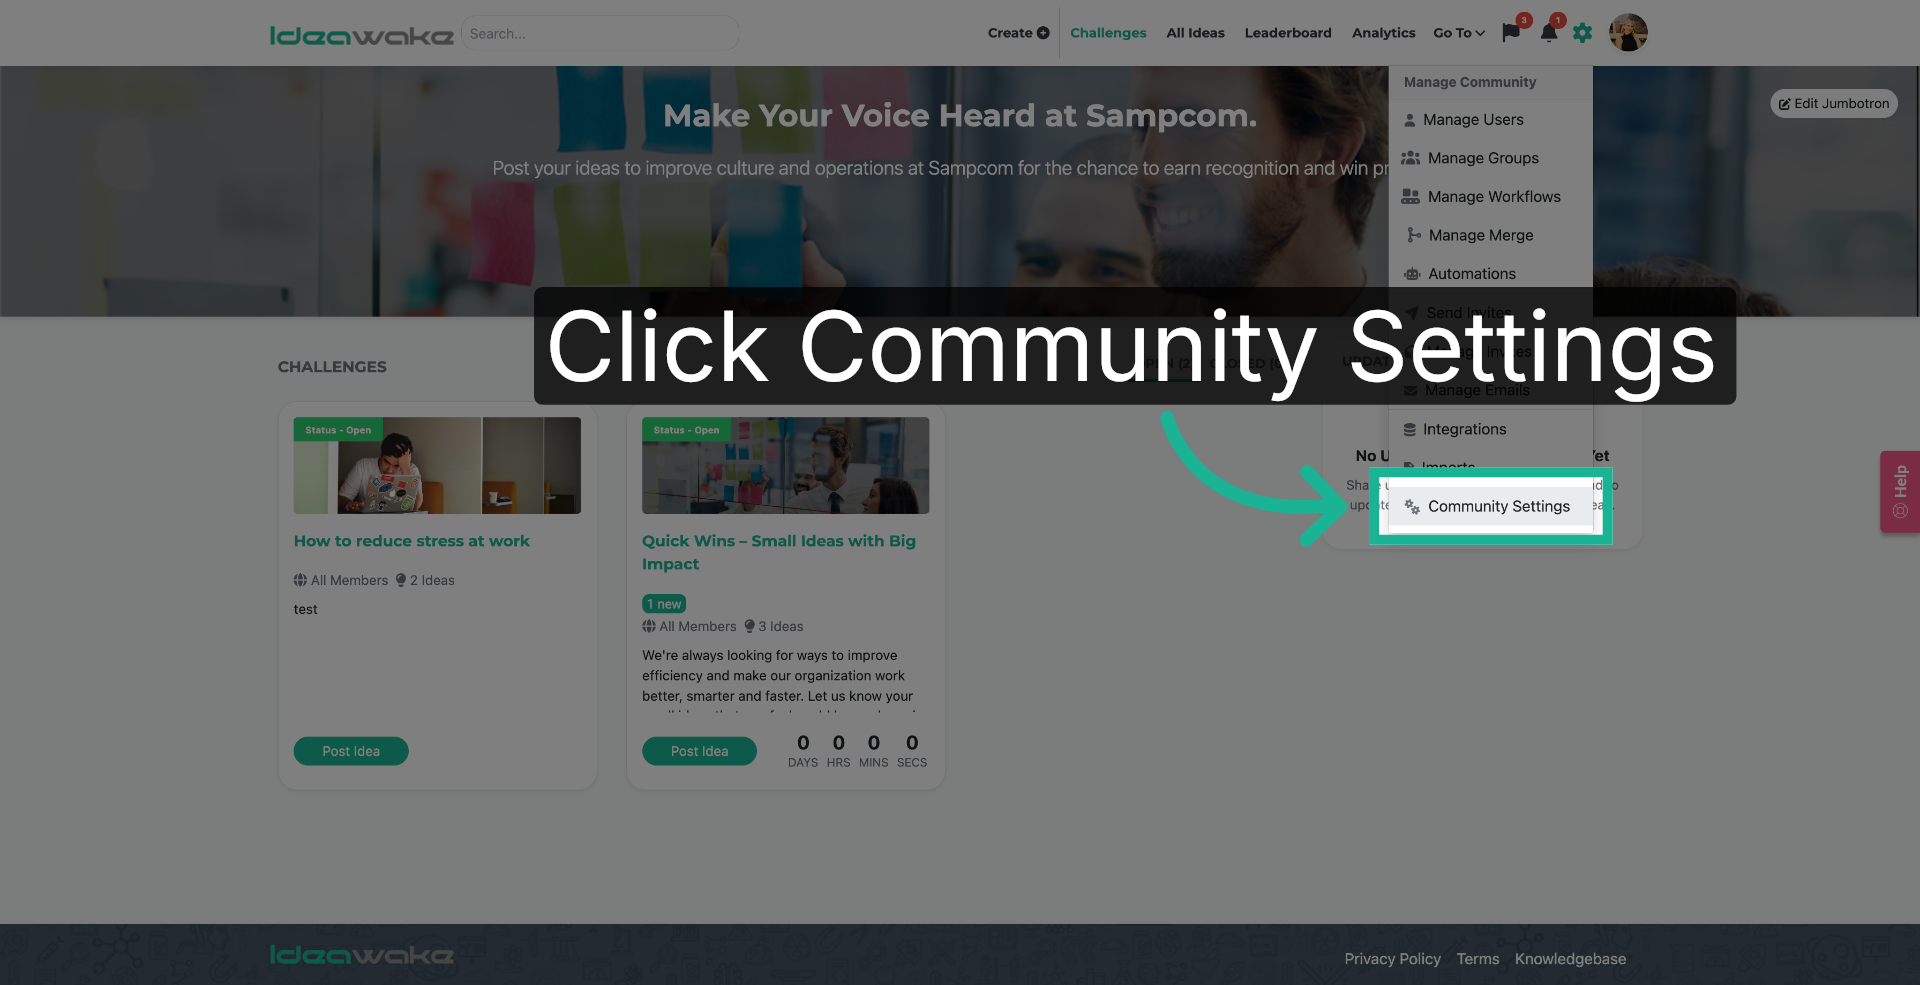
Navigate to and click on "Community Settings" from the drop down menu.
4. Click Here
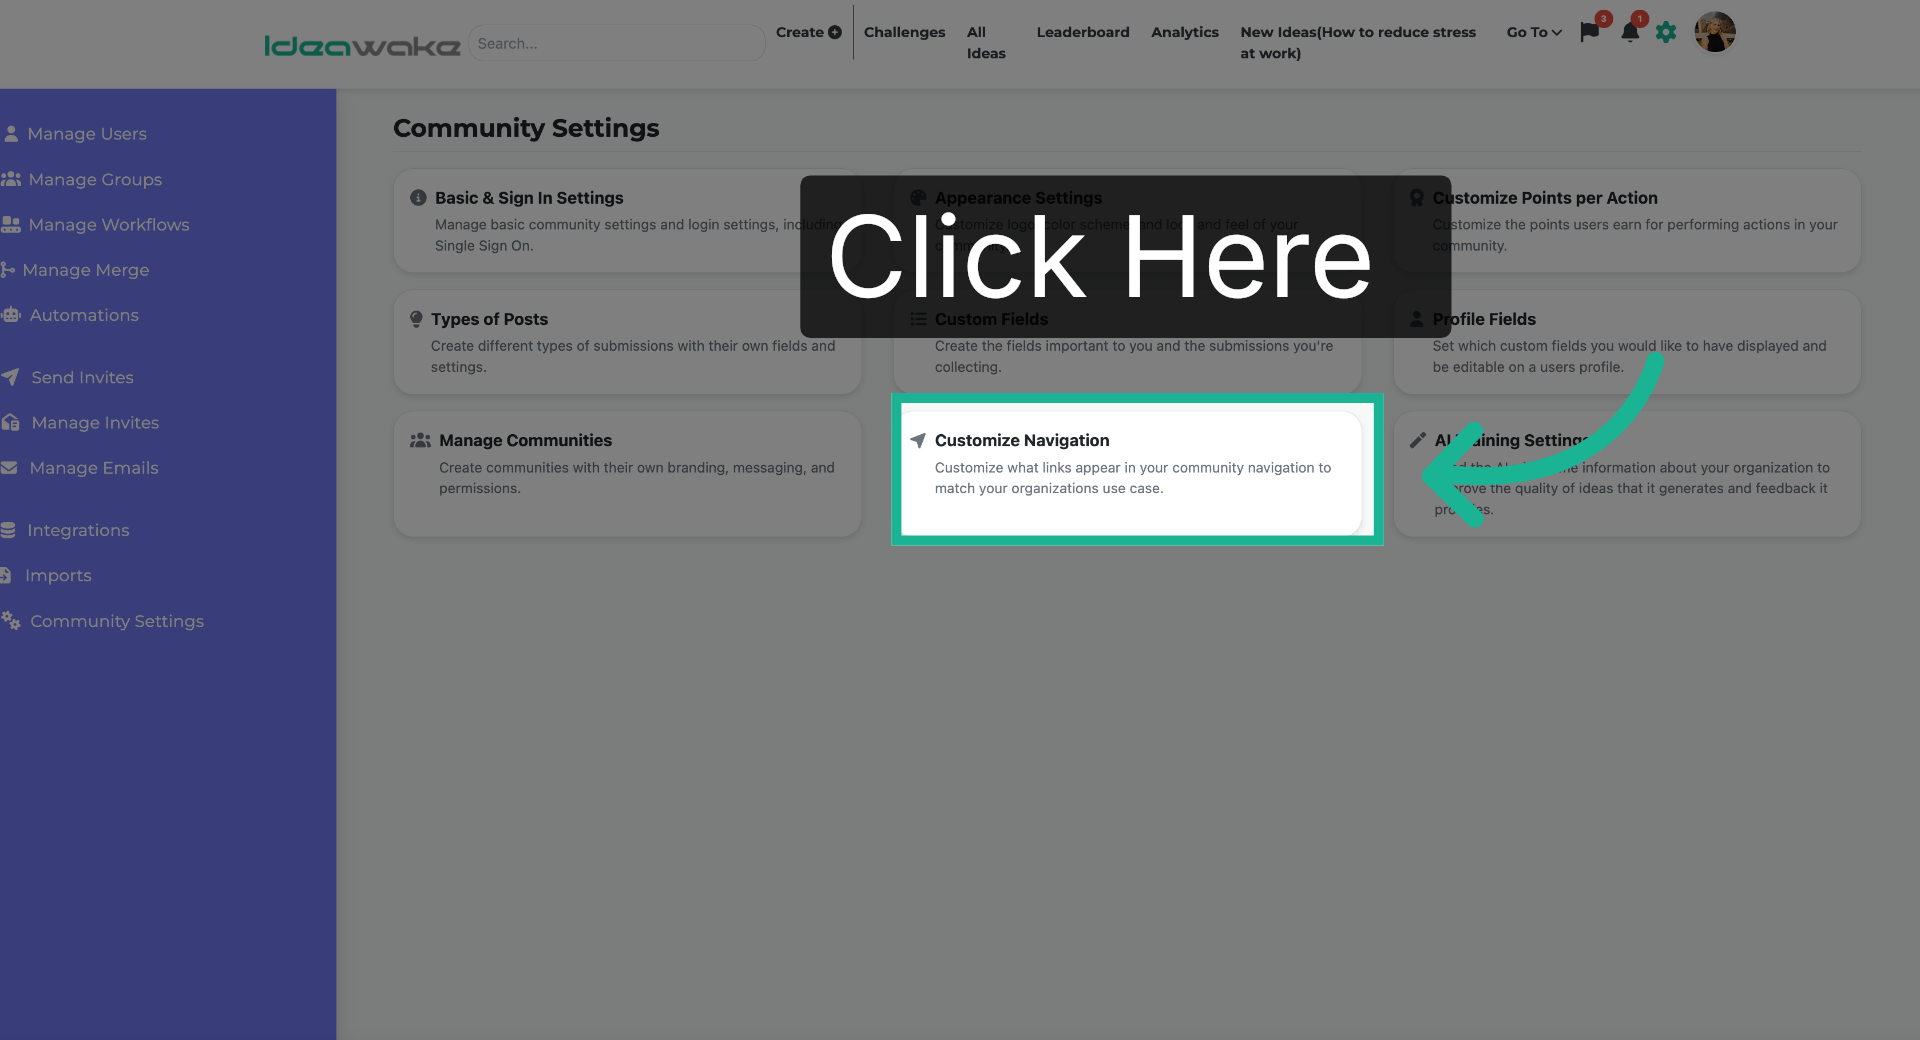
Click on "Customize Navigation".
5. Open Navigation Customization
You will land on the navigation customization page.
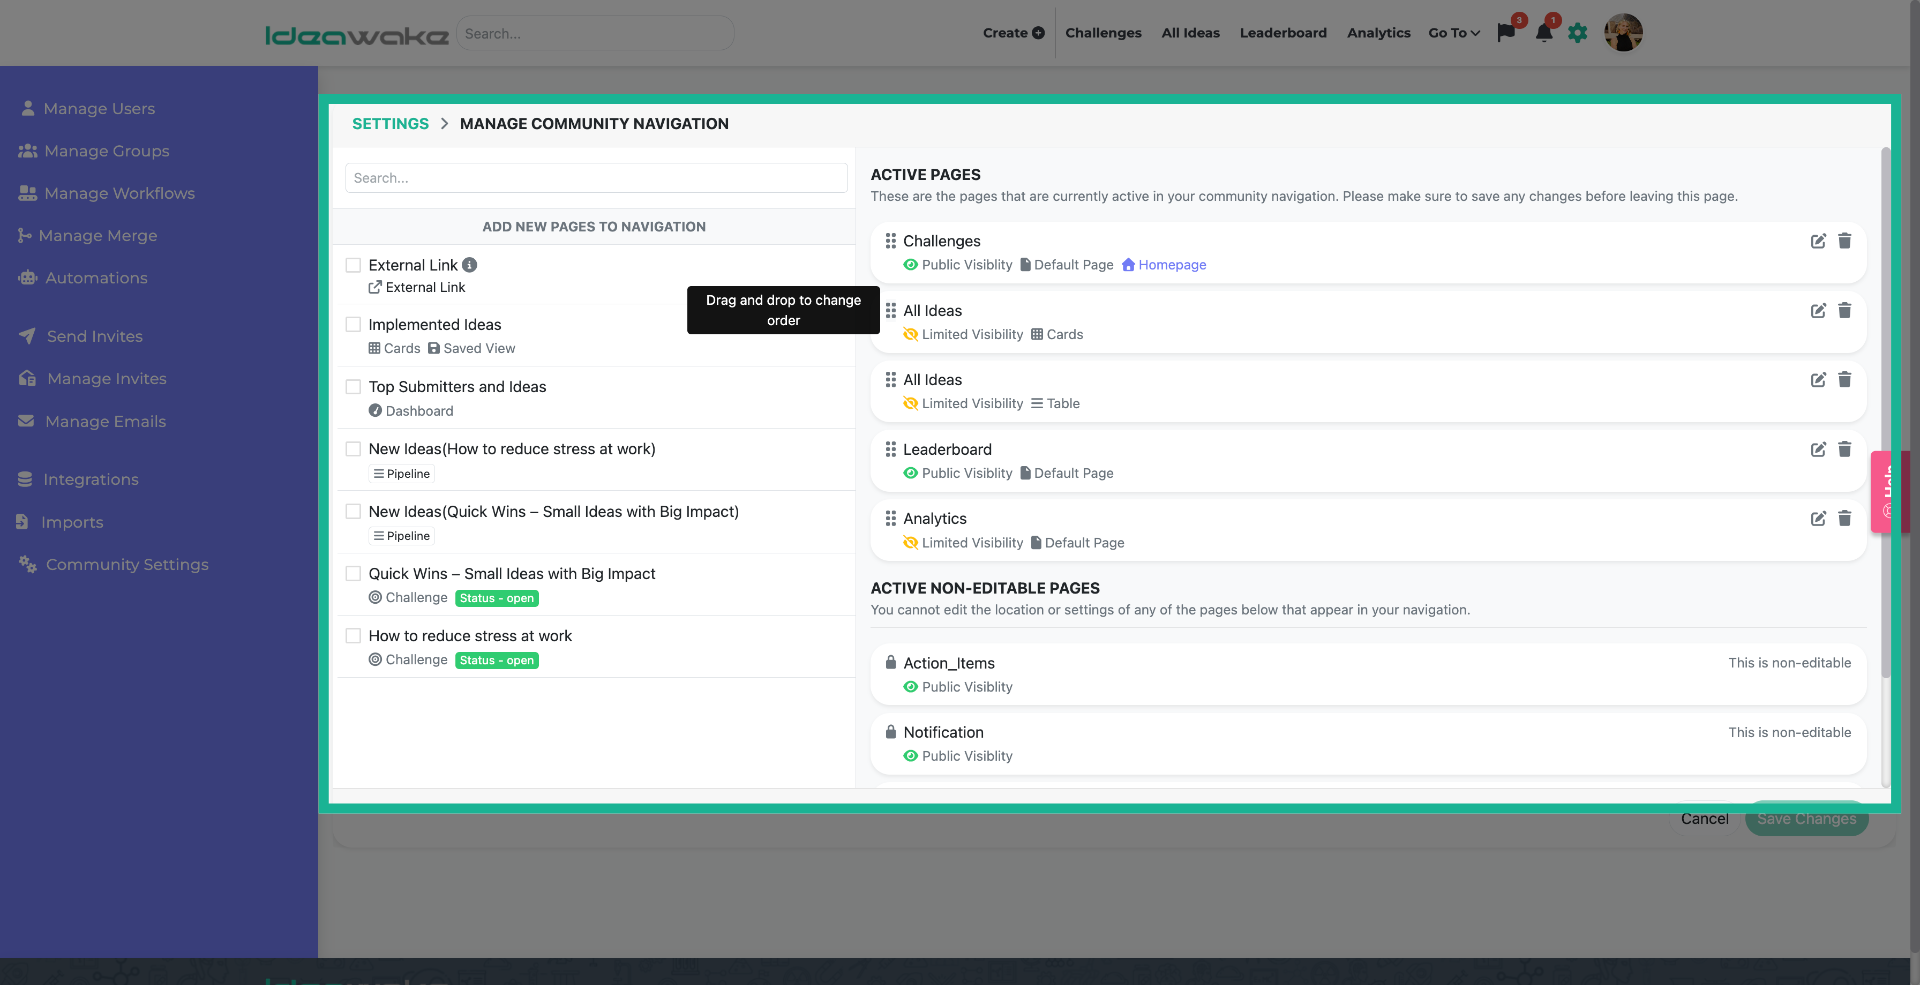
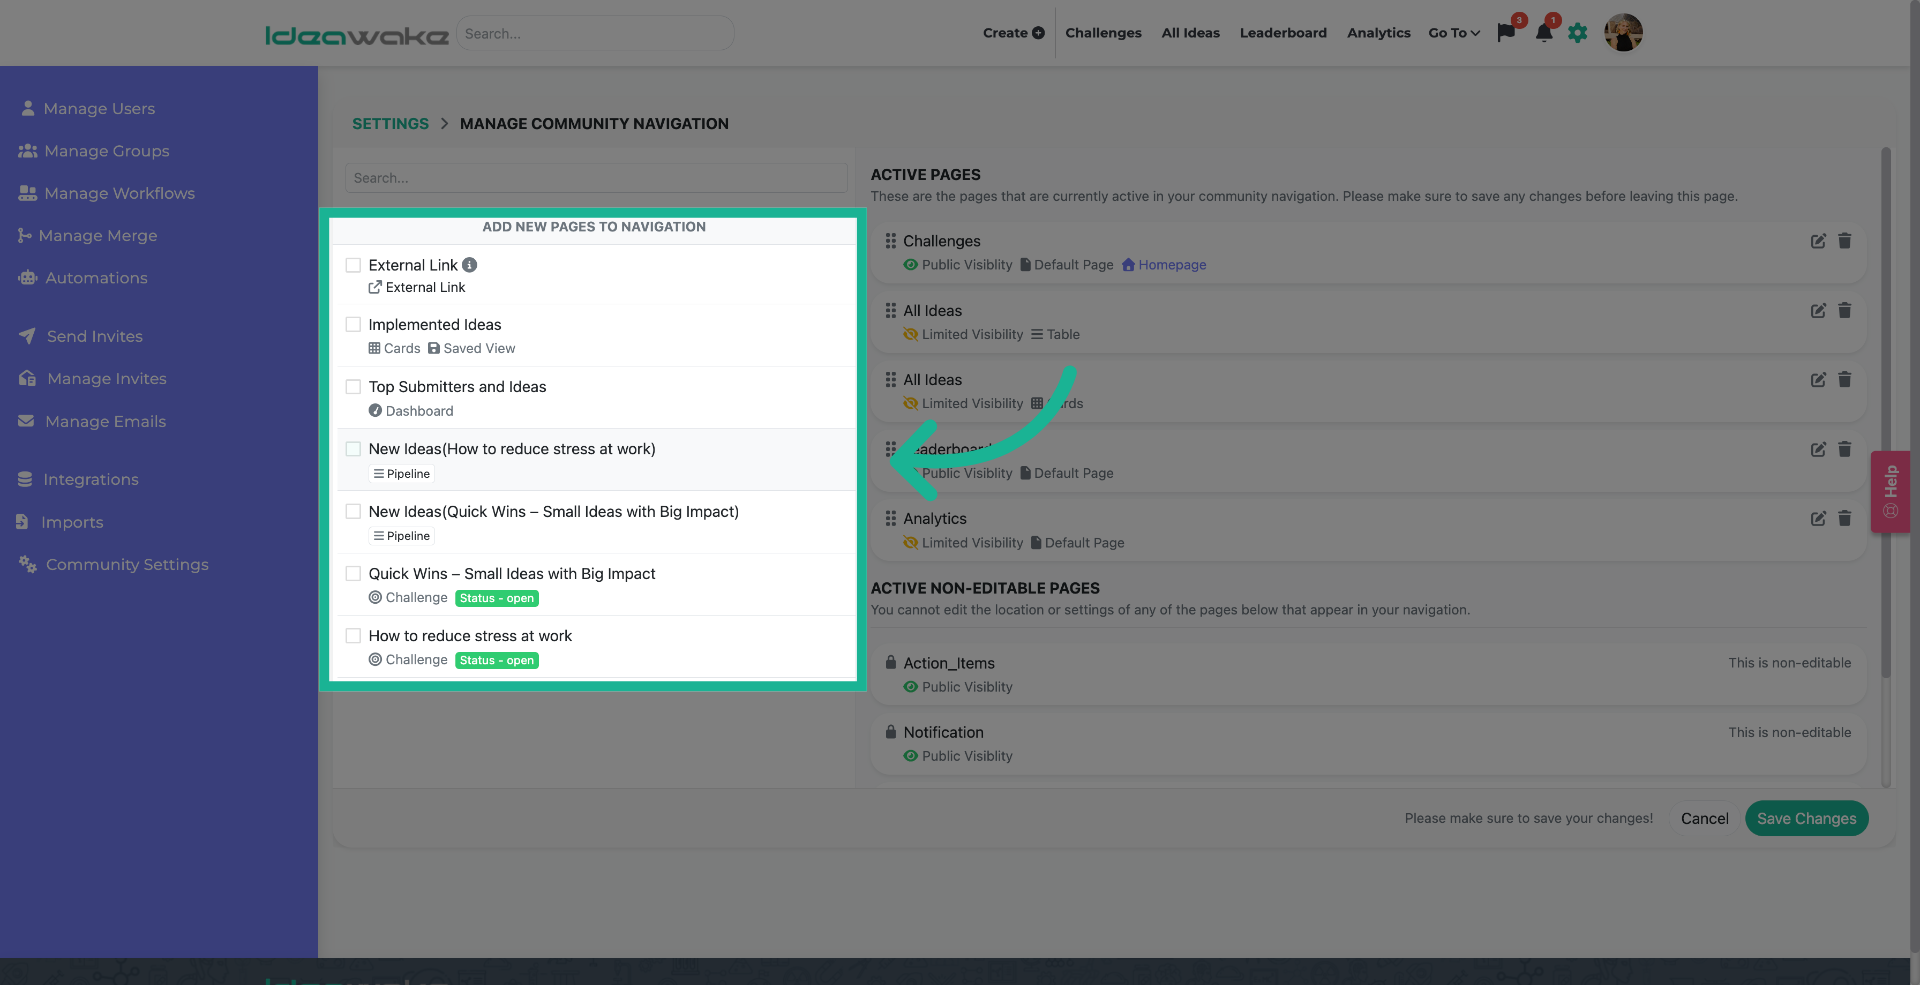
6. Select New Ideas Pipeline
These pages are currently not active on the menu bar. To add them, simply click on the empty check box and it will move over to the active page section
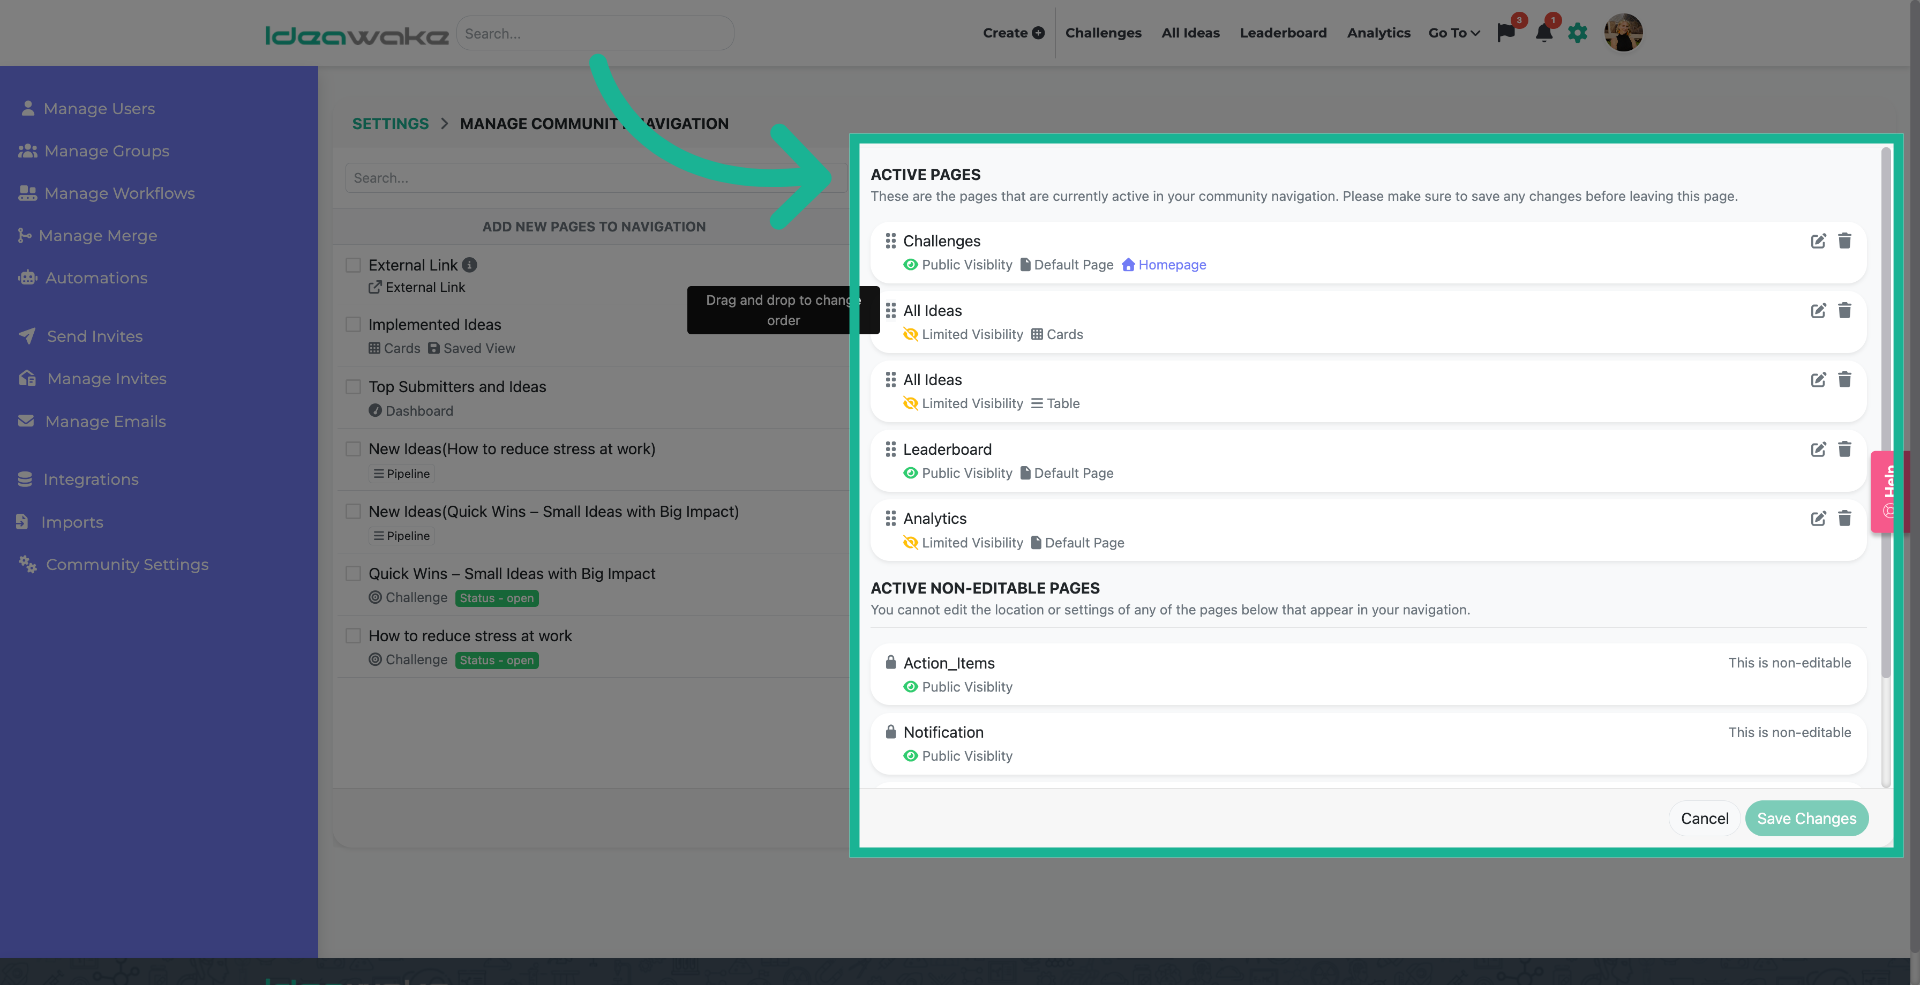
7. See the Active Pages section
This is where you will see all the current active pages on your community navigation bar.
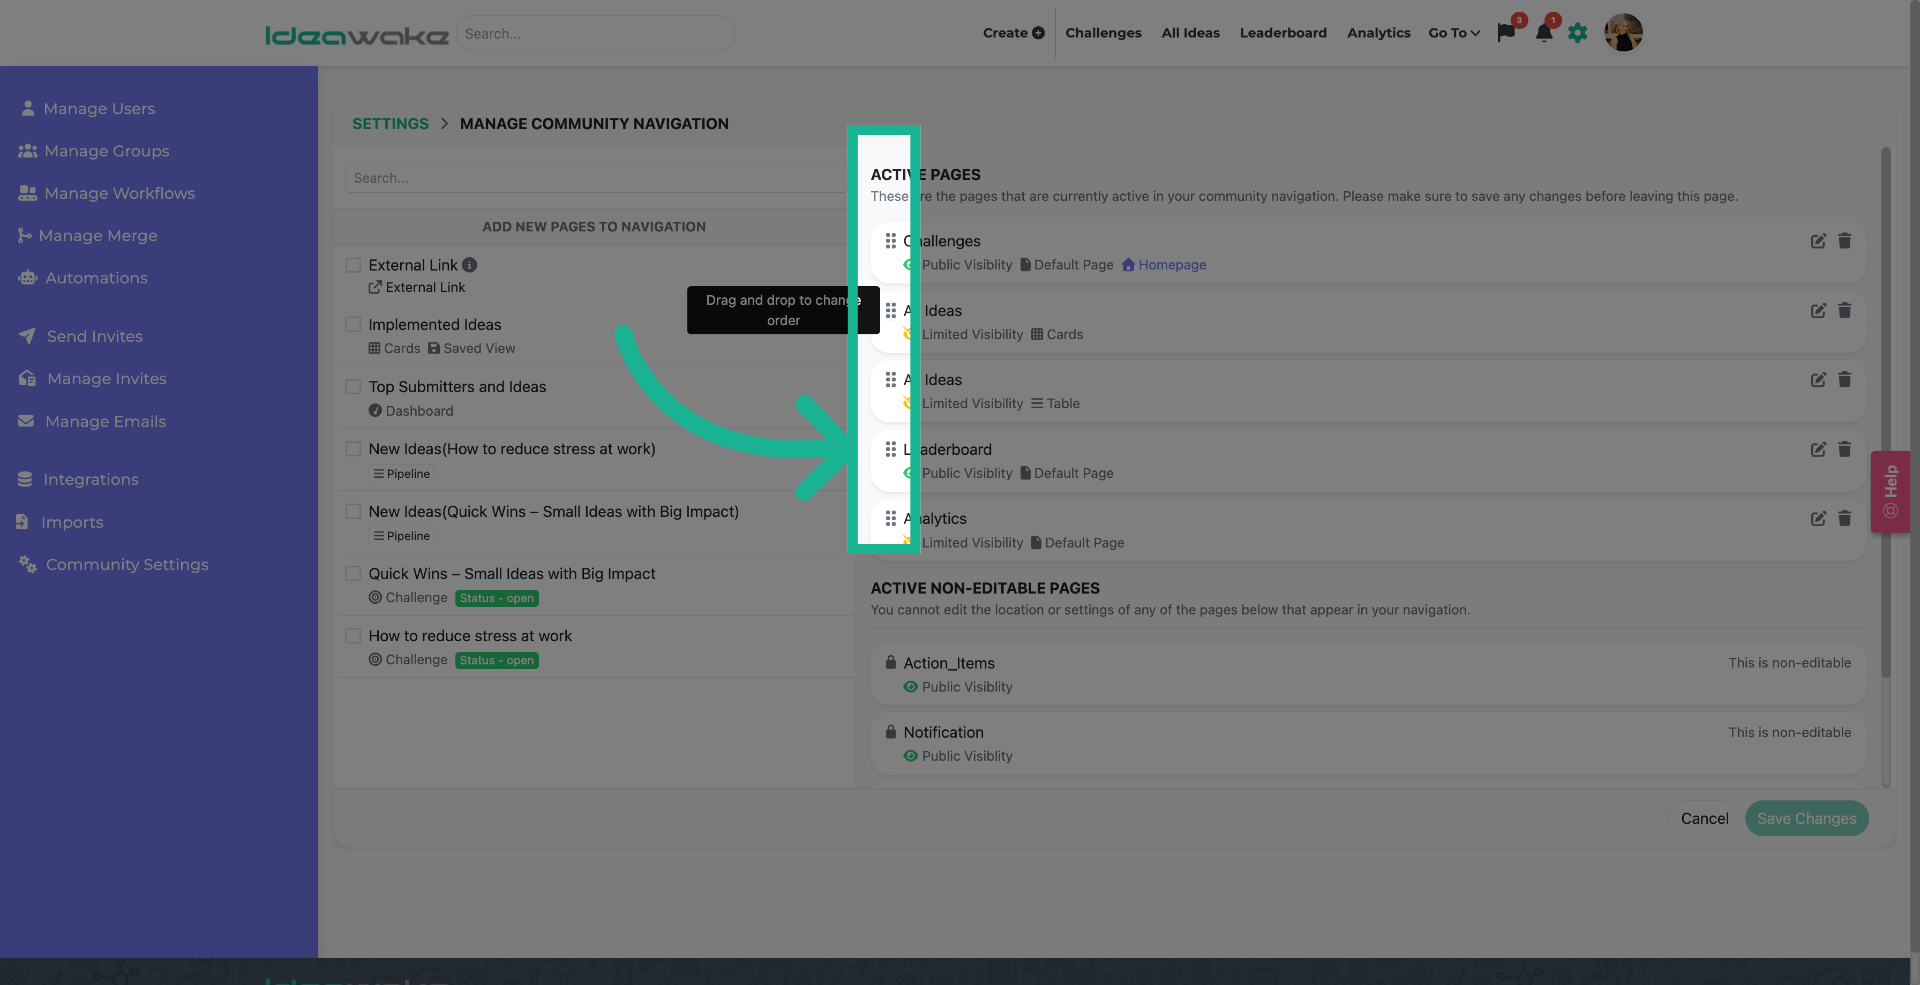
8. Open Navigation Customization
You can re-order the current pages by clicking on the 6 dots to the left of each page card and dragging it to the order you desire.
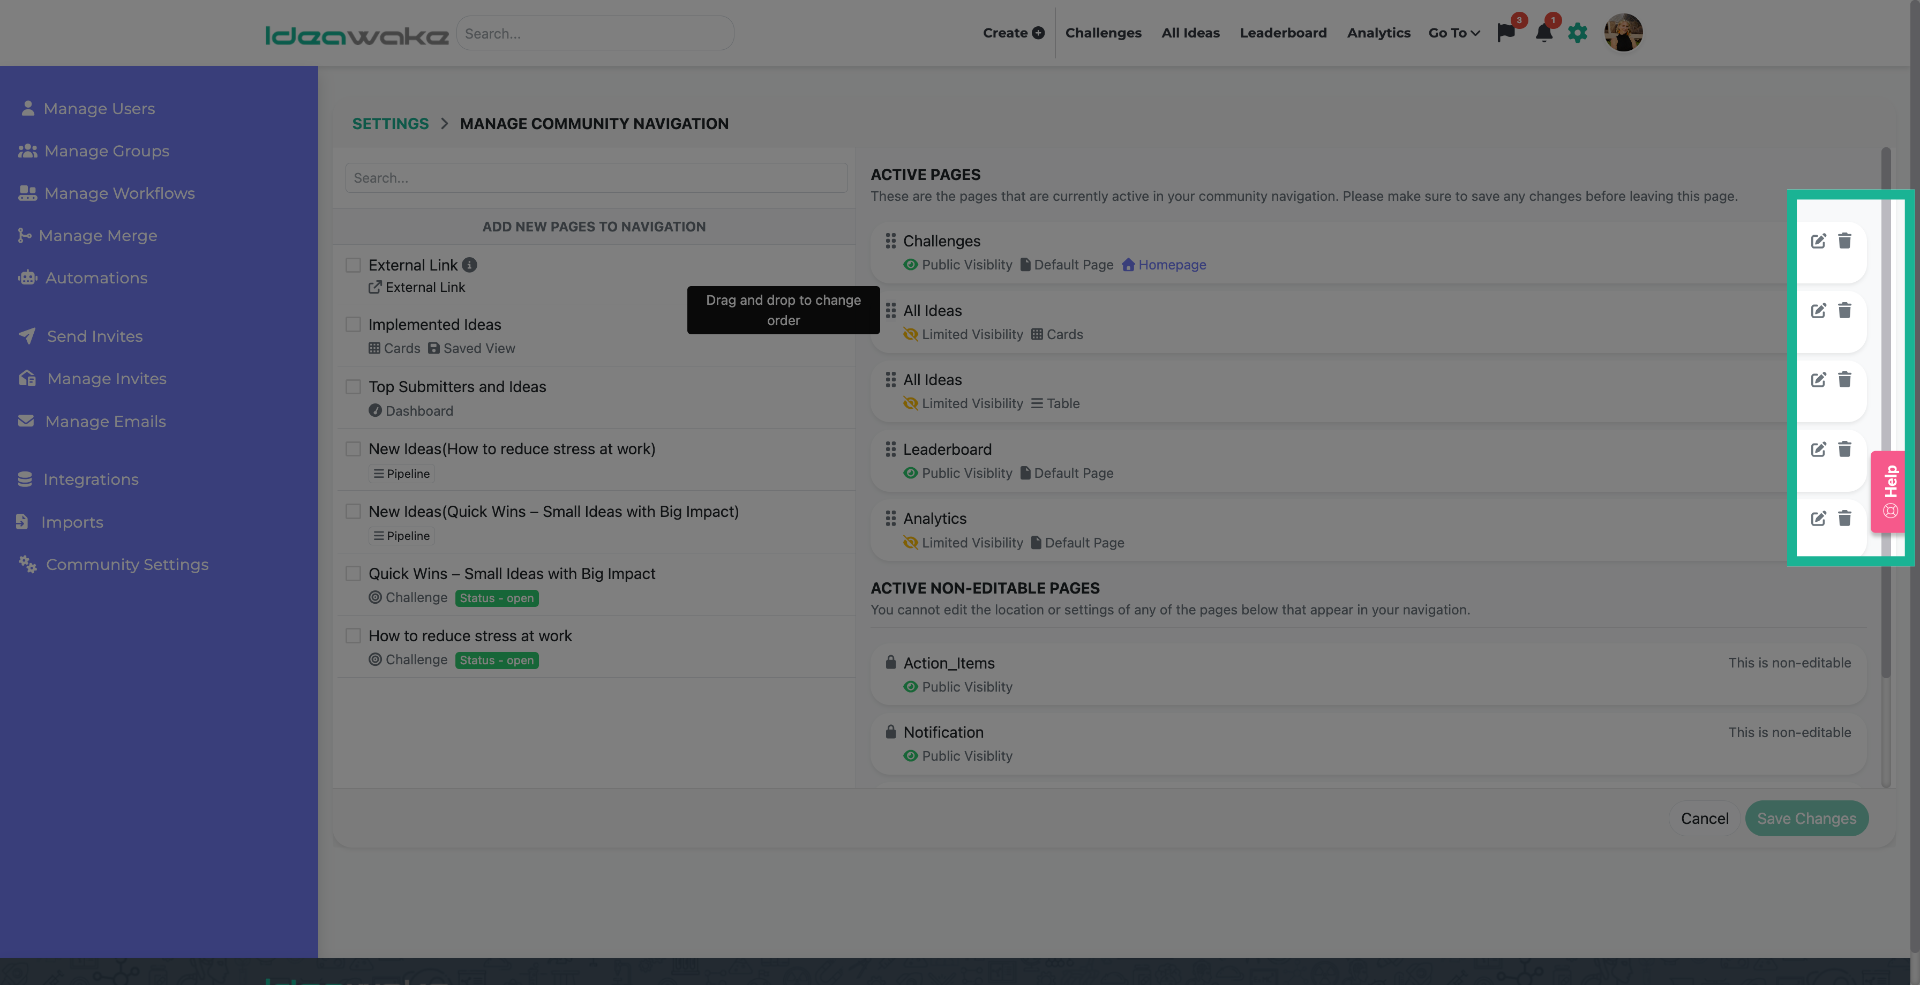
9. See edit/archive icons
This is where you can edit your current navigation bar menu tabs.
10. Proceed to Next Navigation Step
To edit, click on the notepad icon.
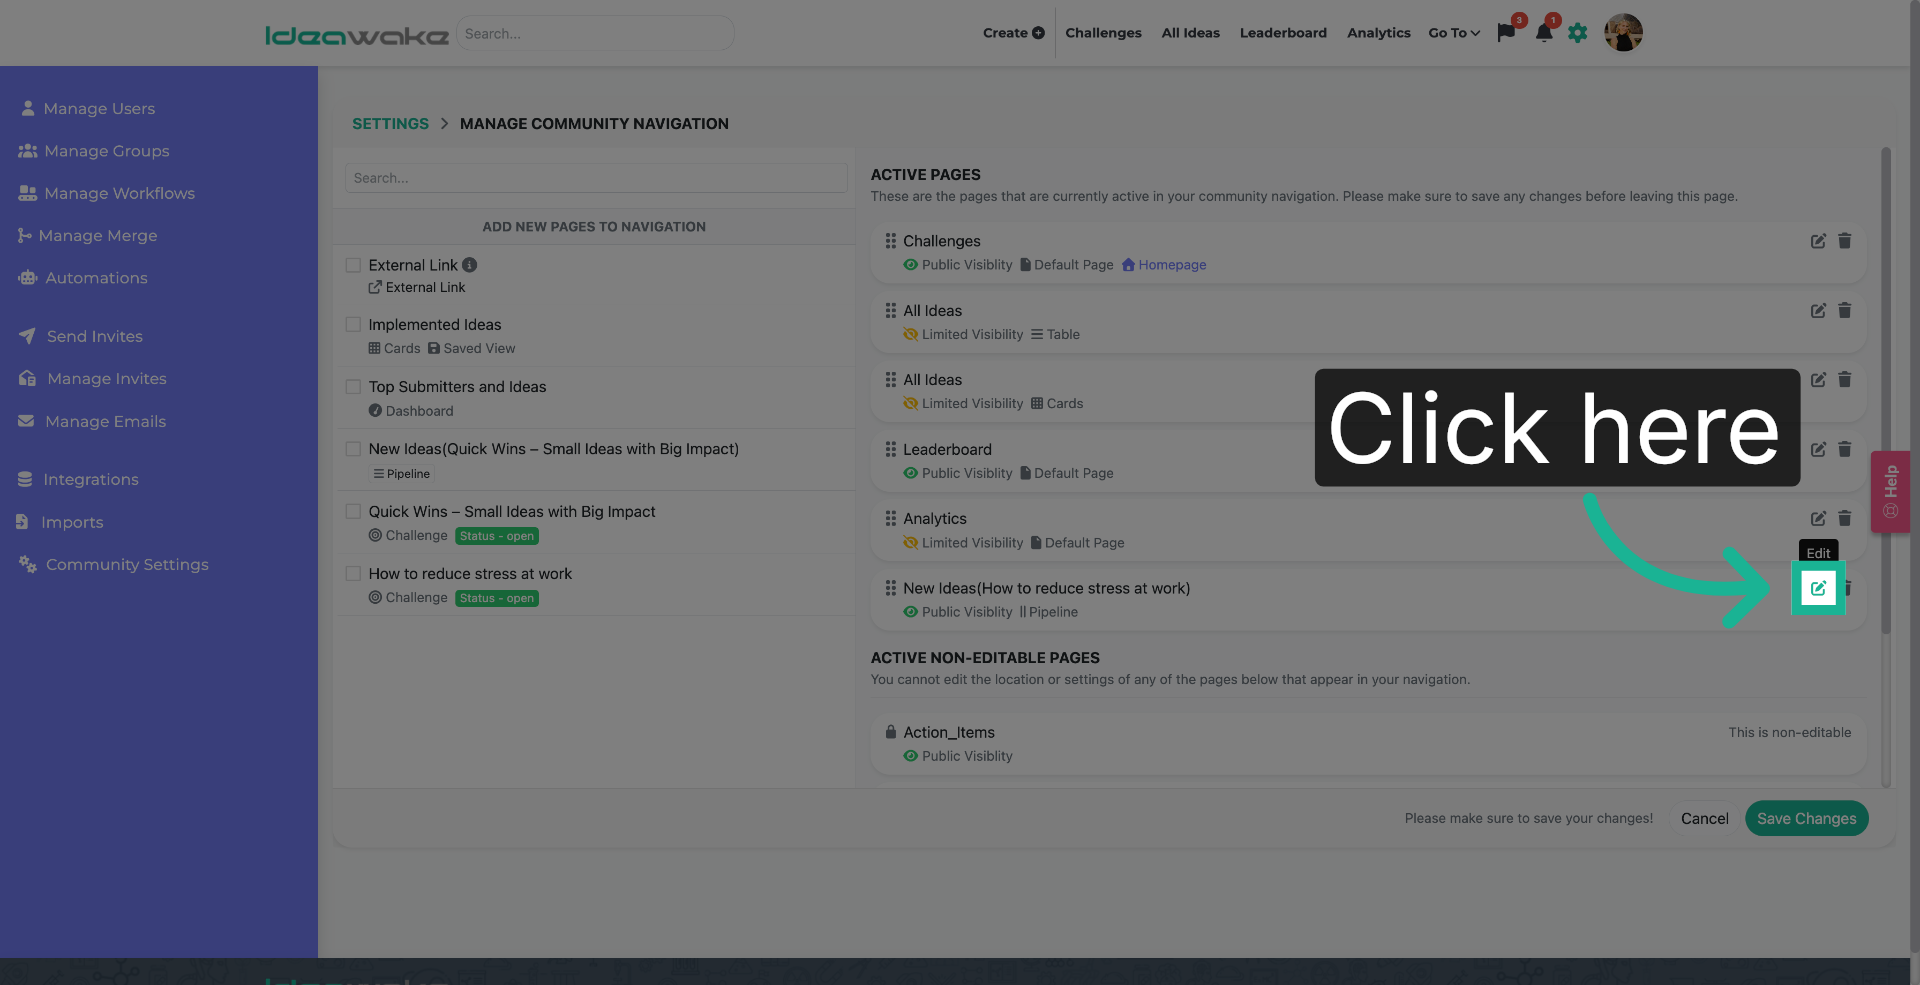
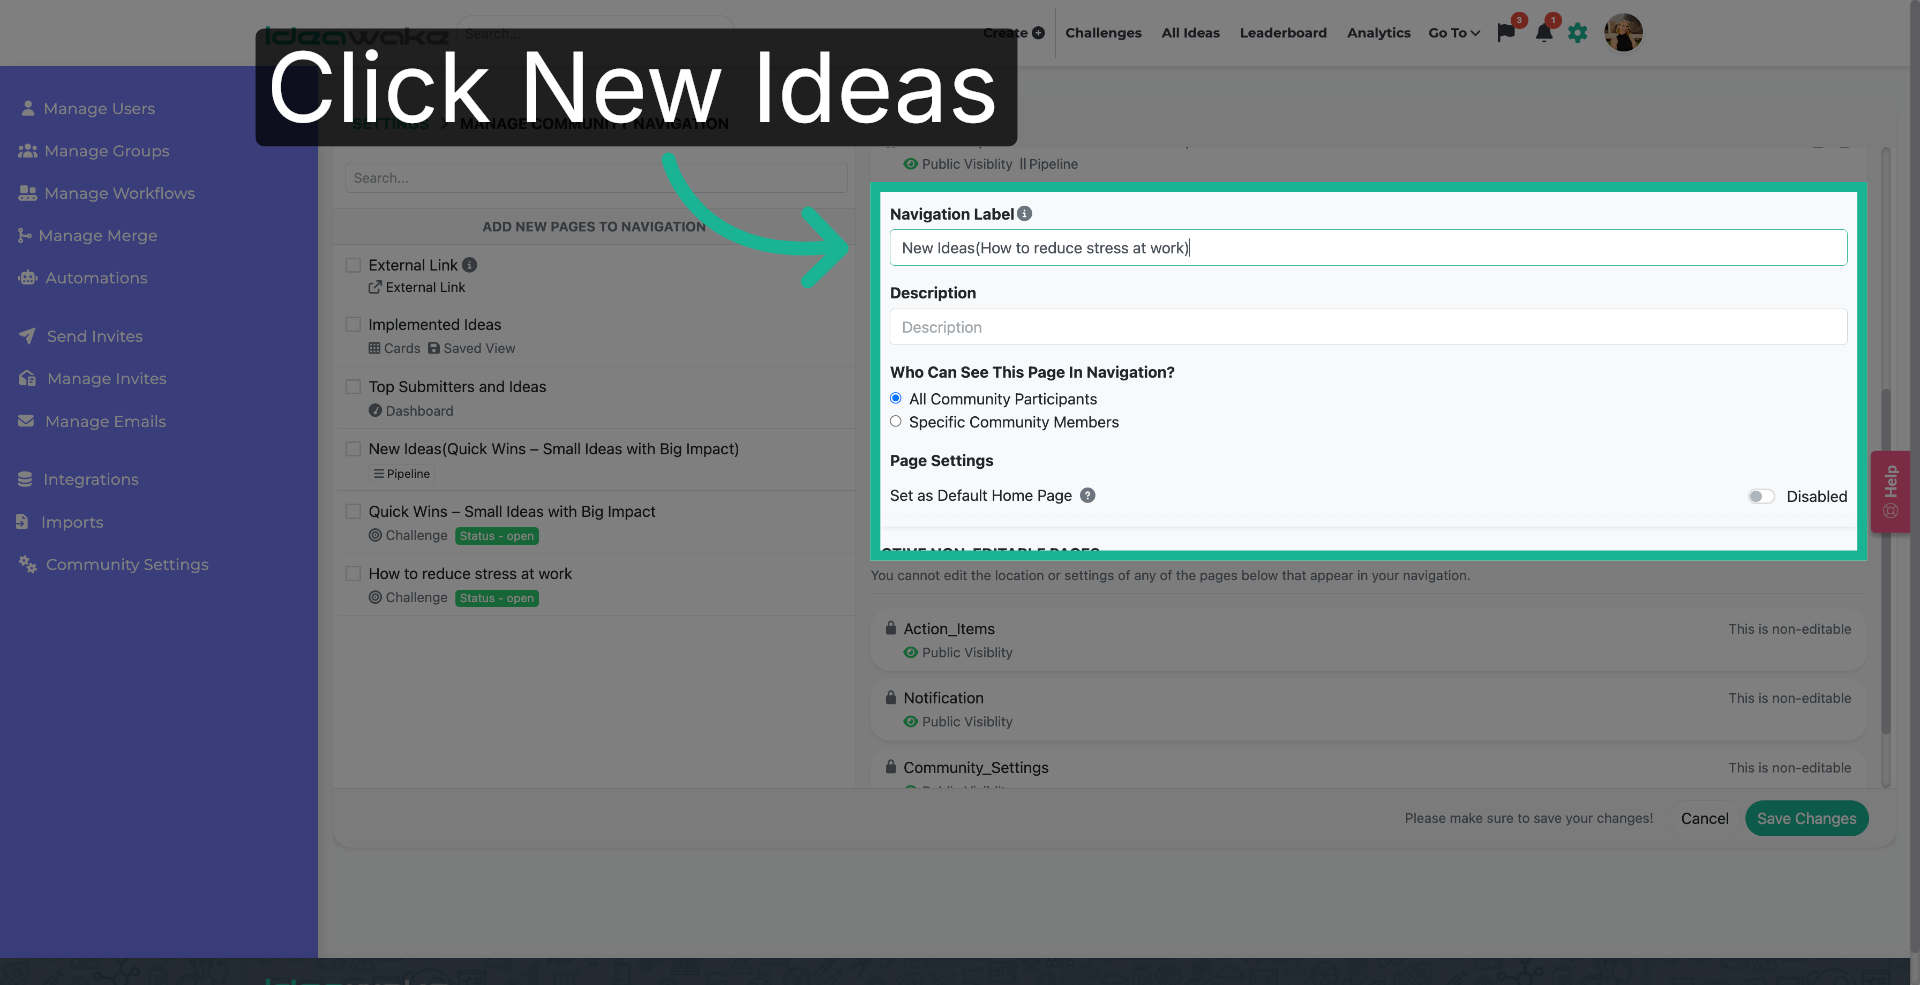
11. Update Navigation Label Settings
The navigation tab page will open where you can relabel or change who can see the tab.
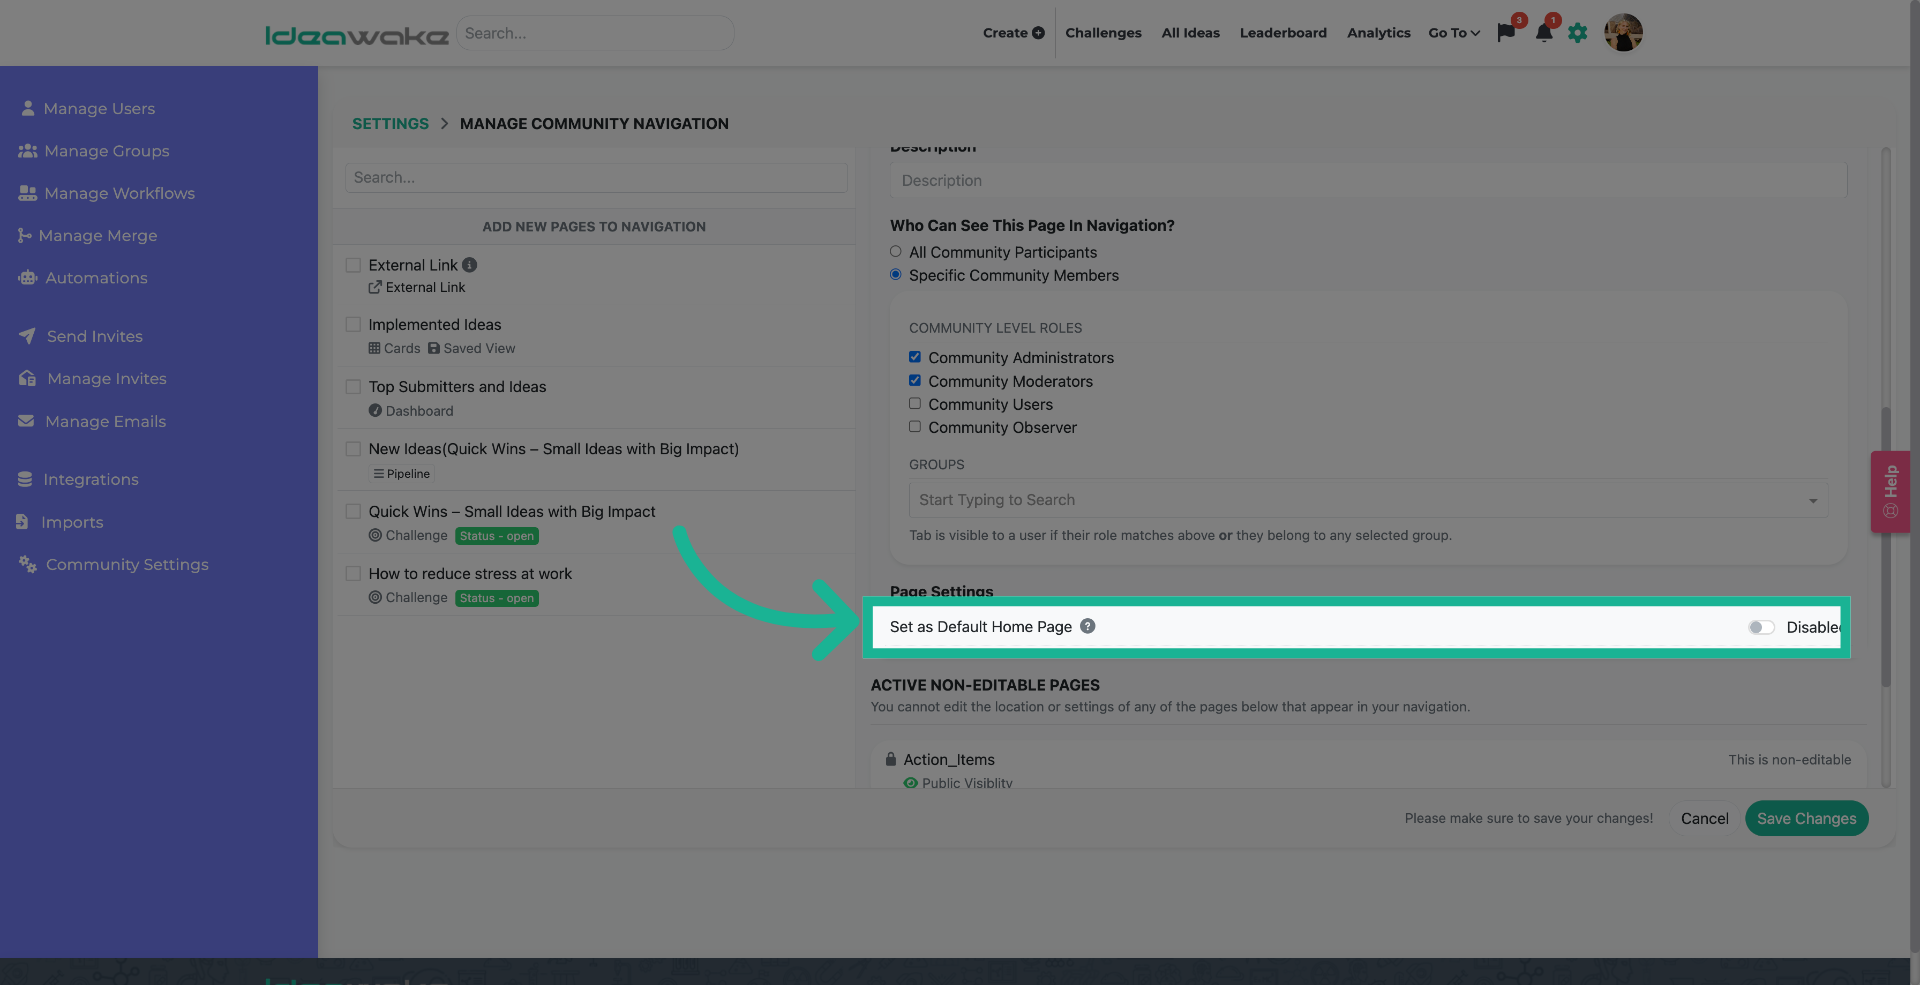
12. Selecting a homepage
You can enable making a specific tab the default home page by clicking on the toggle next to disabled.
13. Save Navigation Changes
Click the "Save Changes" button when ready.
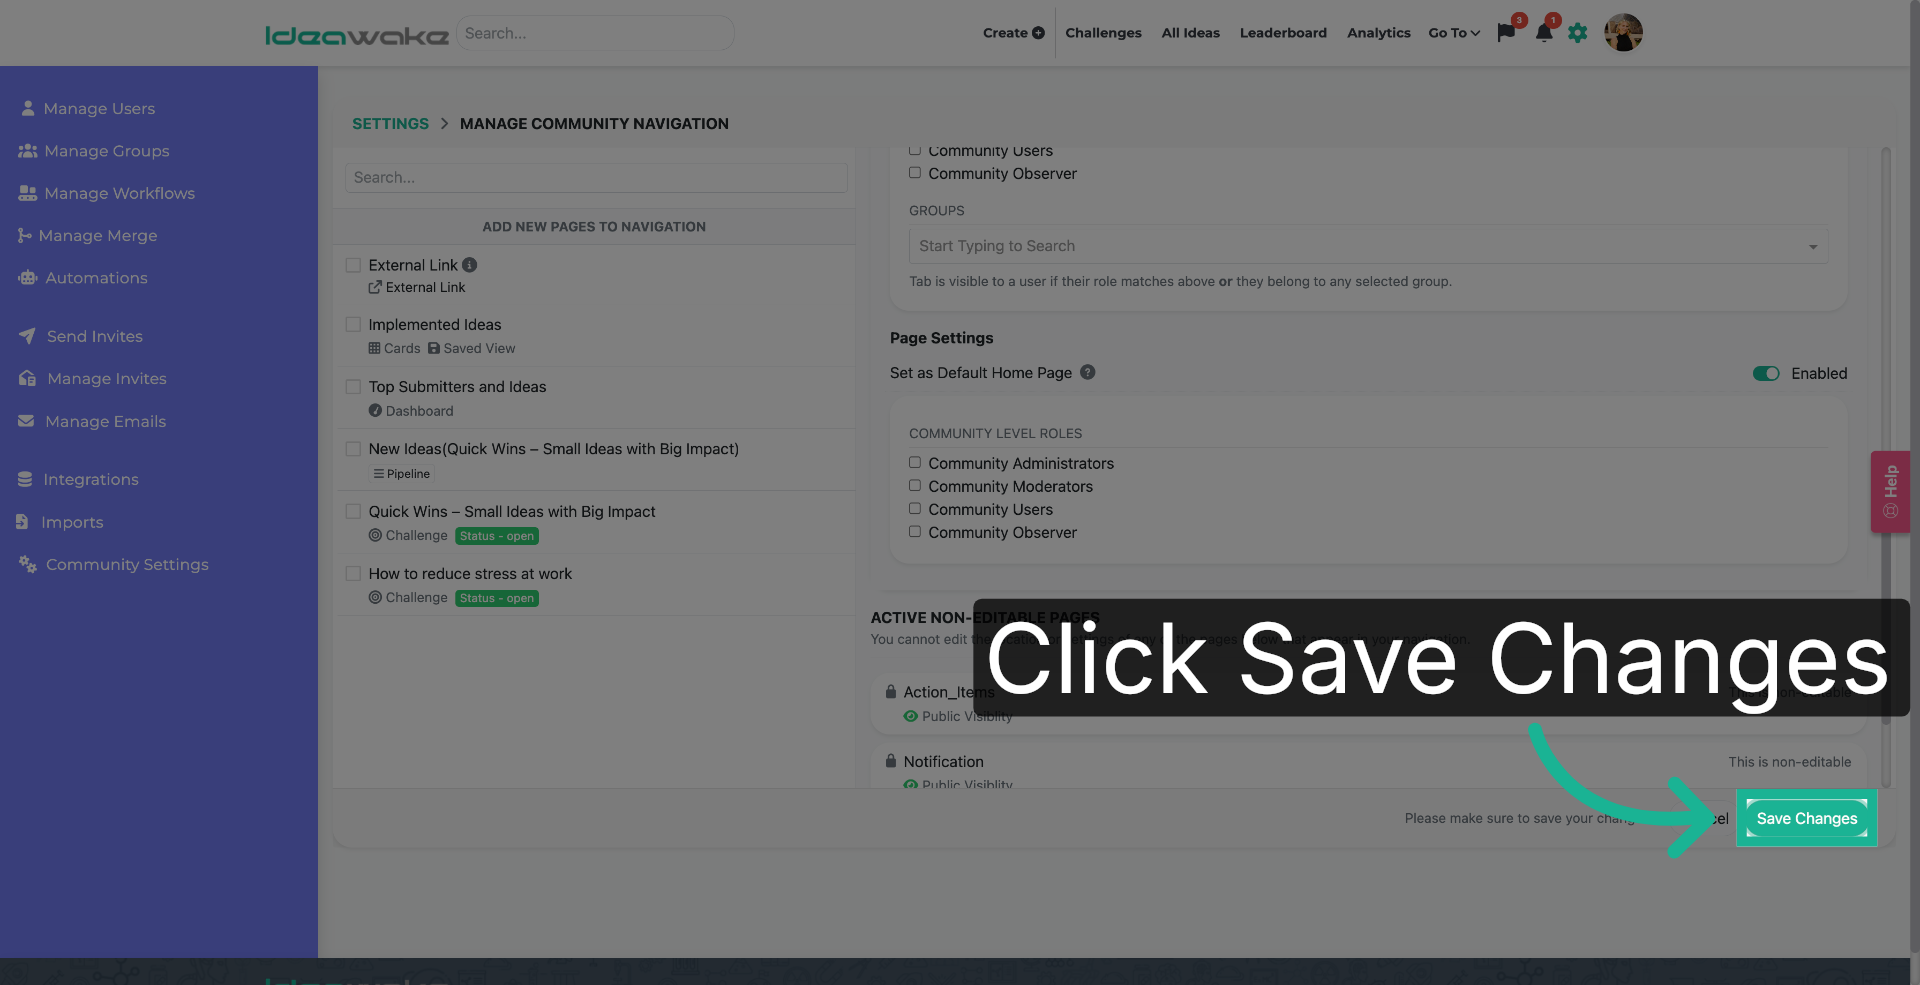
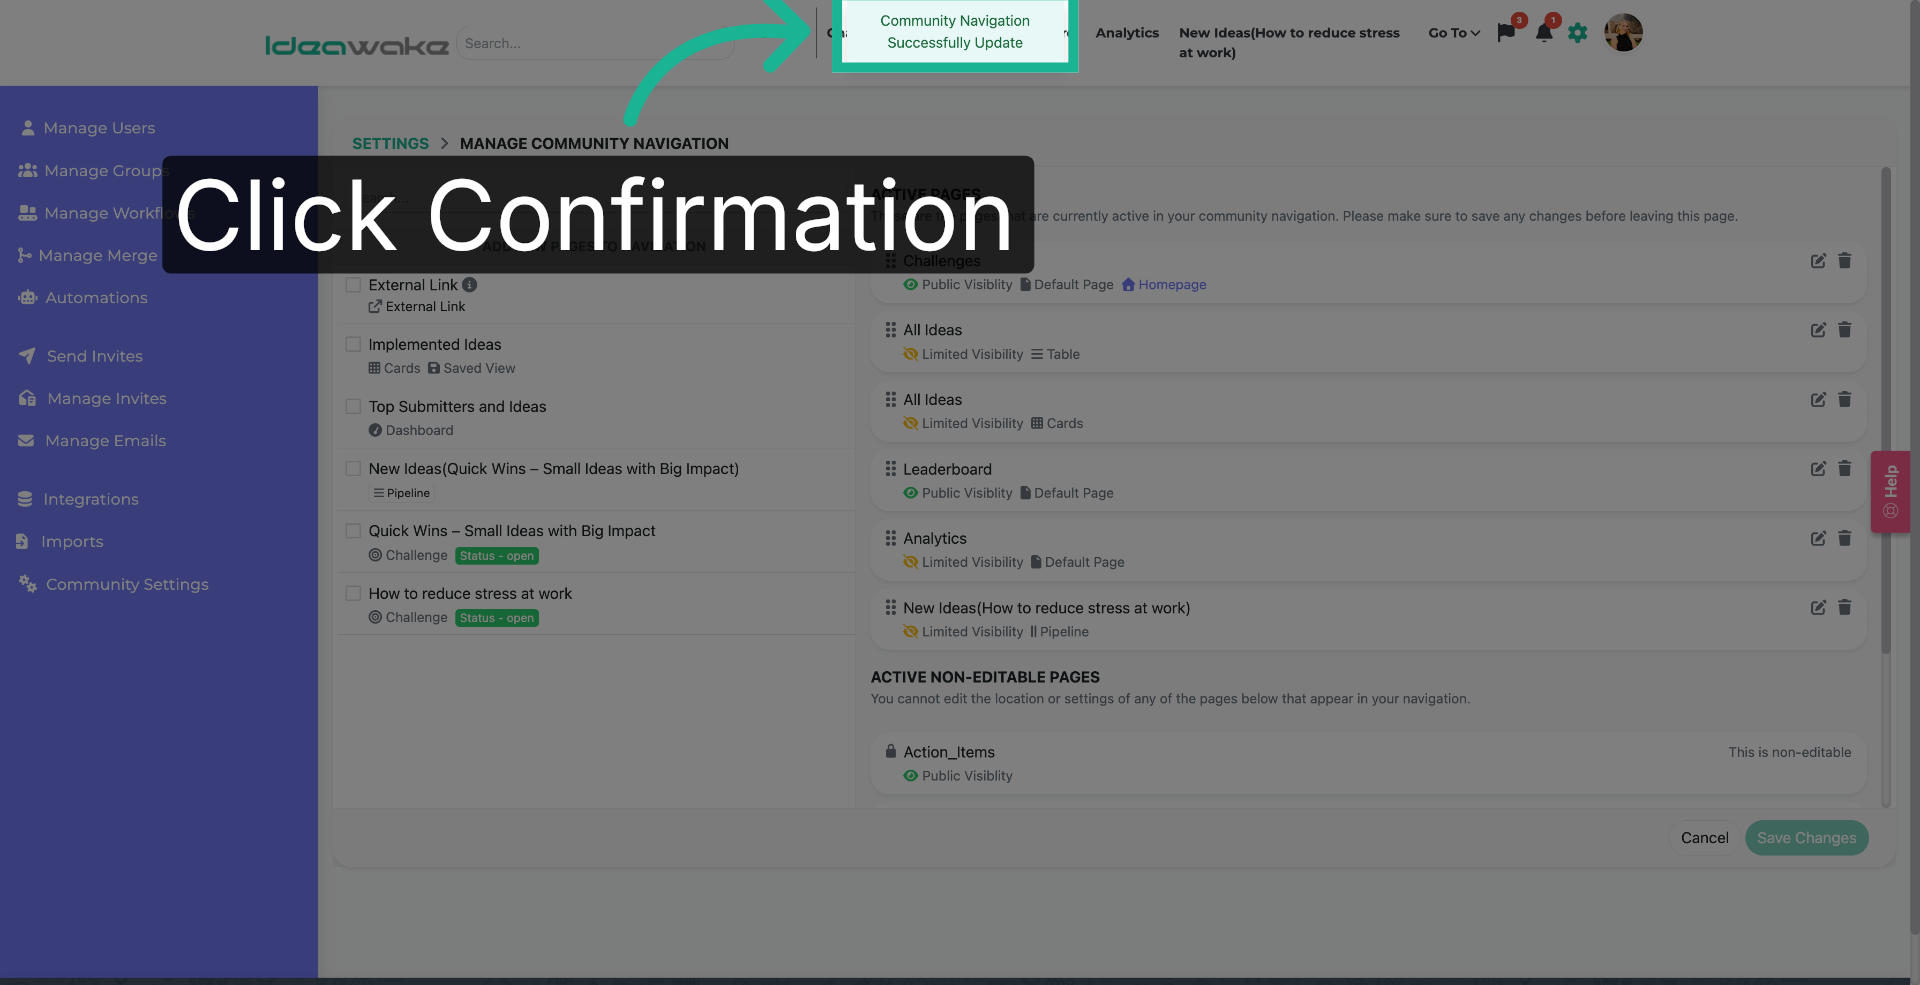
14. Confirm Navigation Update
See setting confirmation update.
You have successfully learned how to update the community navigation settings.