![ideawake-logo-simple-no-padding-1.png]](https://academy.ideawake.com/hs-fs/hubfs/ideawake-logo-simple-no-padding-1.png?height=30&name=ideawake-logo-simple-no-padding-1.png)
Create New Post Type
This tutorial guides you through creating a new post type.
Go to sampcom.ideawake.com
1. Access Community Settings Menu
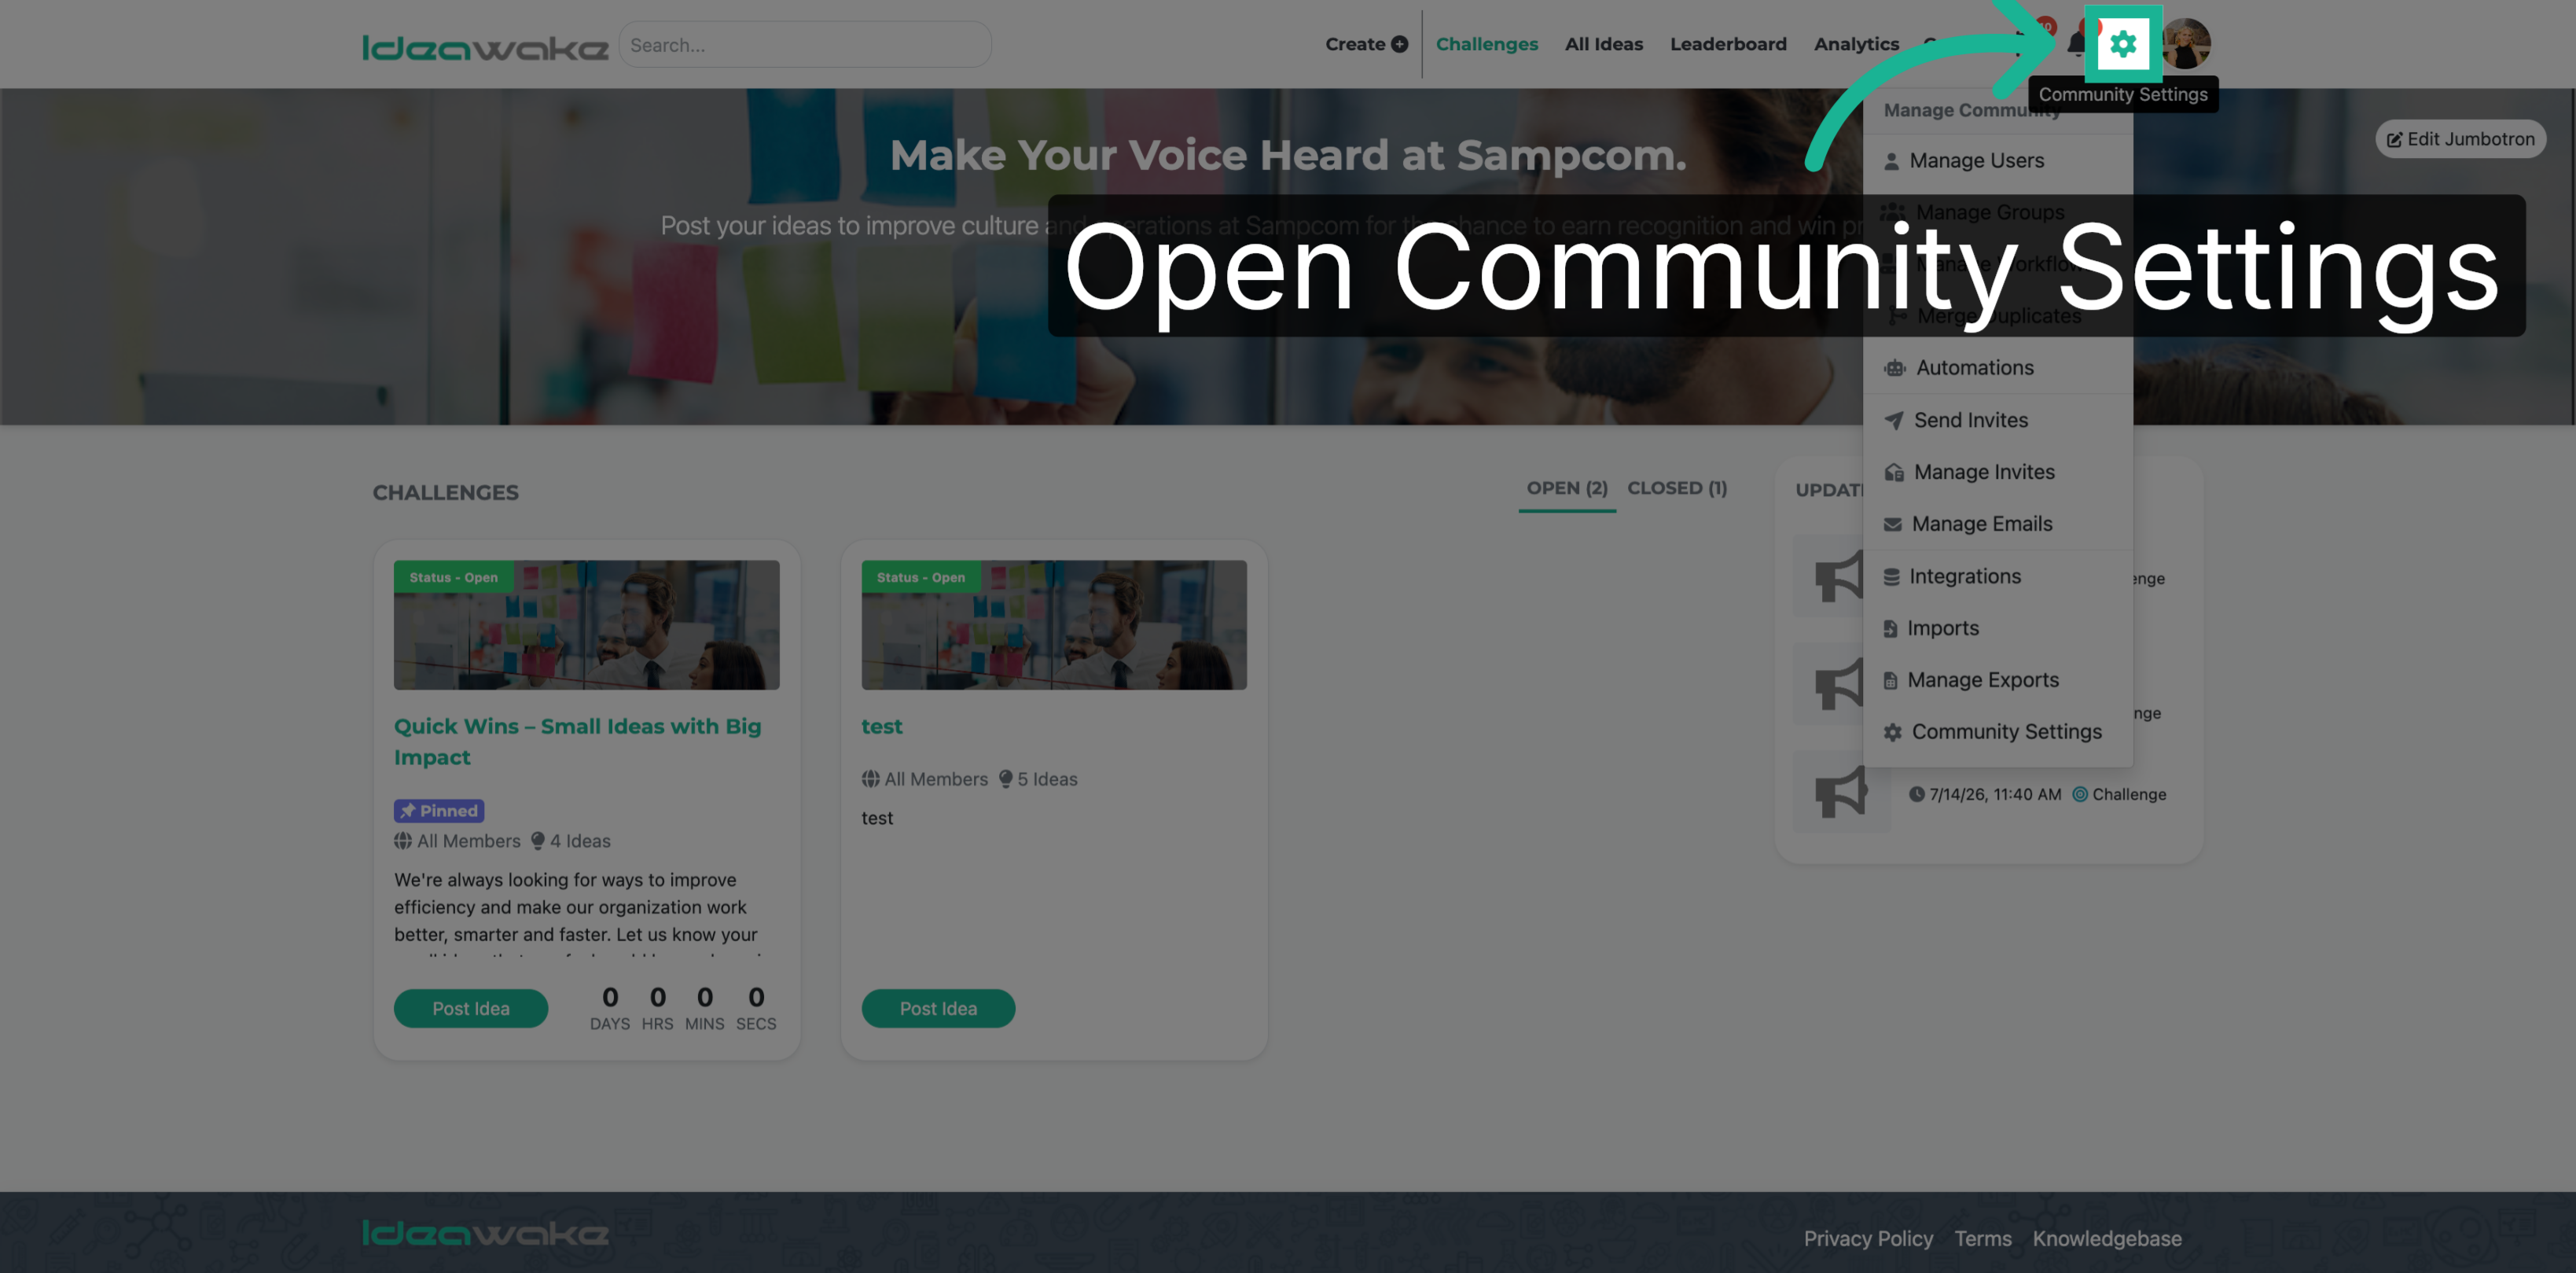
Click on the gear icon in the right hand corner to open the community settings menu.
2. Open Community Settings Section
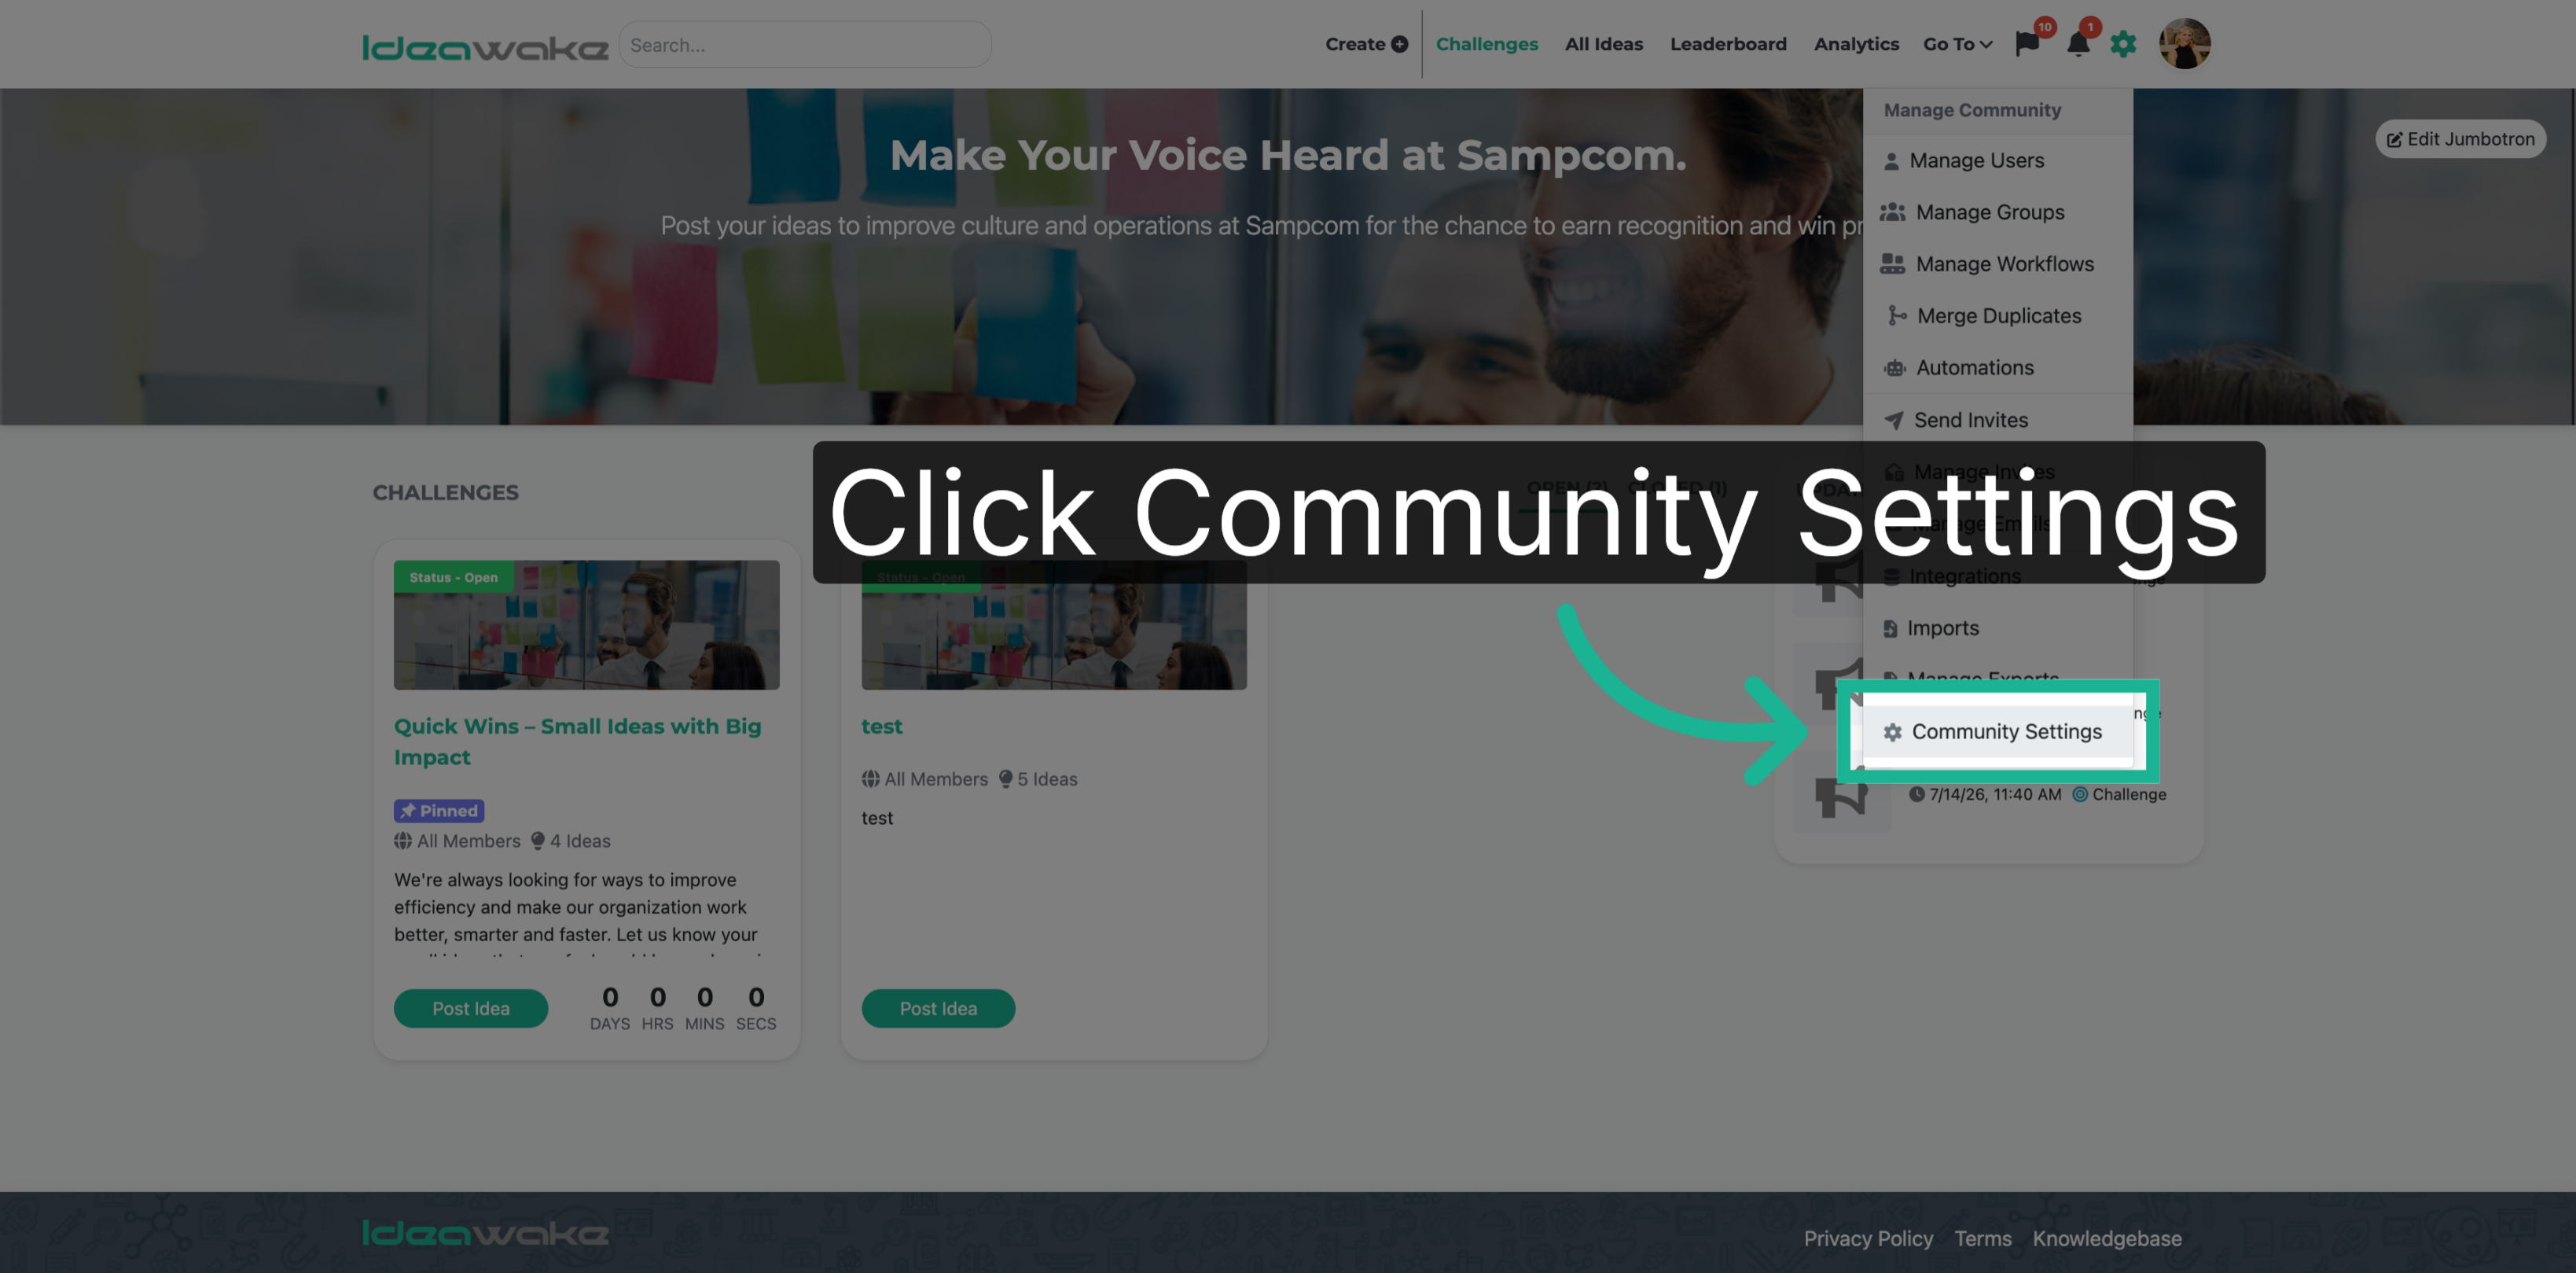
Navigate to and click on 'community settings' on the drop down menu.
3. Manage Submission Types
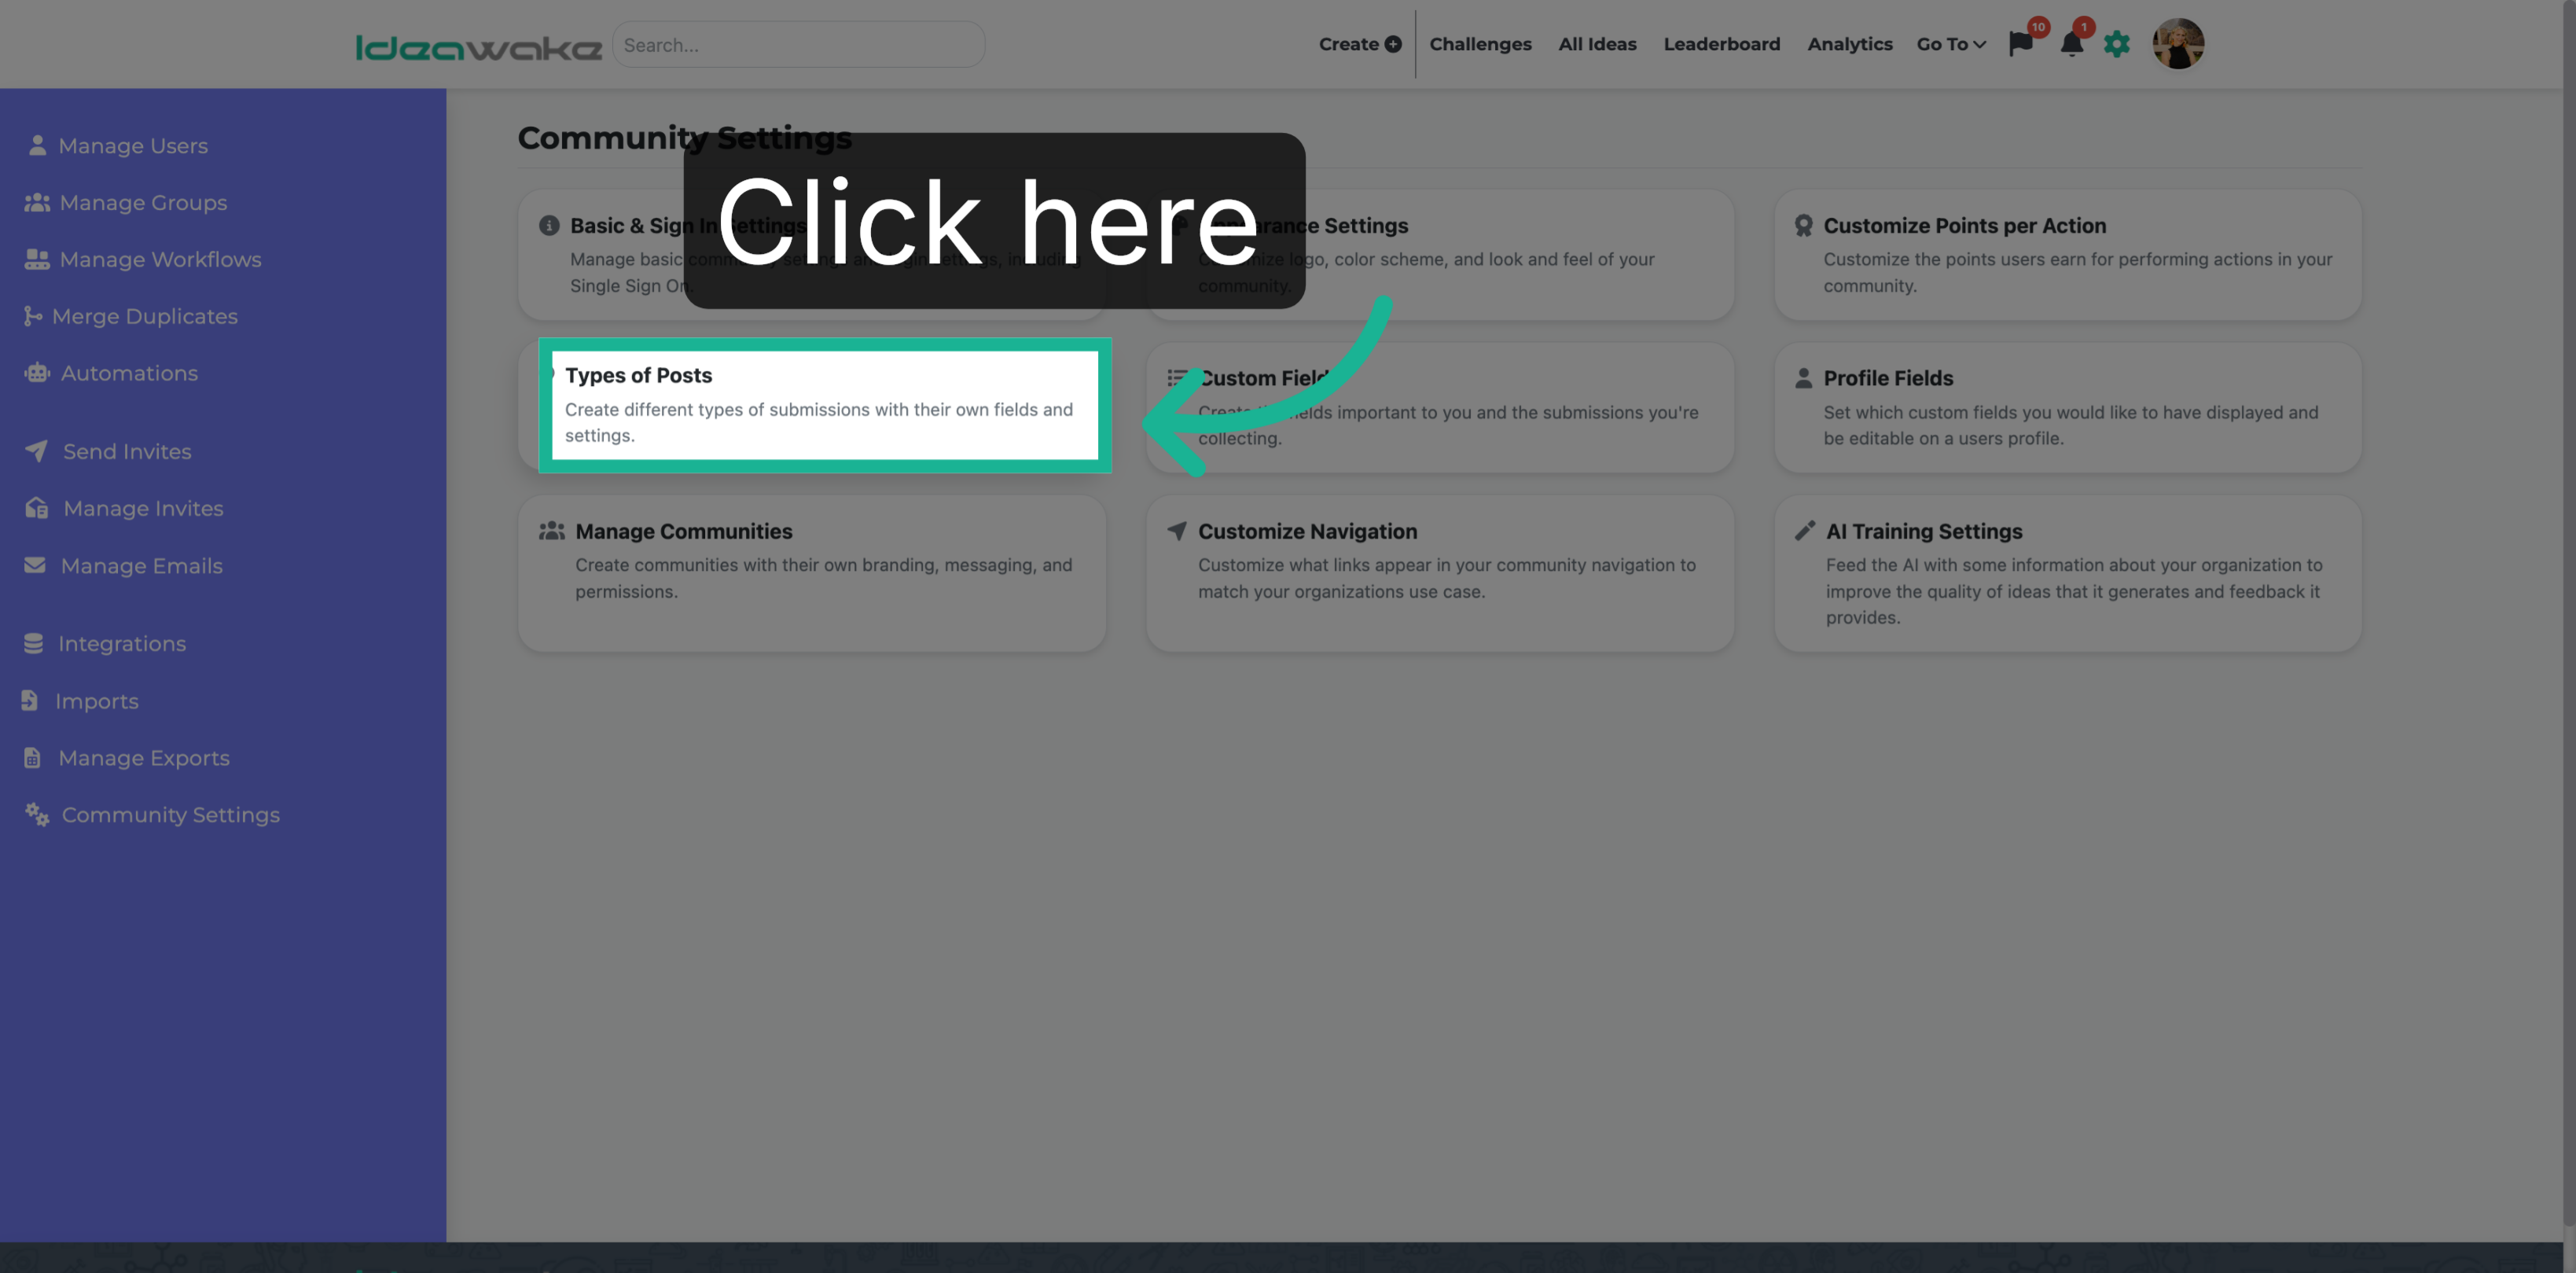
Next, click on the 'types of posts' box.
4. Initiate New Submission Type Creation
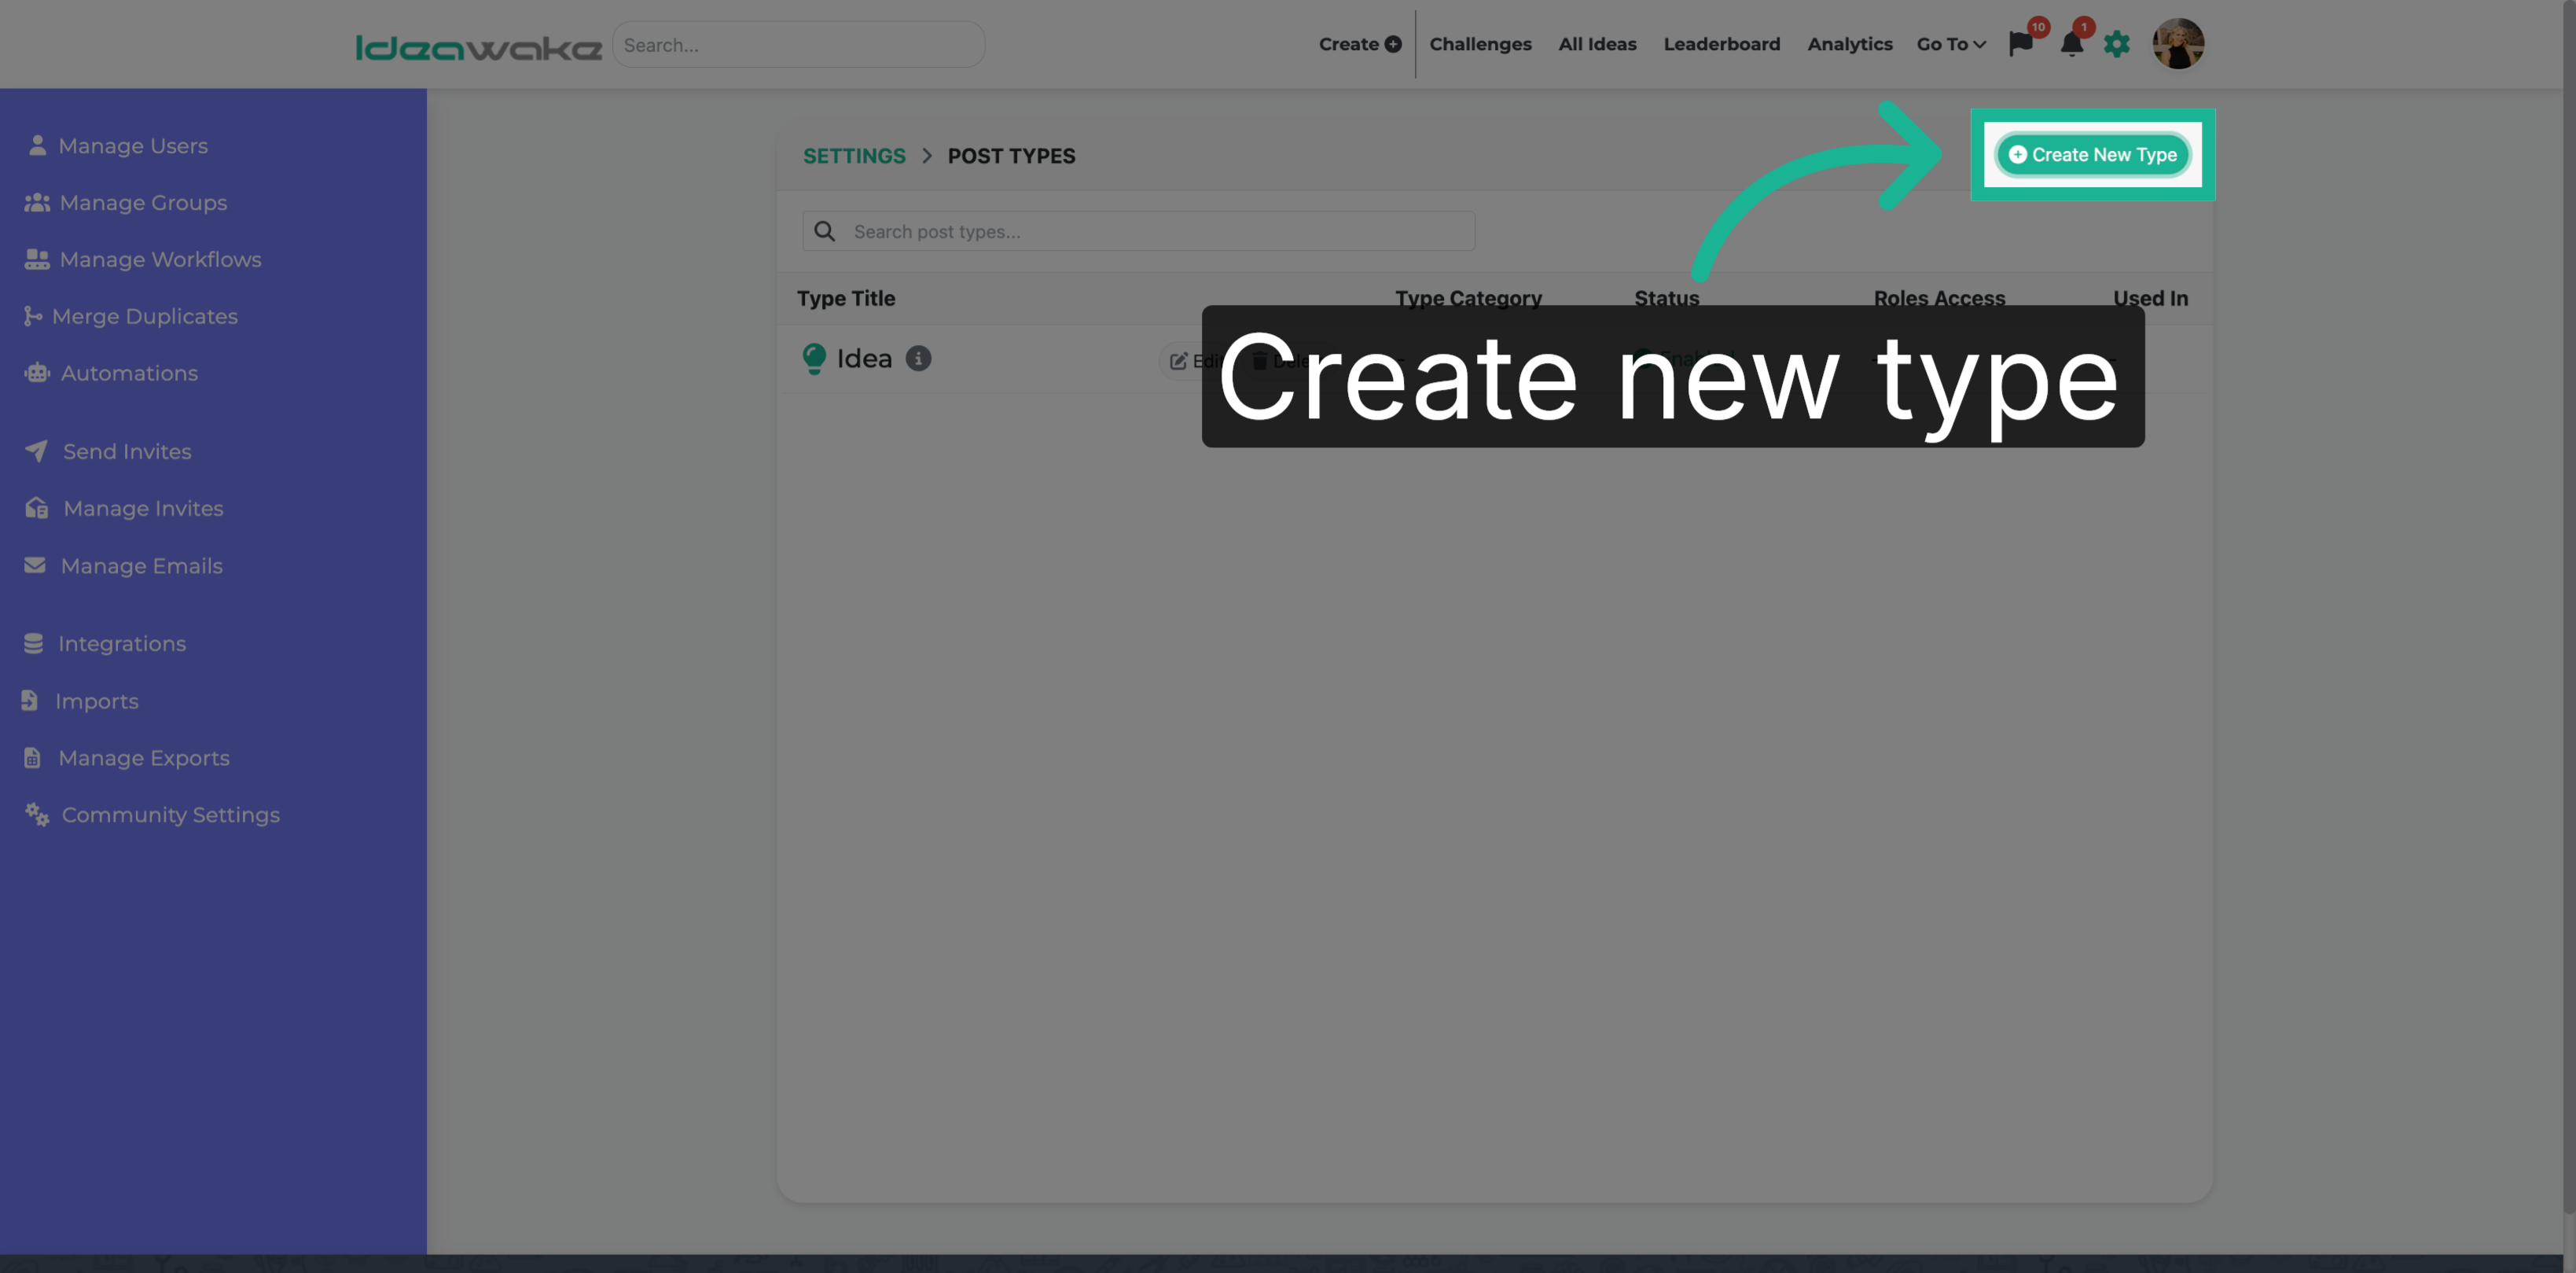
On the next page, click on the 'Create New Type' button to begin creating a new post type.
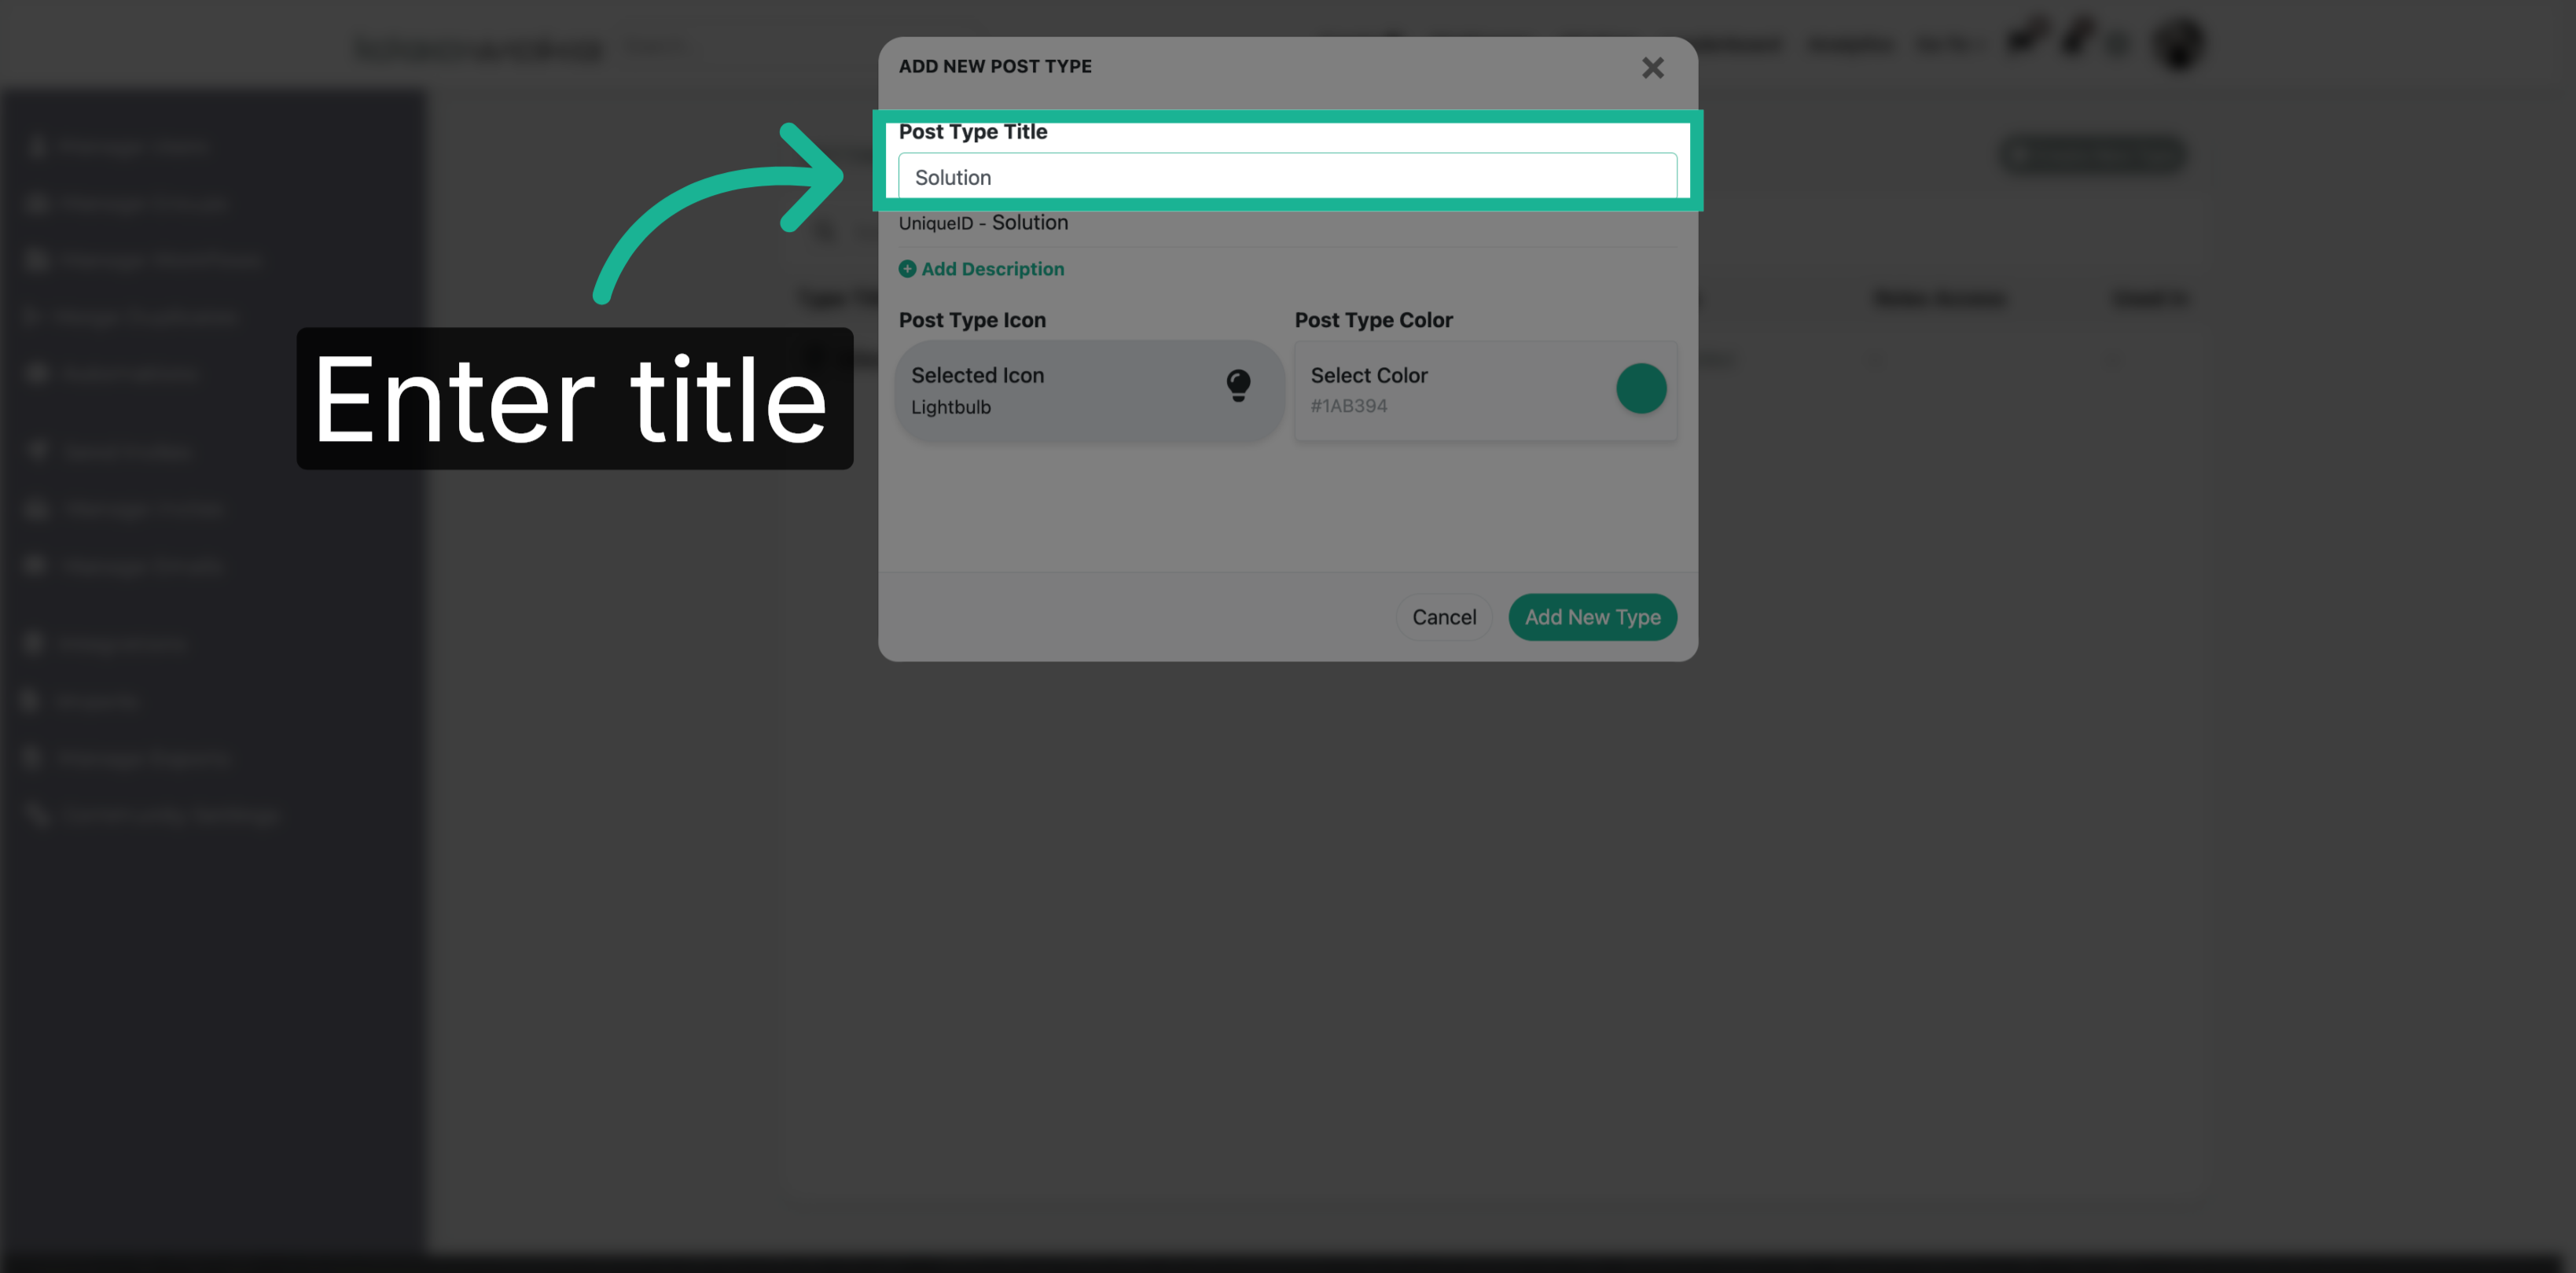
5. Enter Post Type Title
Give the post type a title such as 'solution' or 'problem'.
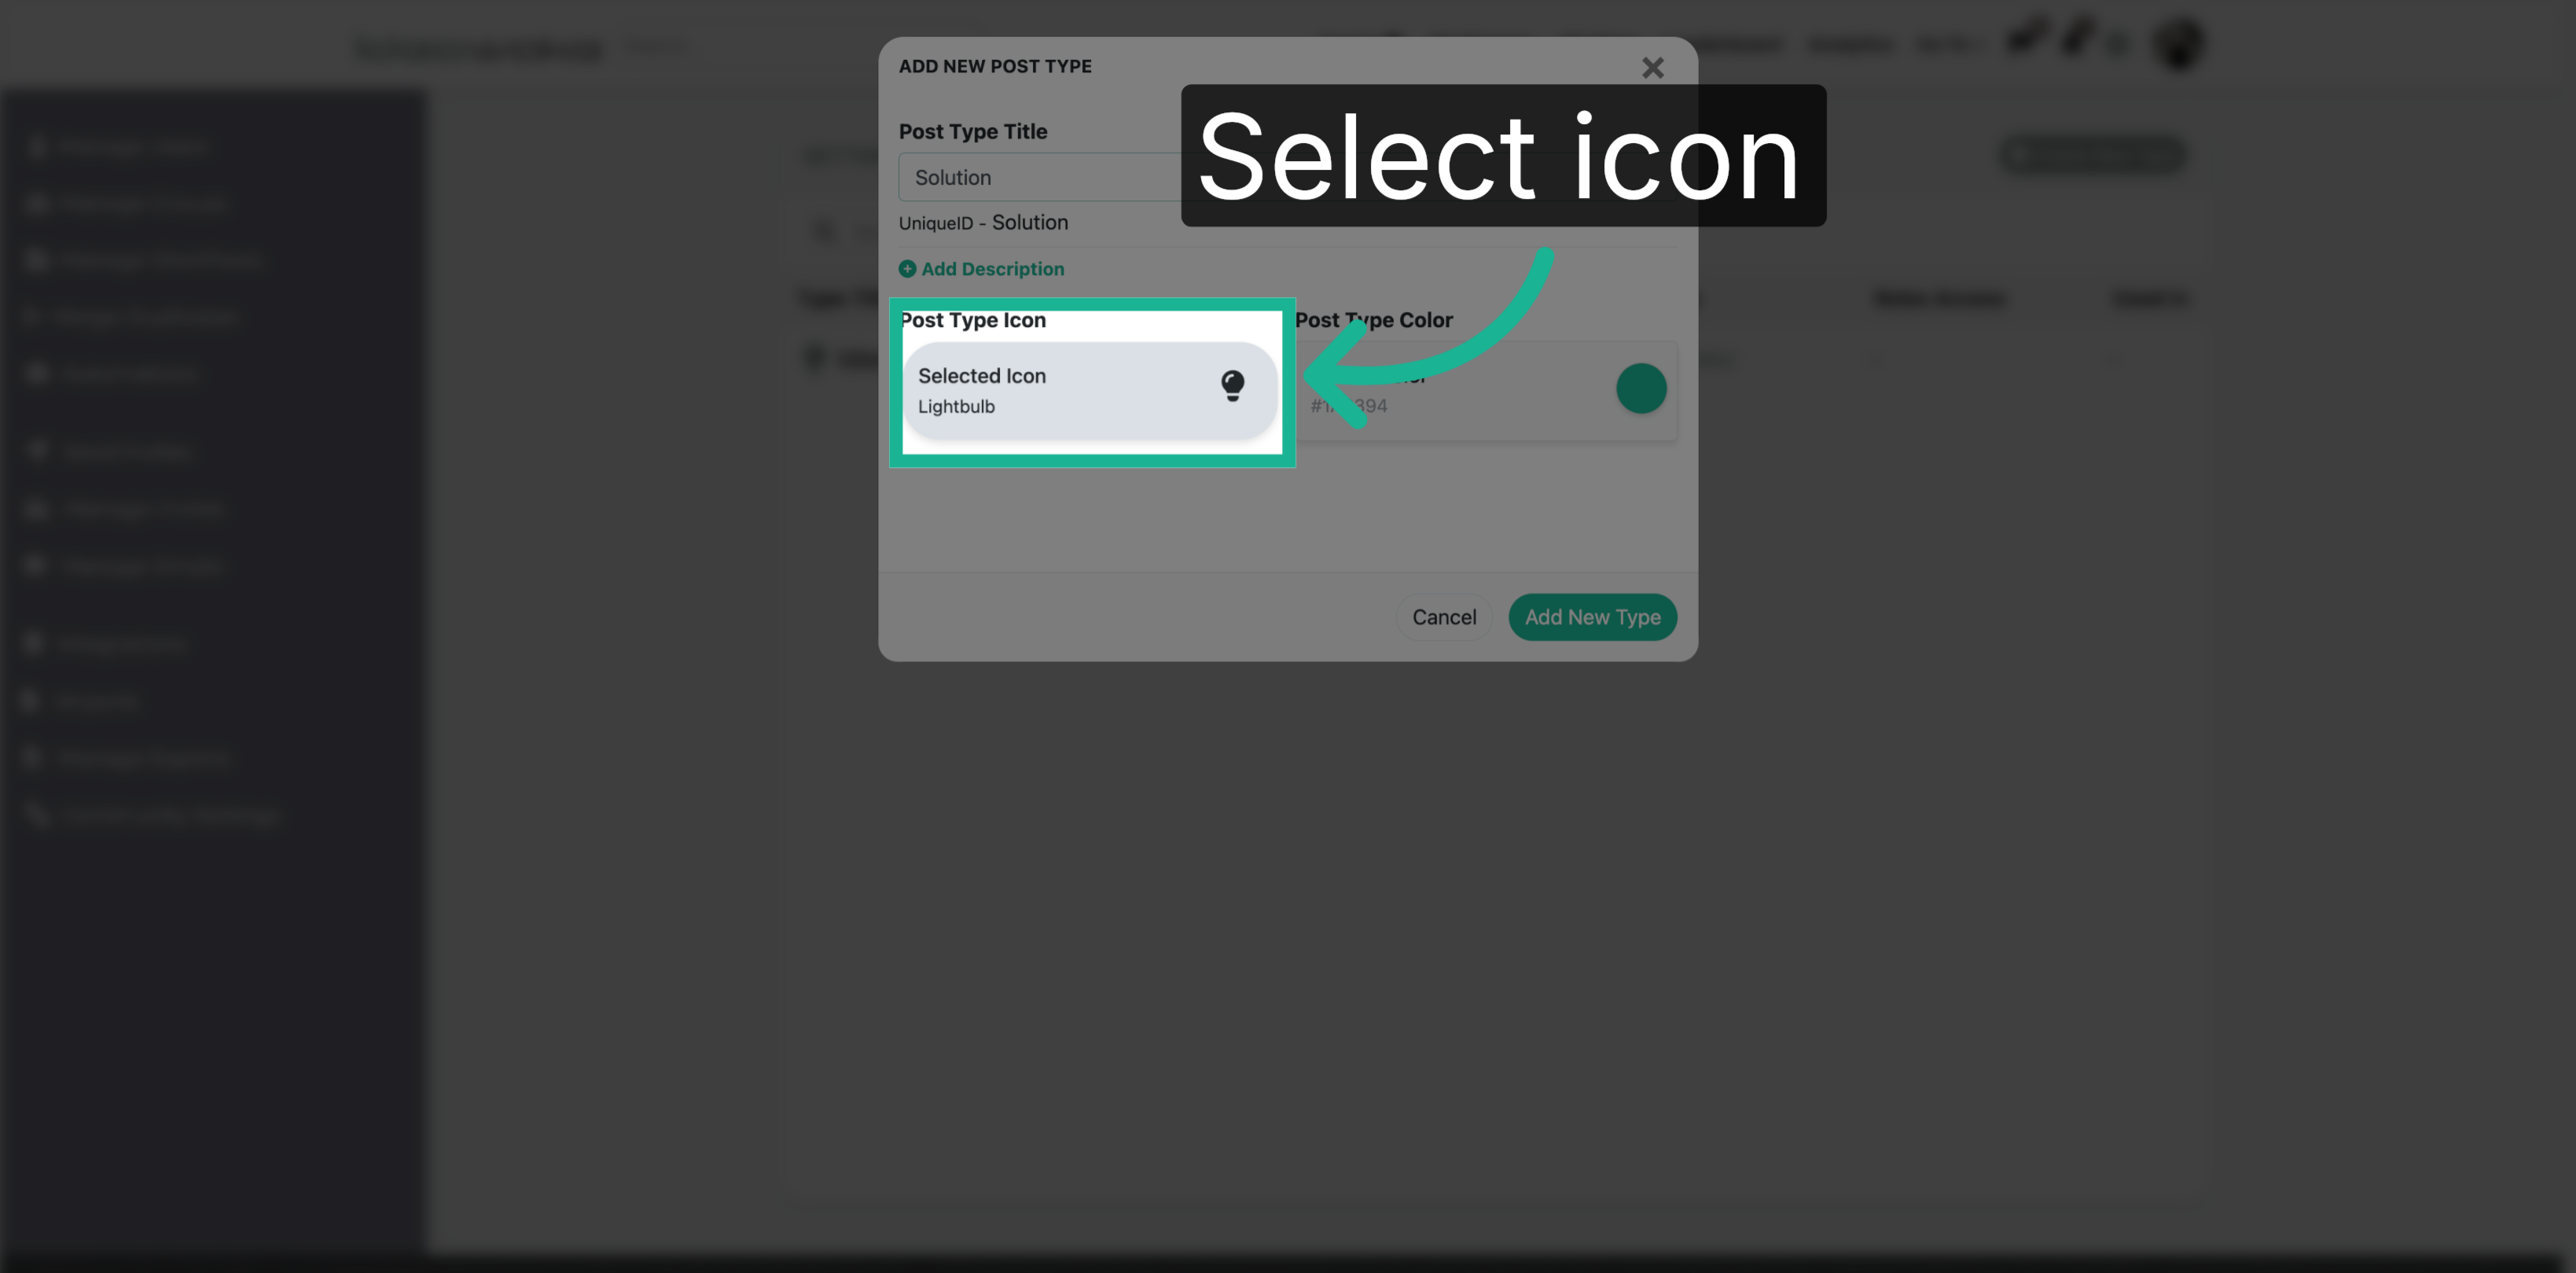
6. Select Icon for Opportunity Type
Click on 'Selected Icon' to update the post type icon
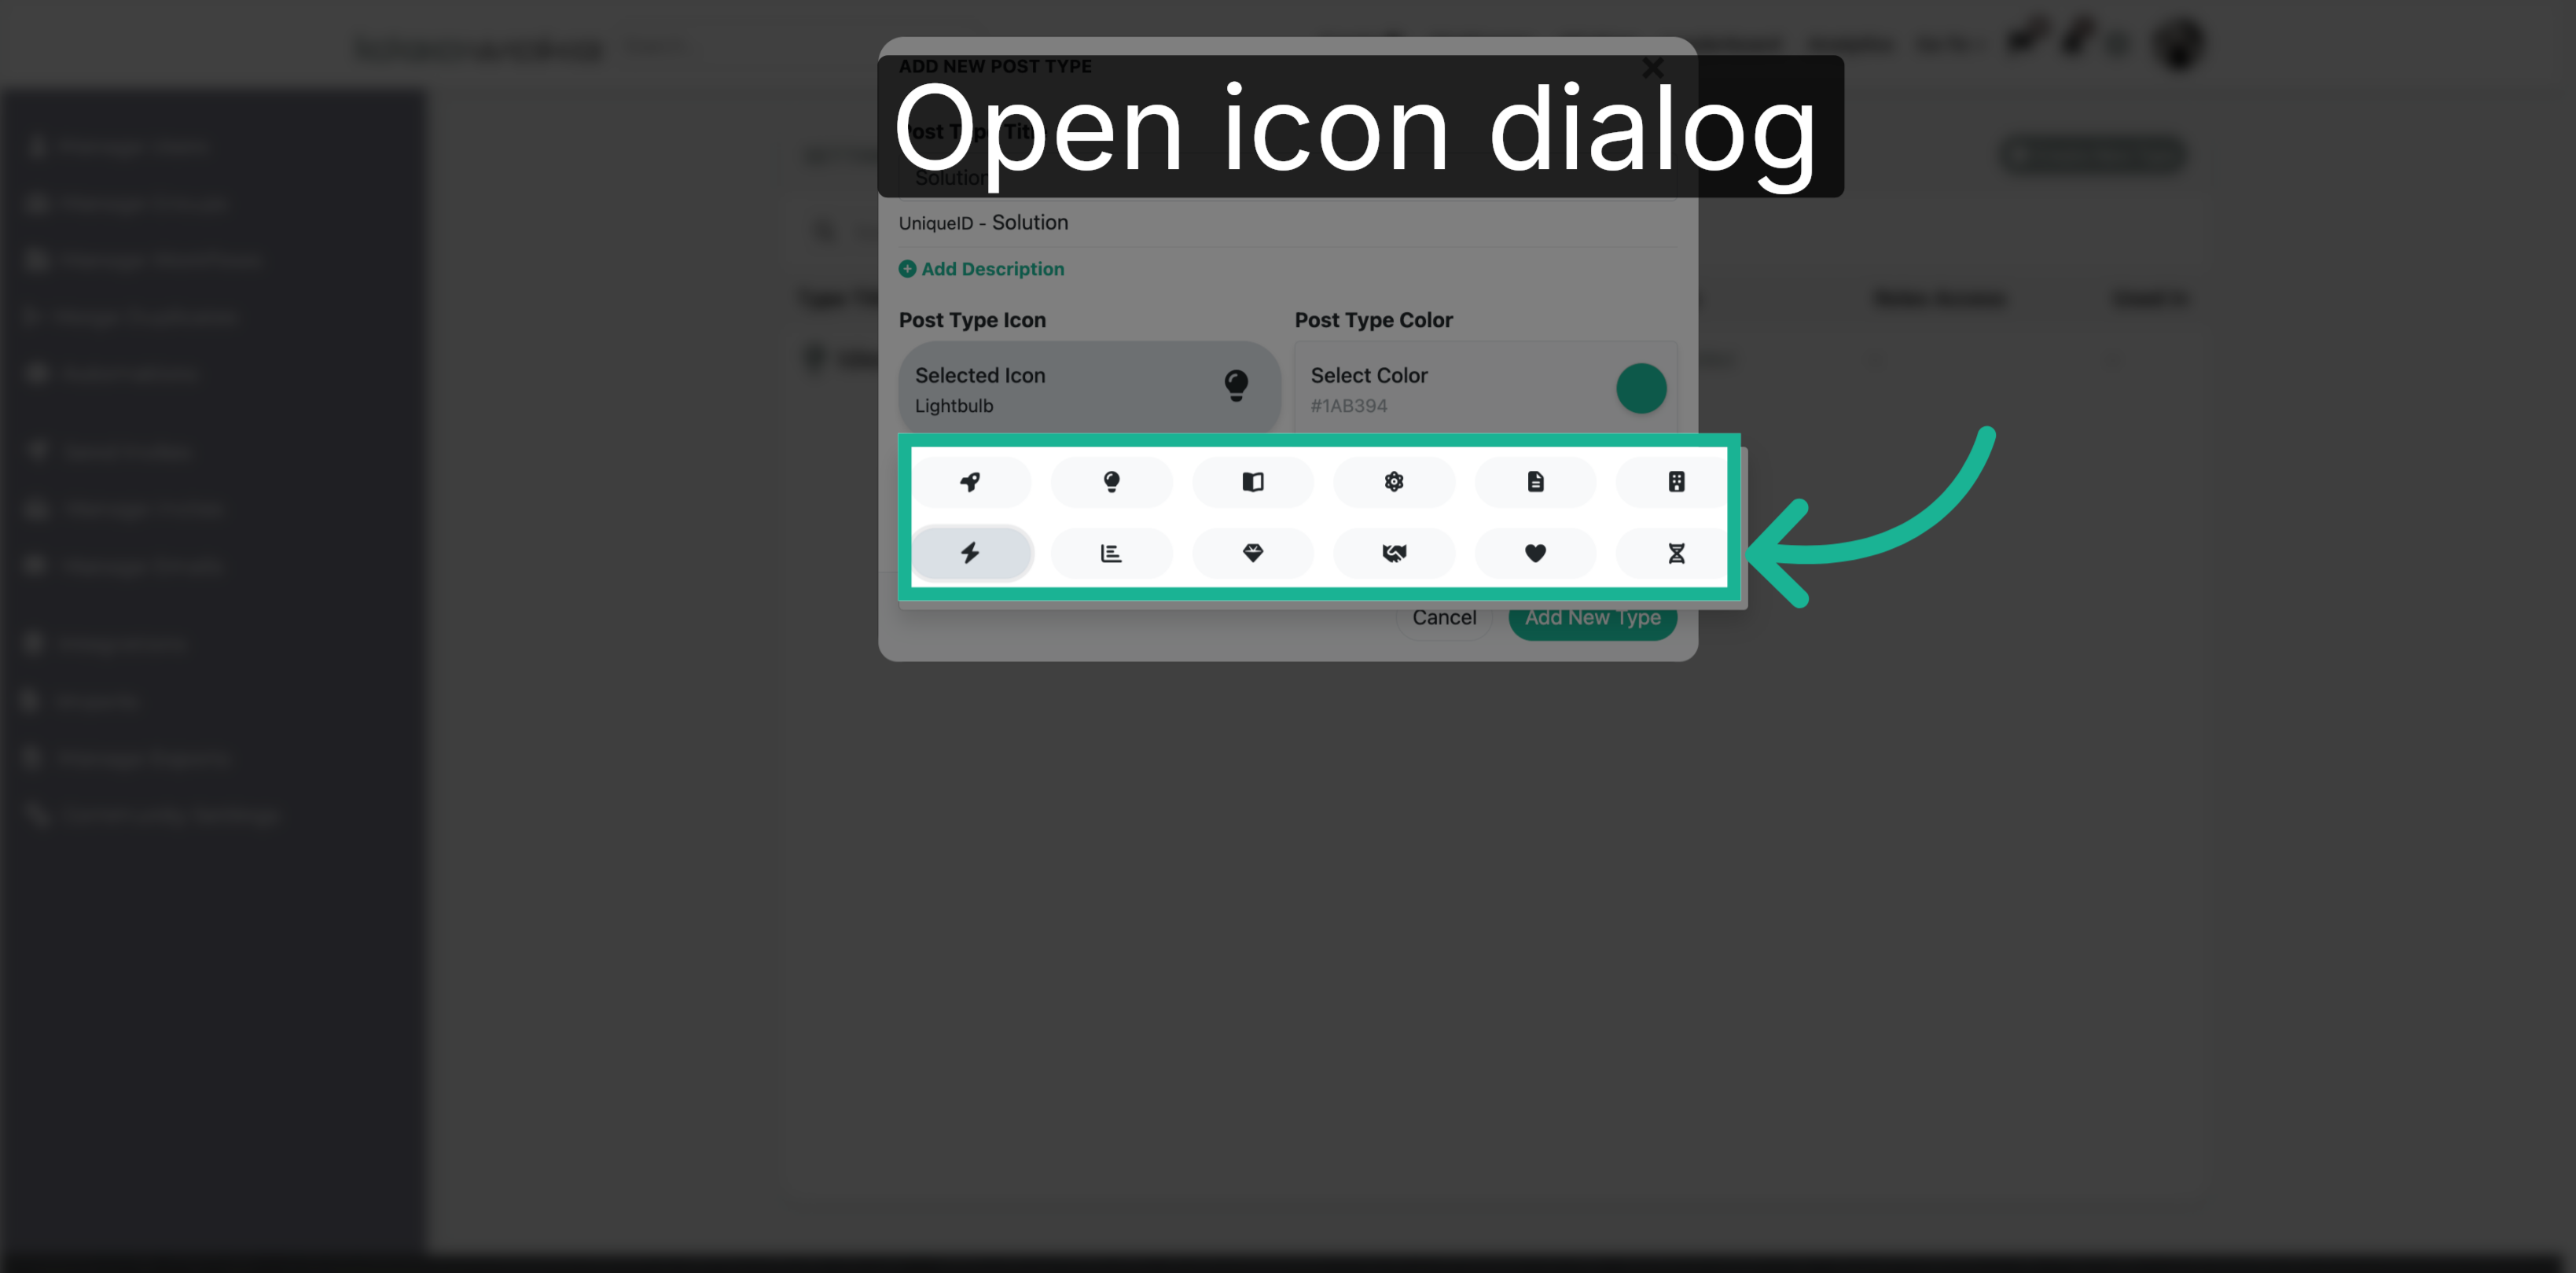
7. Open Icon Selection Dialog
A pop-up will appear with various icons. Select the preferred icon.
8. Choose Color for Icon
Click 'Select Color' to pick a color that complements the chosen icon and enhances visual identification.
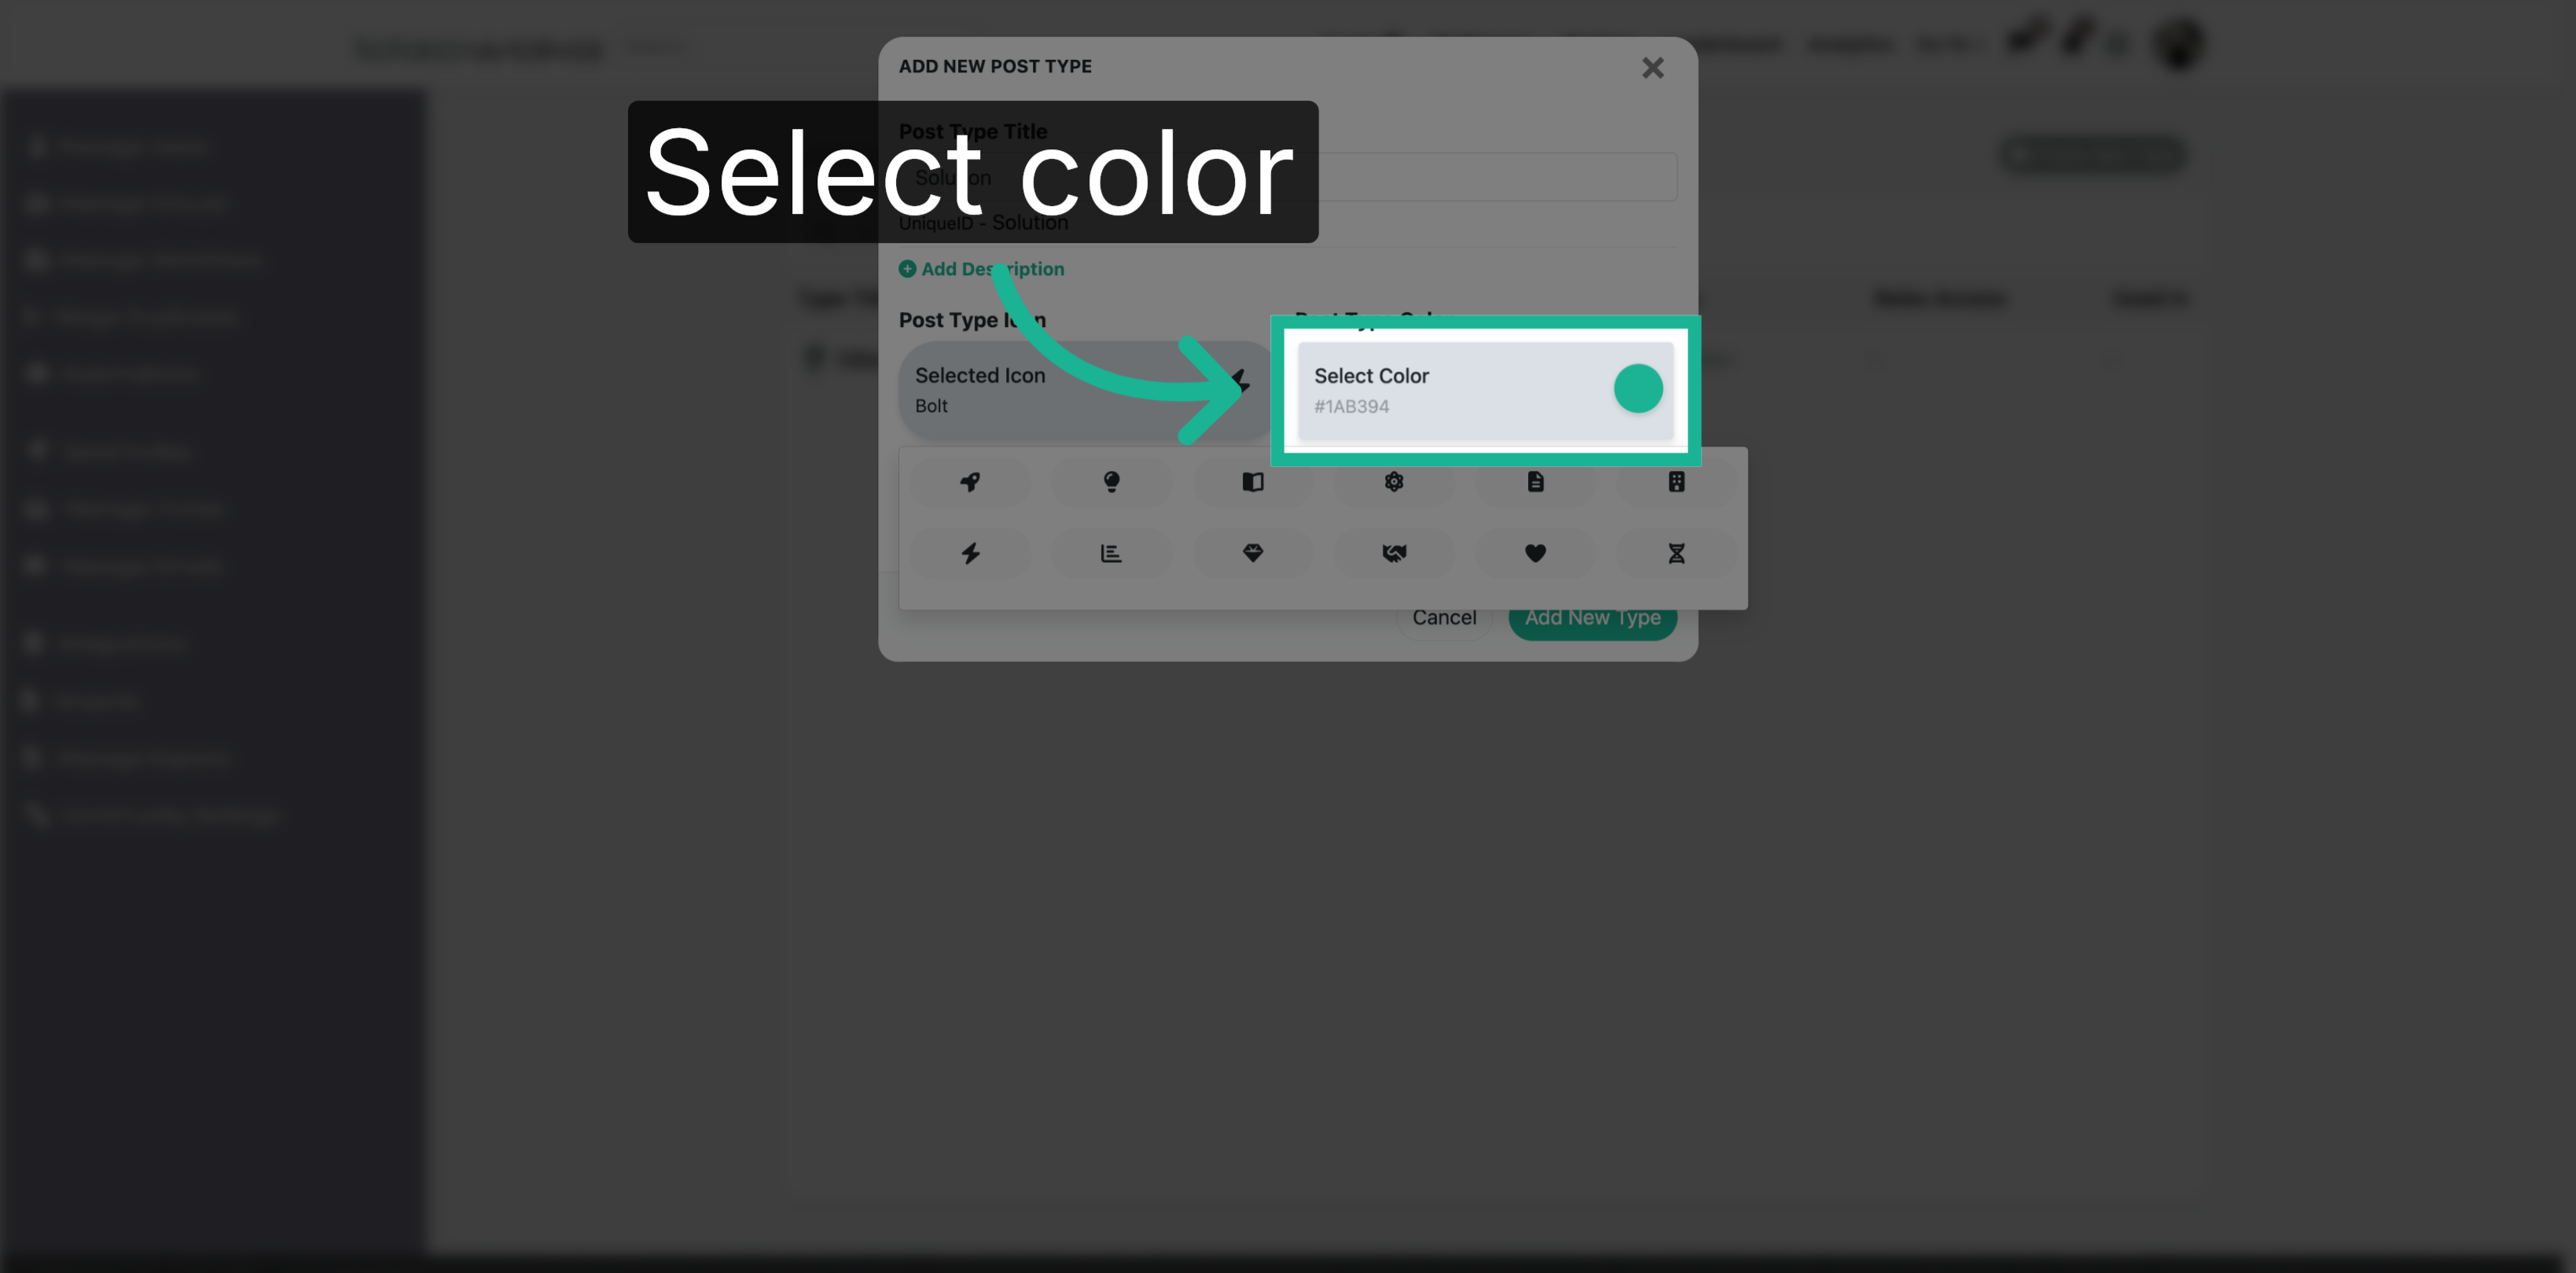
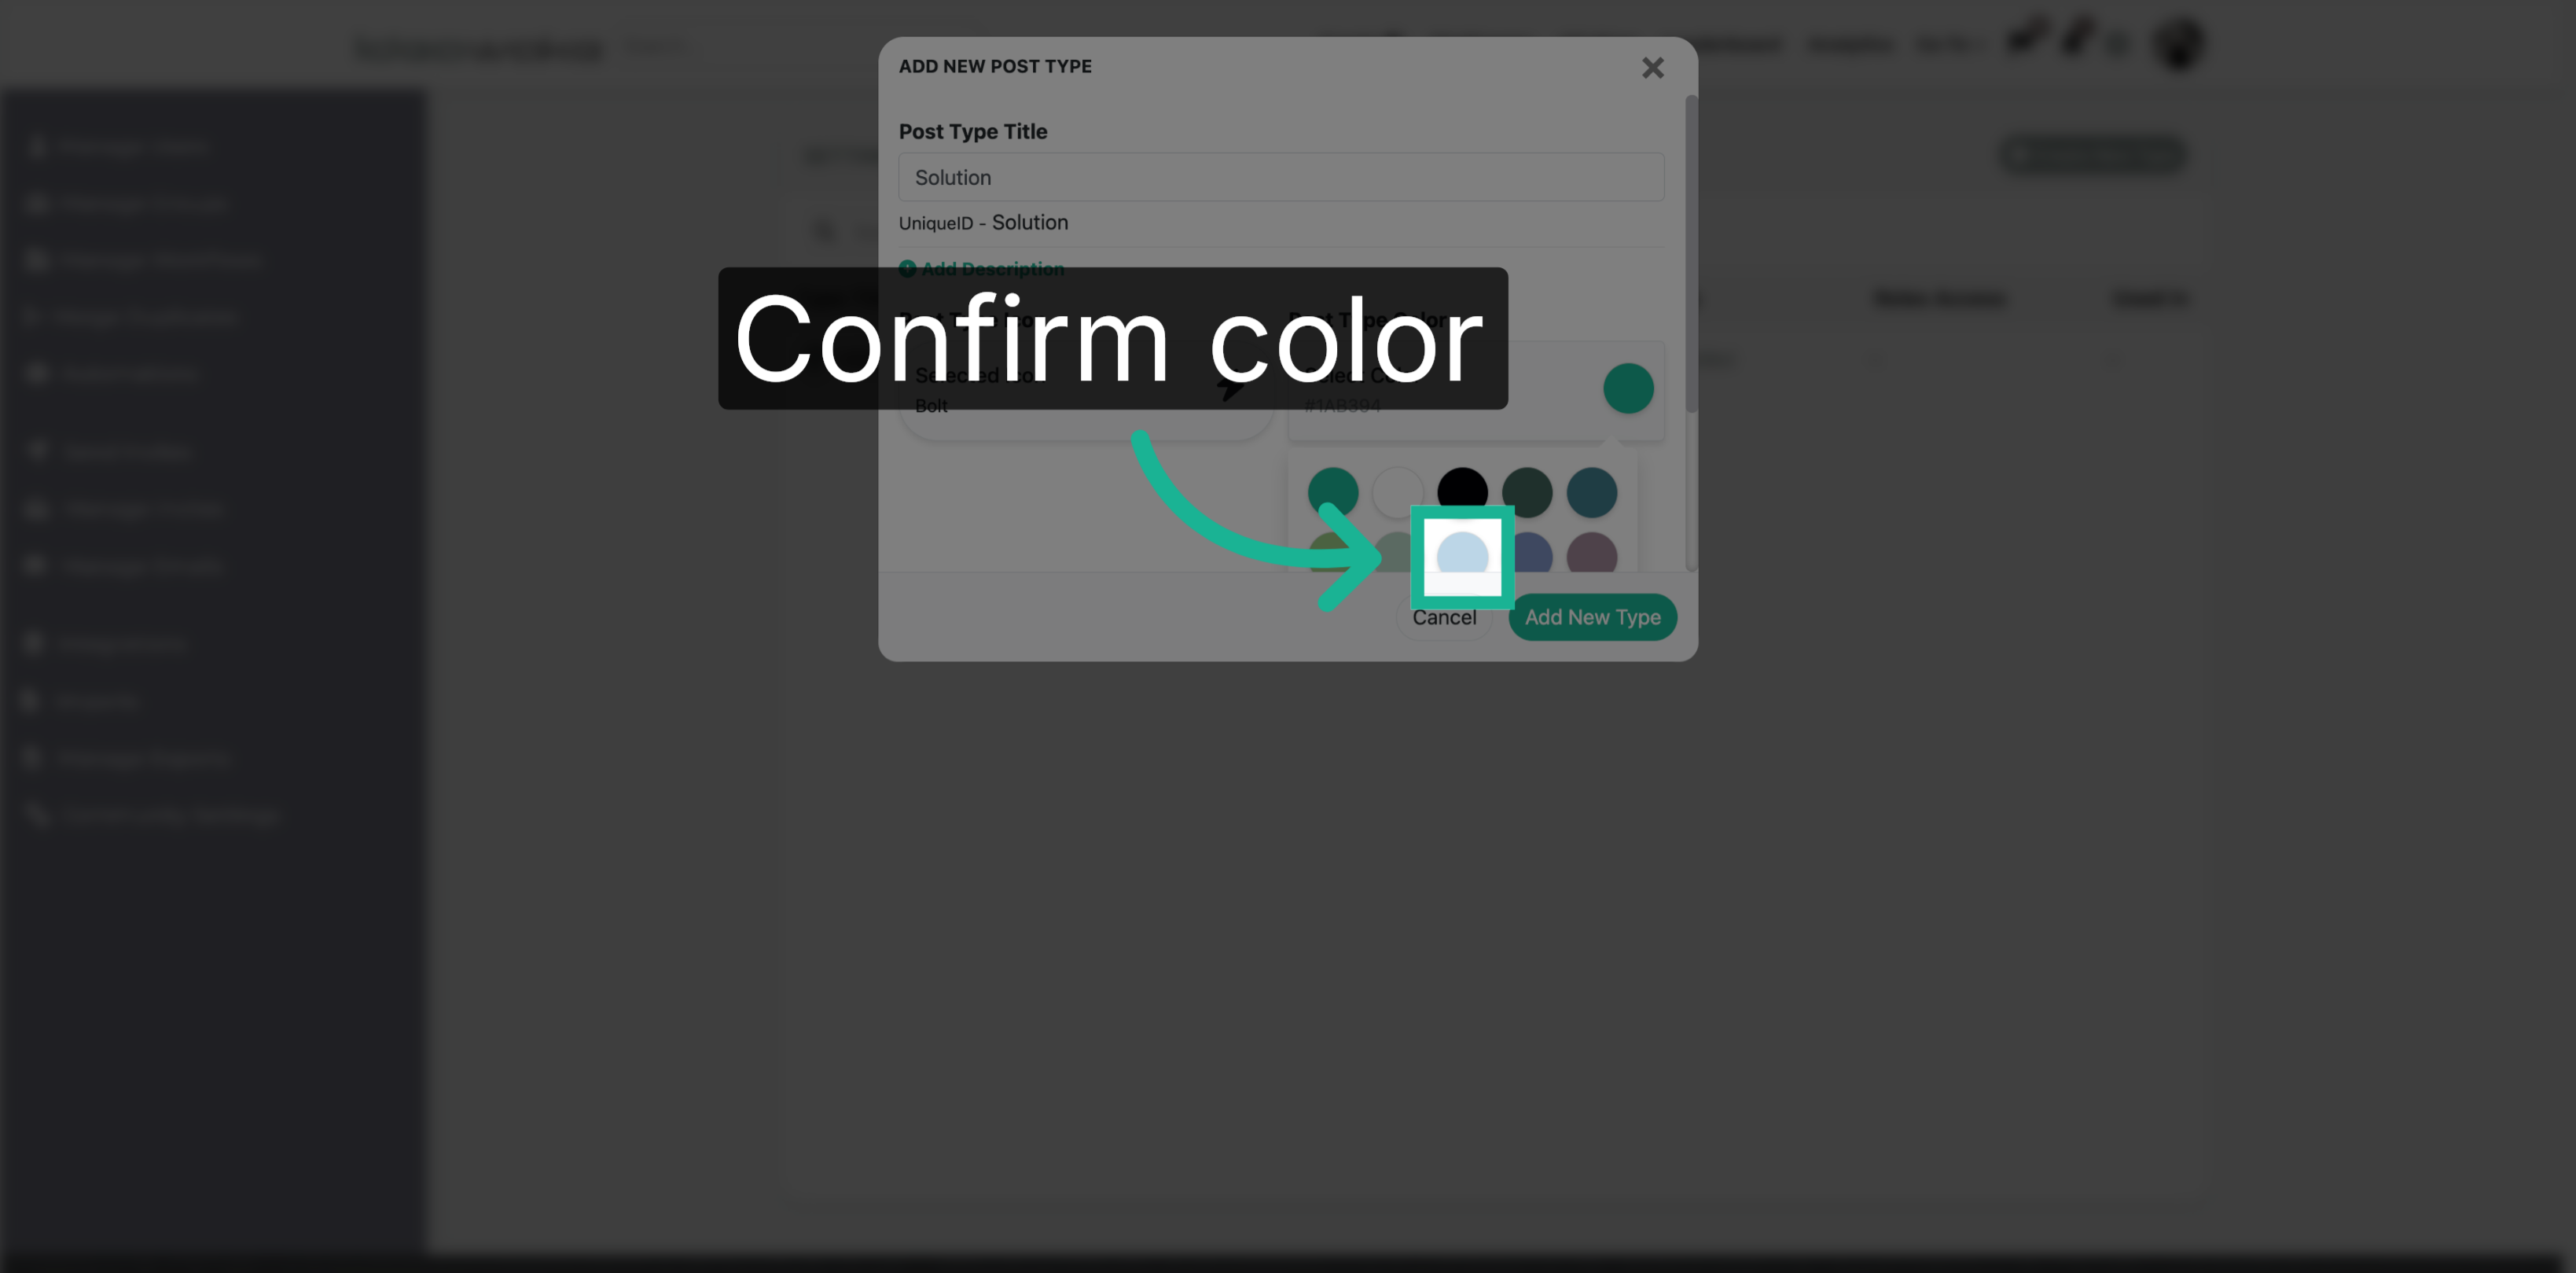
9. Confirm Color Selection
Select the color for thete post type to apply it to the selected icon.
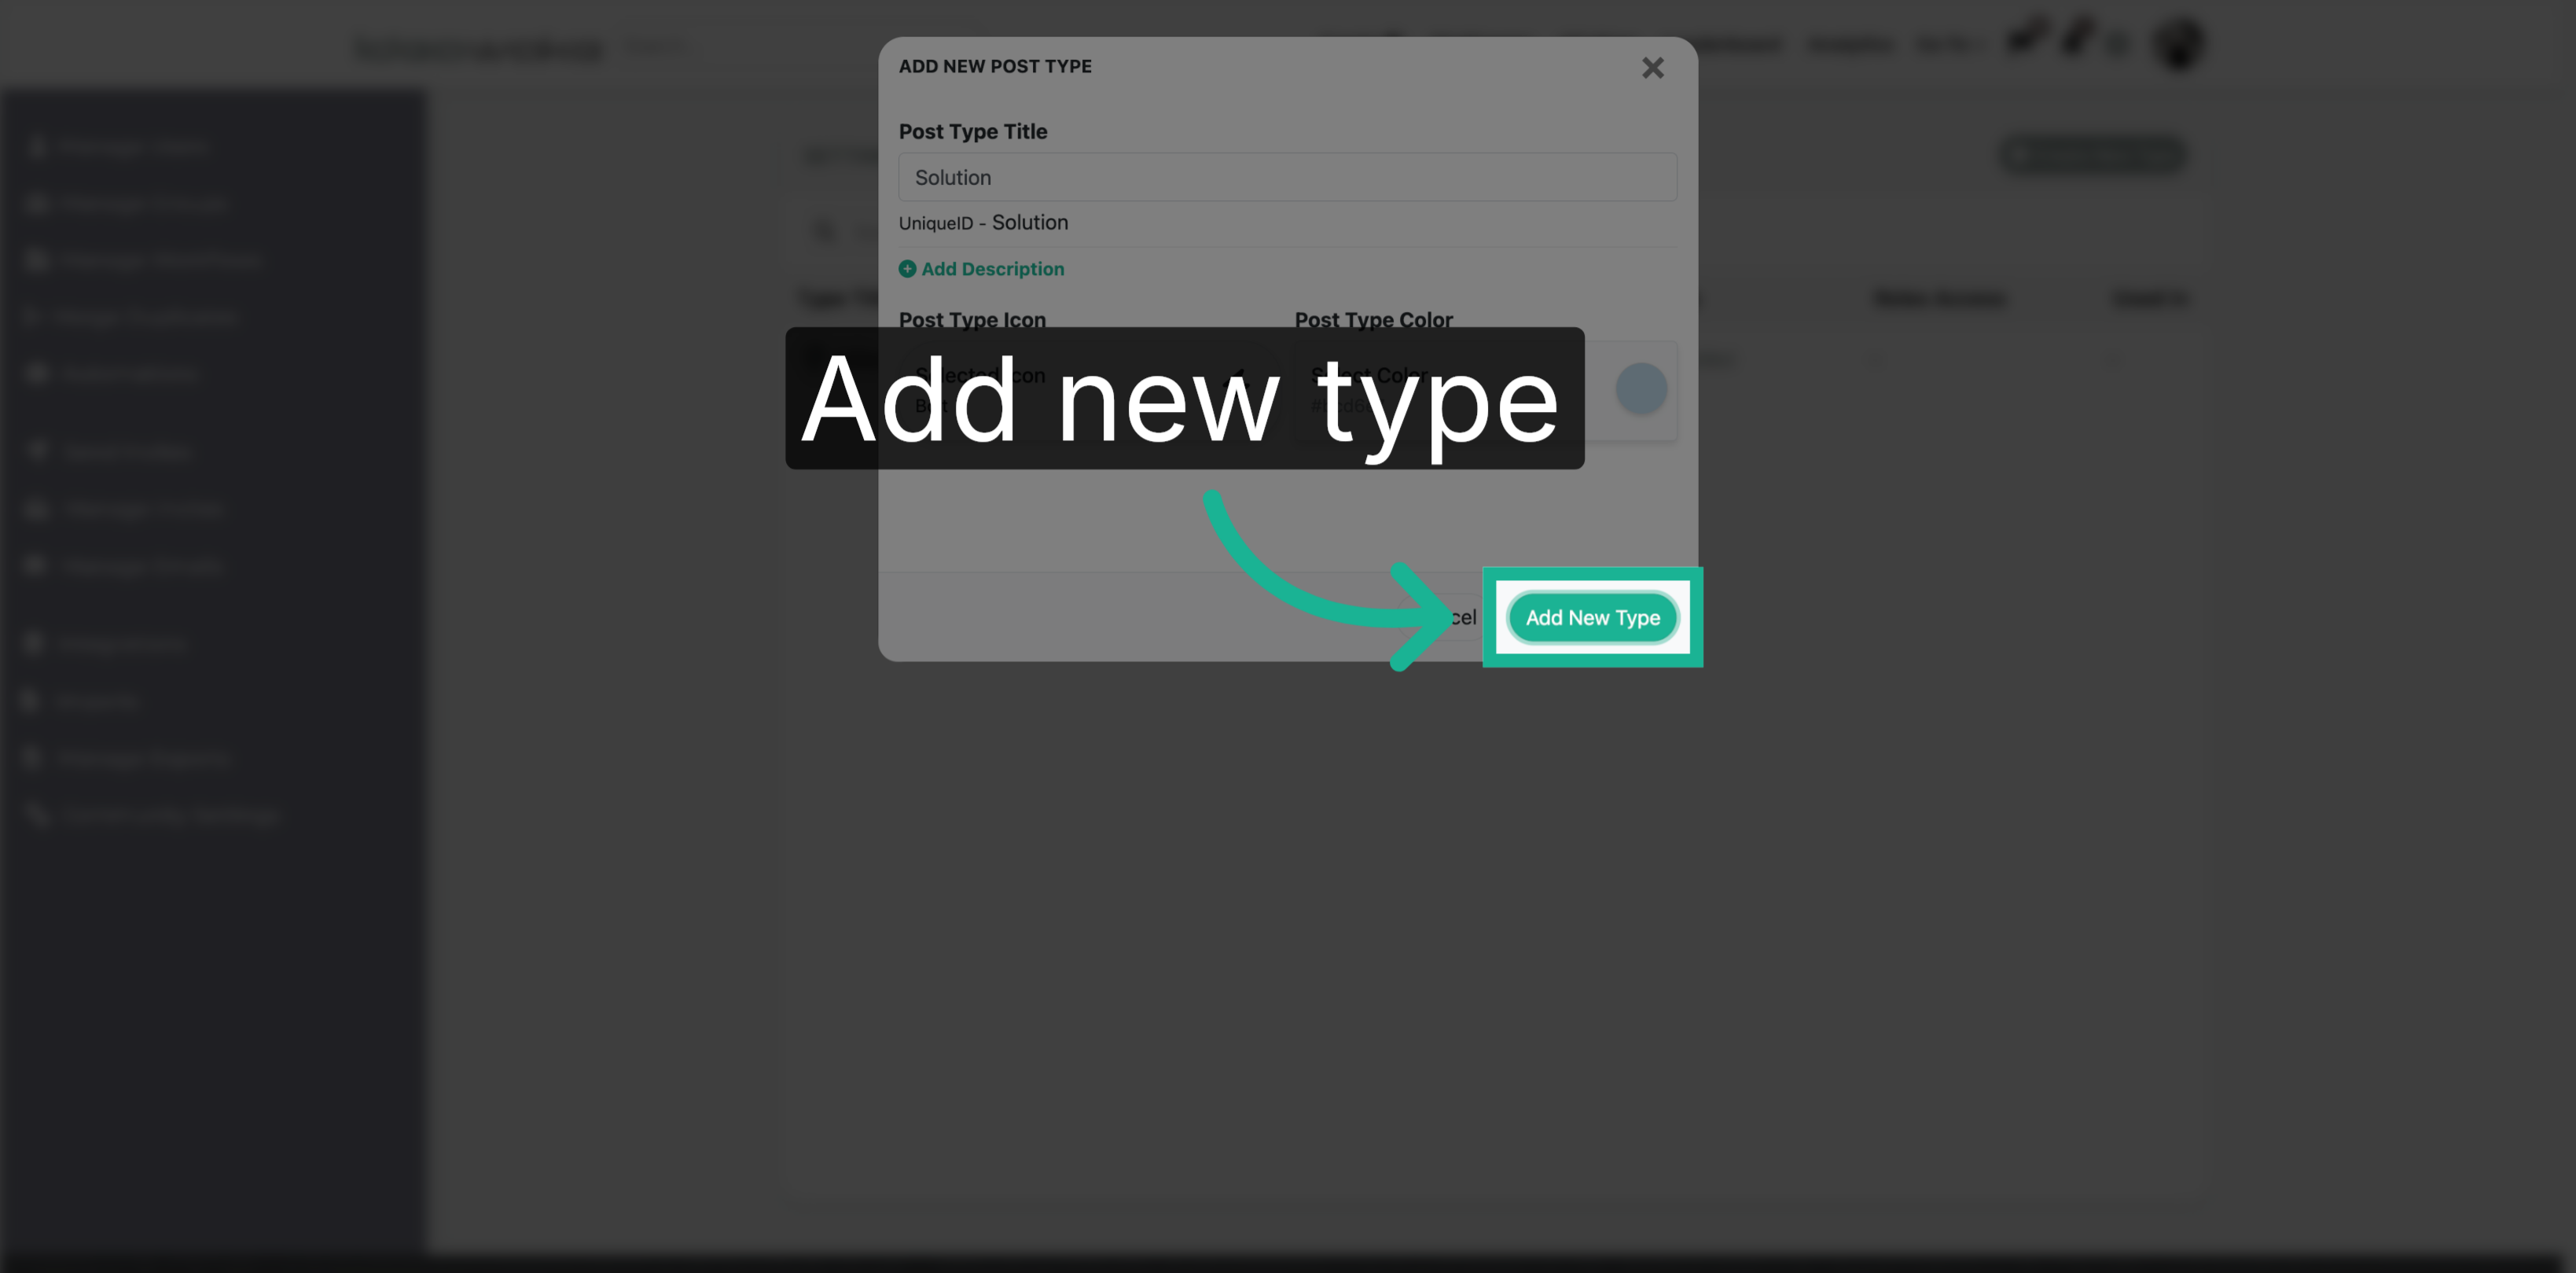
10. Add New Submission Type
Click the 'Add New Type' button to save your new post type with its customized fields, icon, and color settings.
11. See Created Post Type
You will see the post type added to the post type view page.
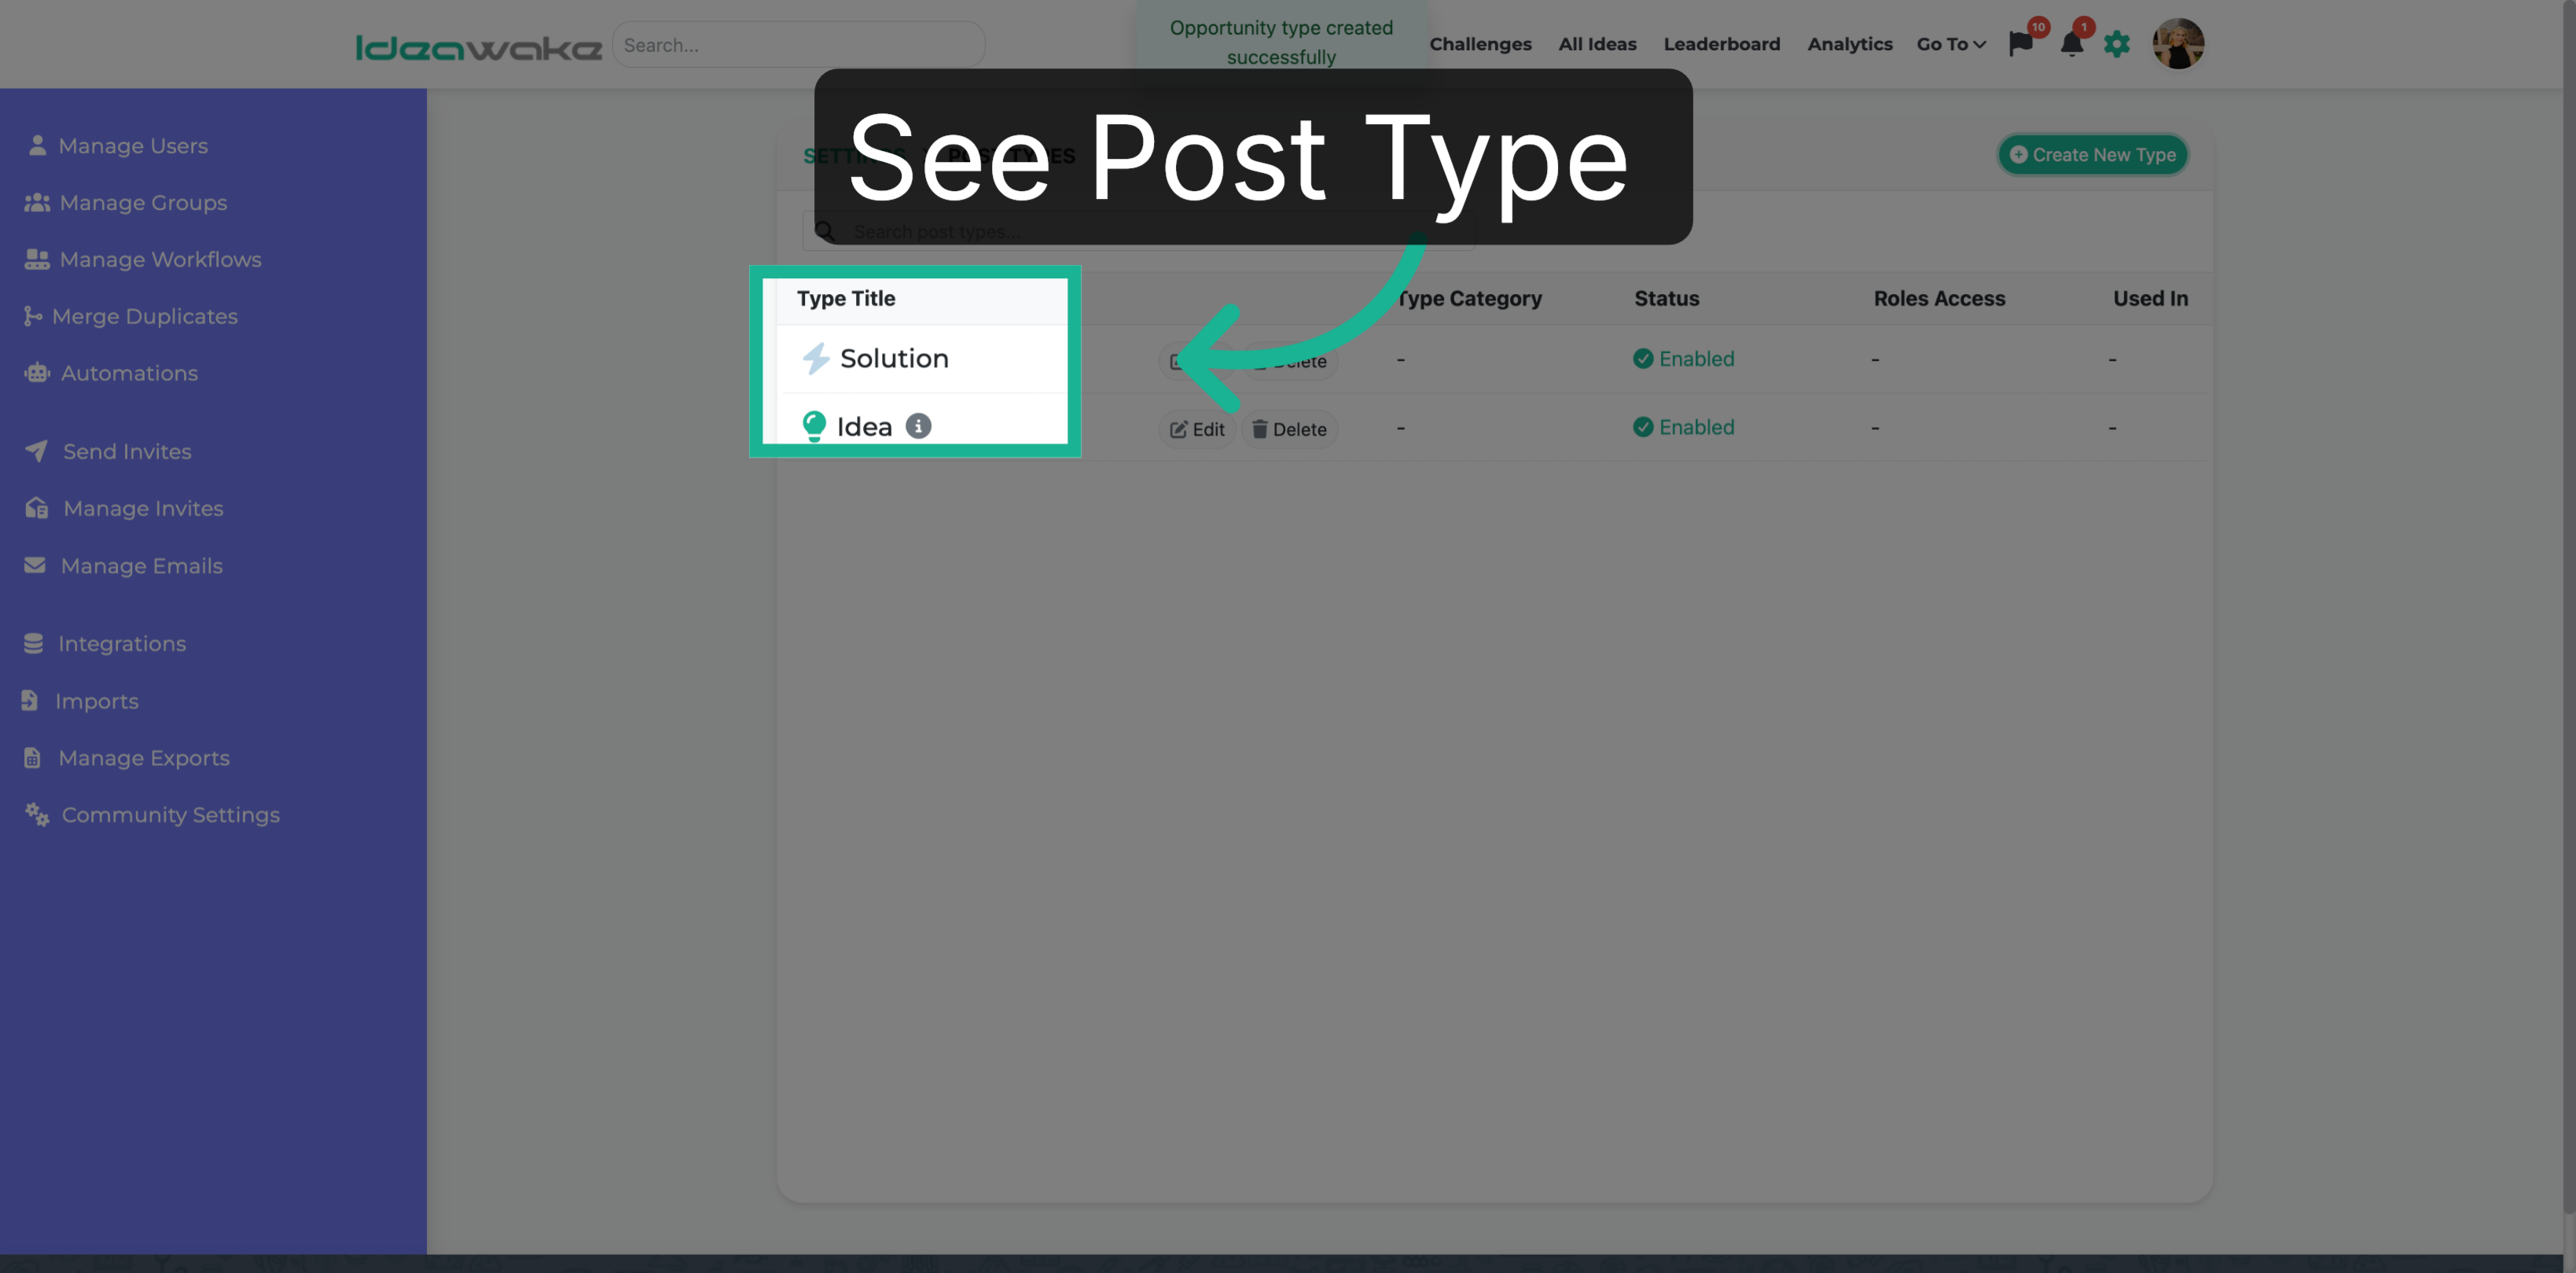
You have successfully created and customized a new post type.