![ideawake-logo-simple-no-padding-1.png]](https://academy.ideawake.com/hs-fs/hubfs/ideawake-logo-simple-no-padding-1.png?height=30&name=ideawake-logo-simple-no-padding-1.png)
Add No Action Stage
This tutorial guides you through creating a no action stage.
1. Introduction
You will learn how to add stages and customize workflow actions effectively.
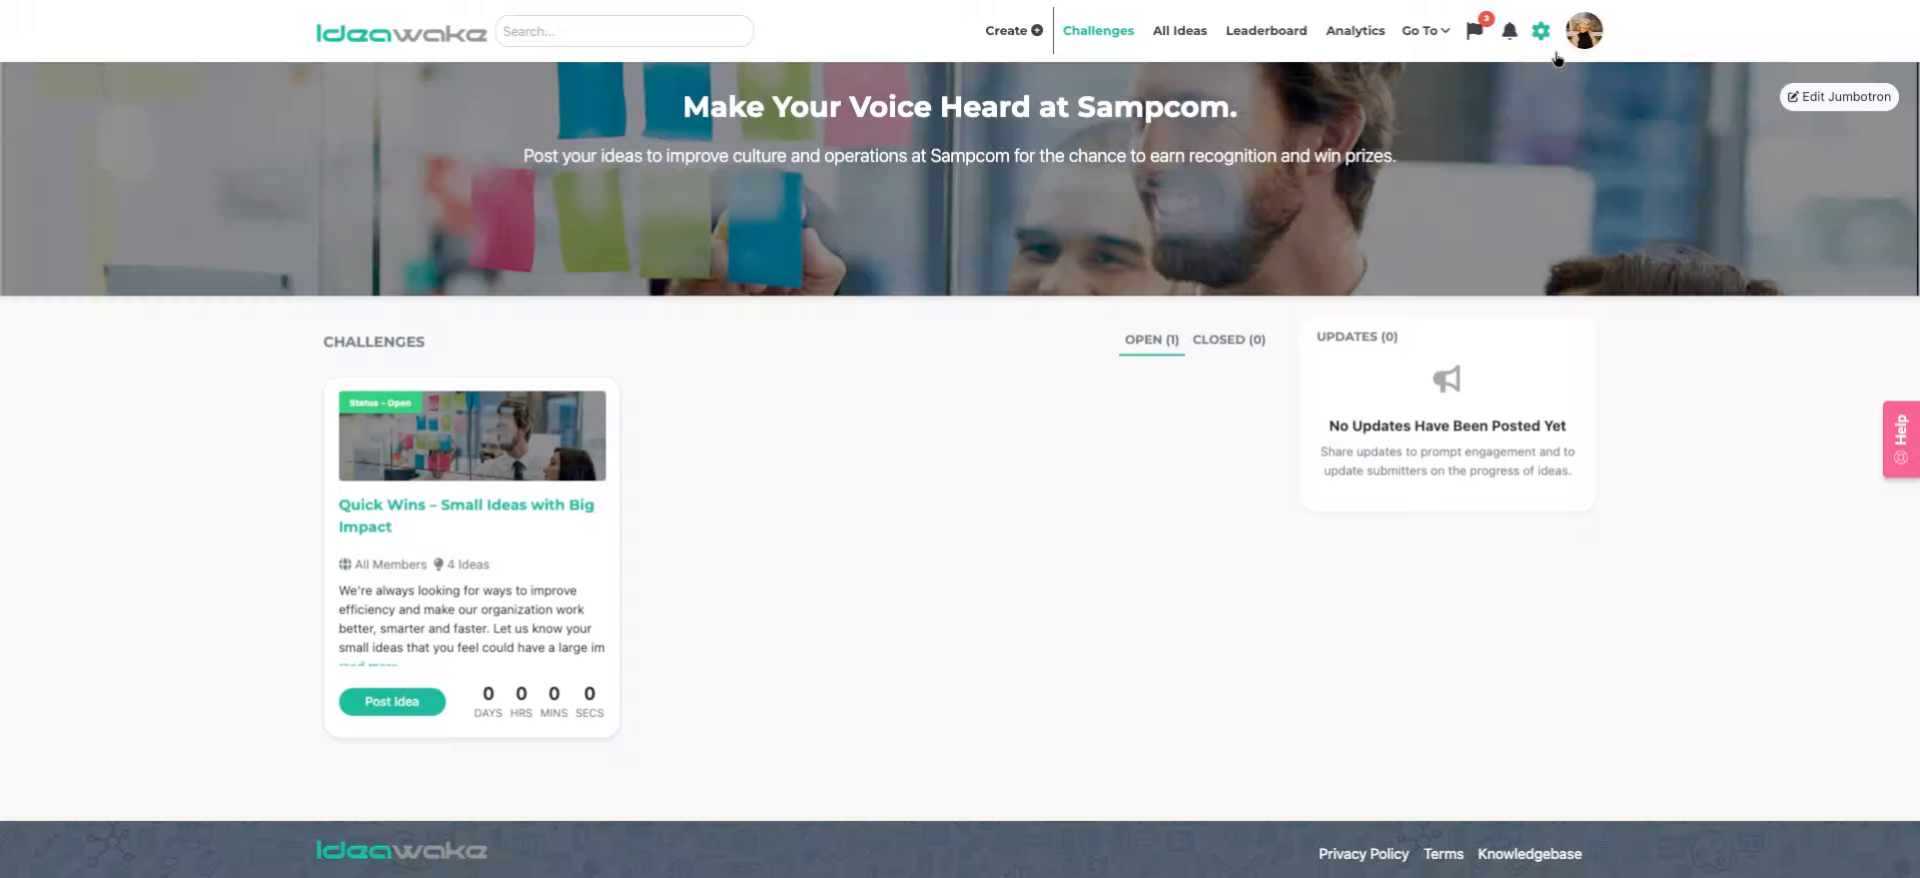
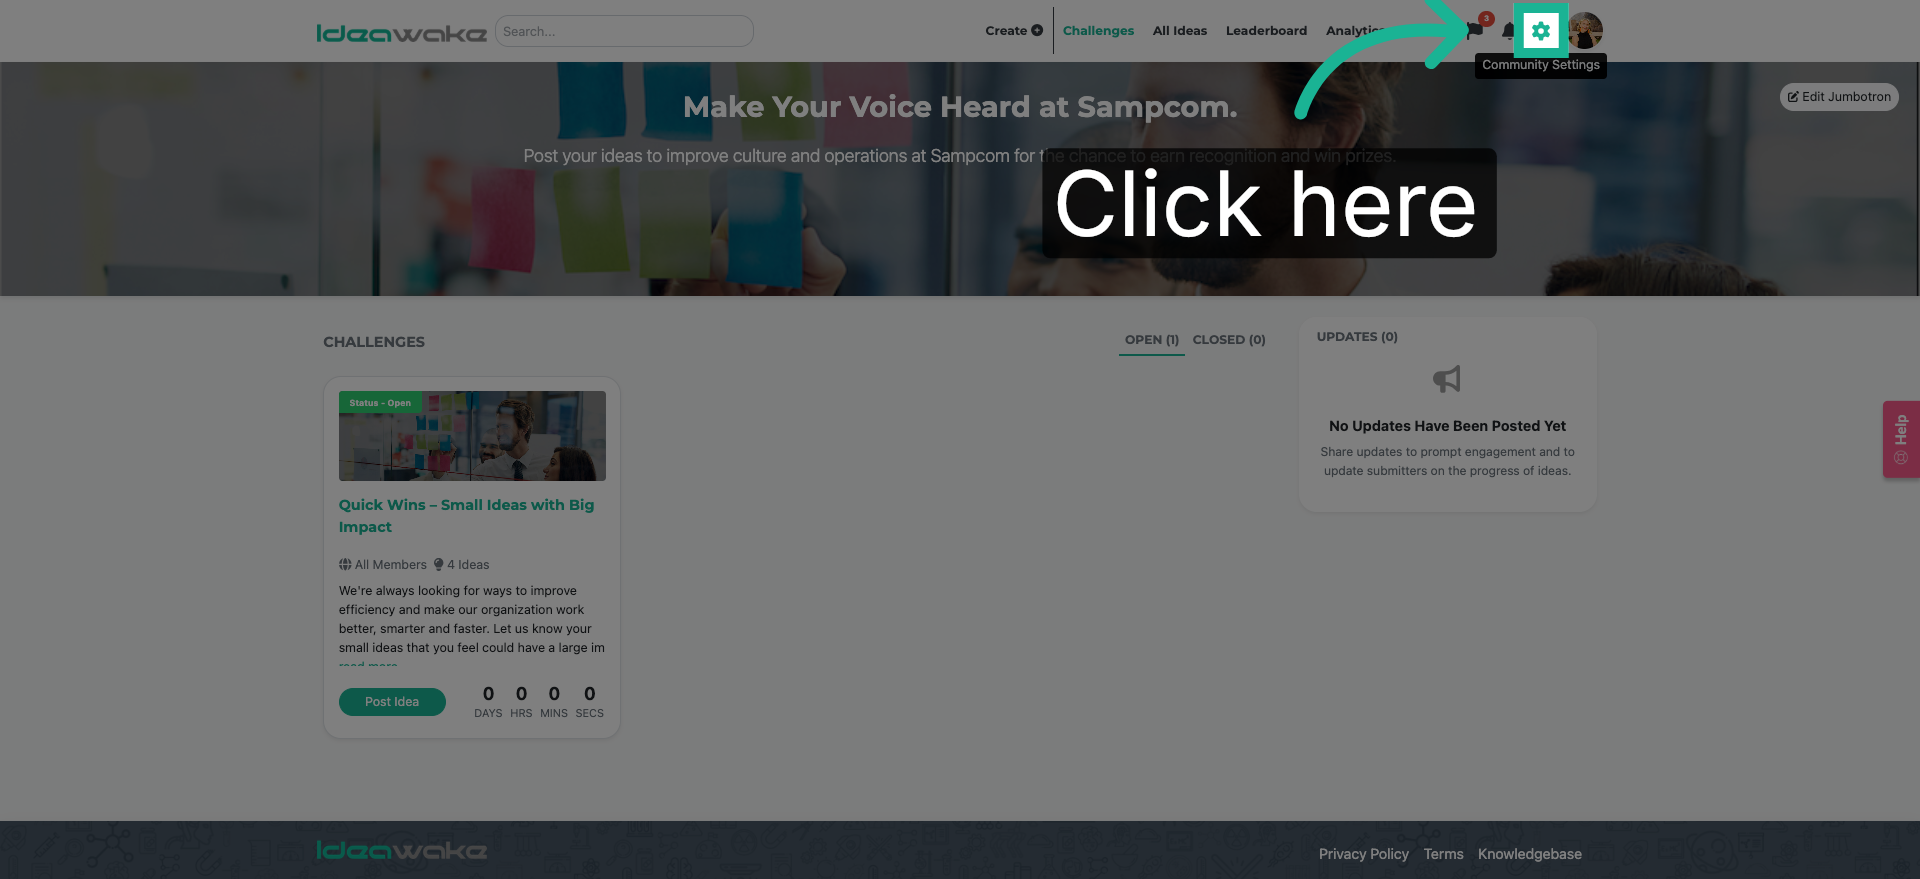
2. Access Workflow Section
Click here to access the workflow section in Ideawake.
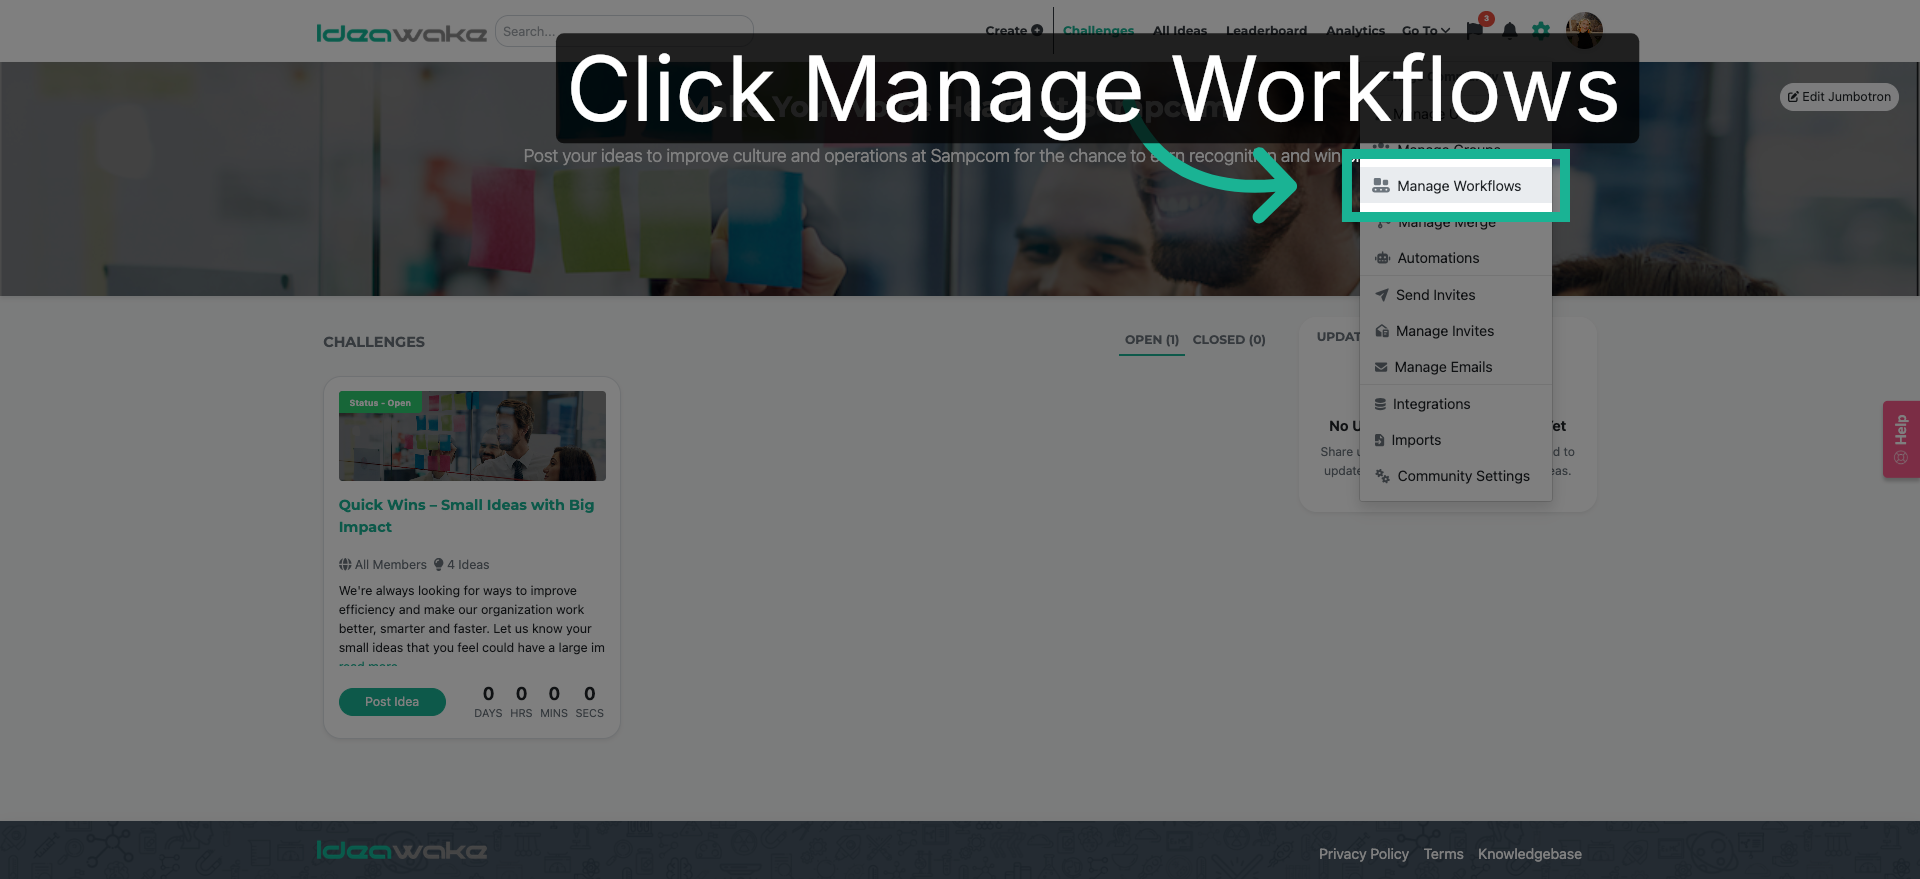
3. Open Manage Workflows
Click "Manage Workflows" to view and edit existing workflows.
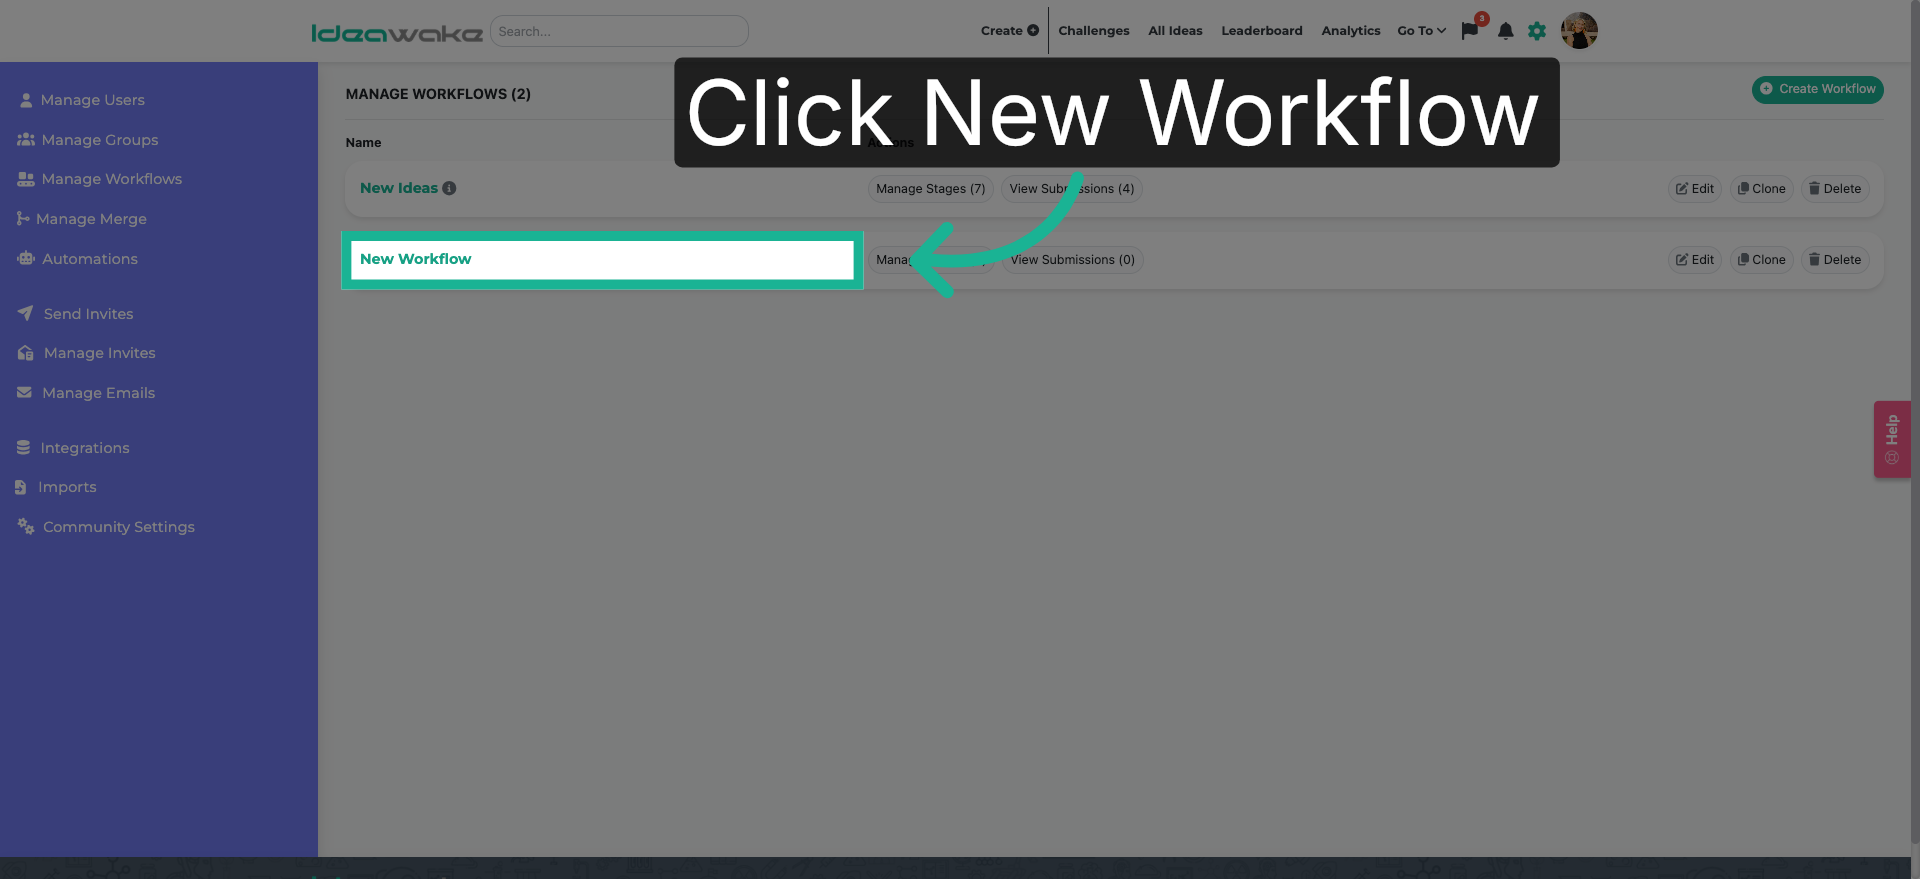
4. Start New Workflow Creation
Click "New Workflow" to begin creating a new workflow.
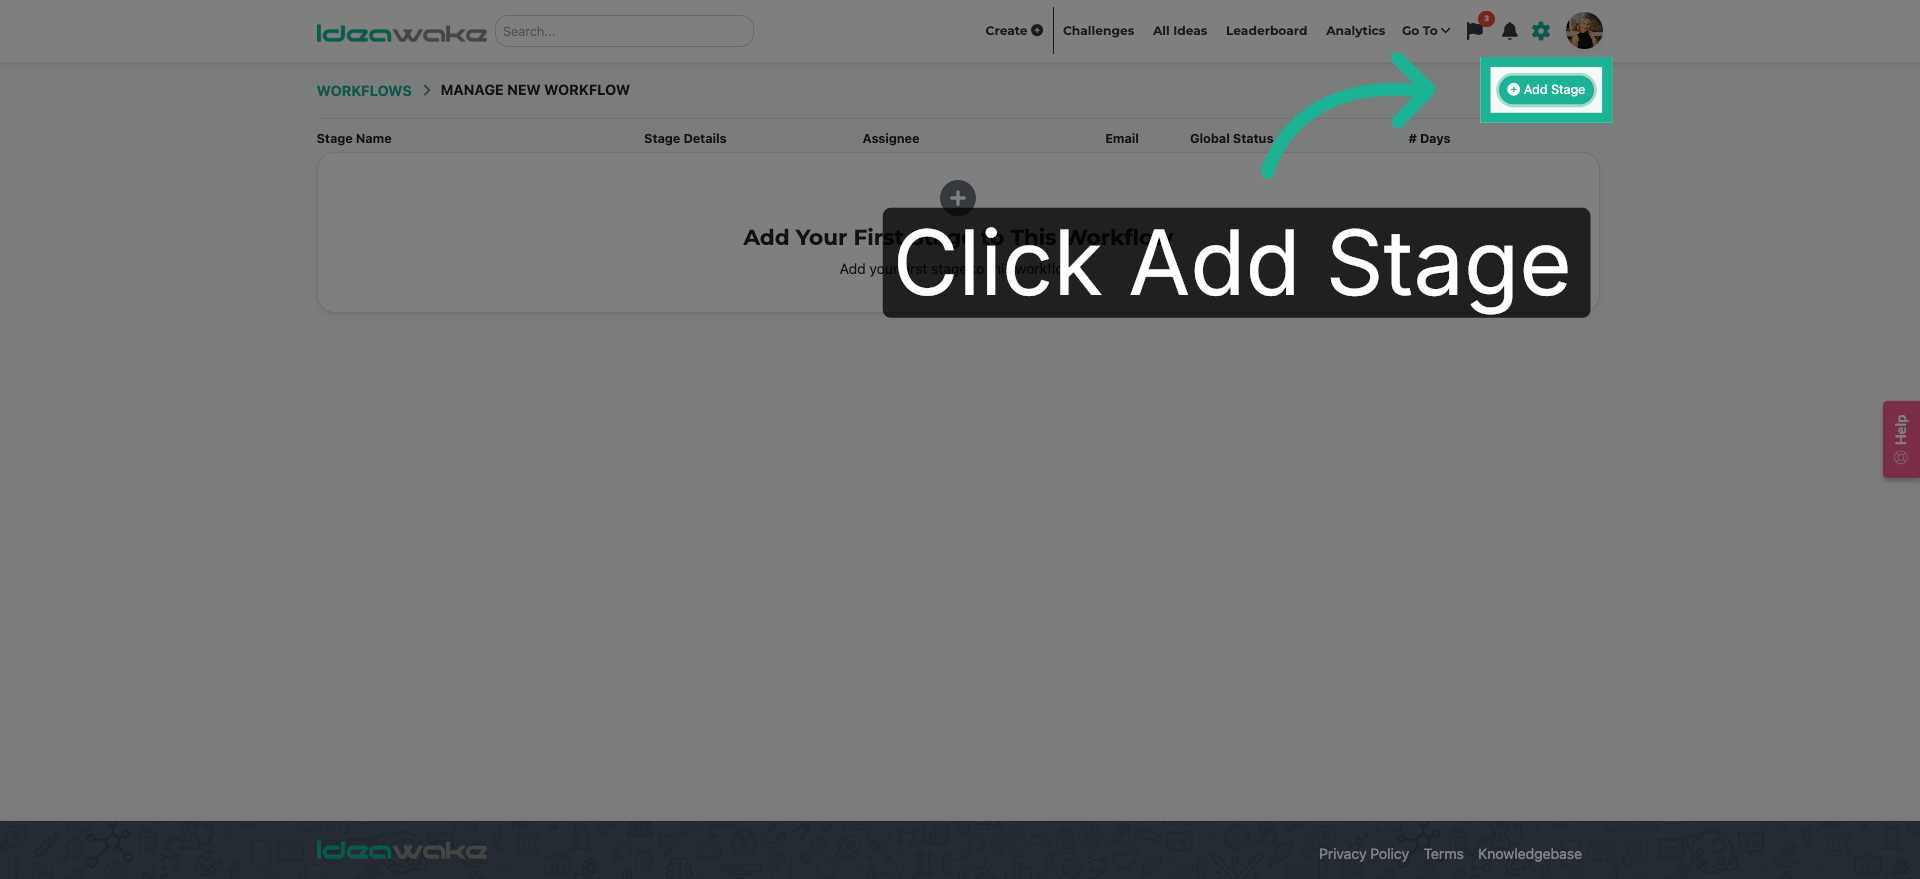
5. Add Workflow Stage
Click "Add Stage" to include a new stage in your workflow.
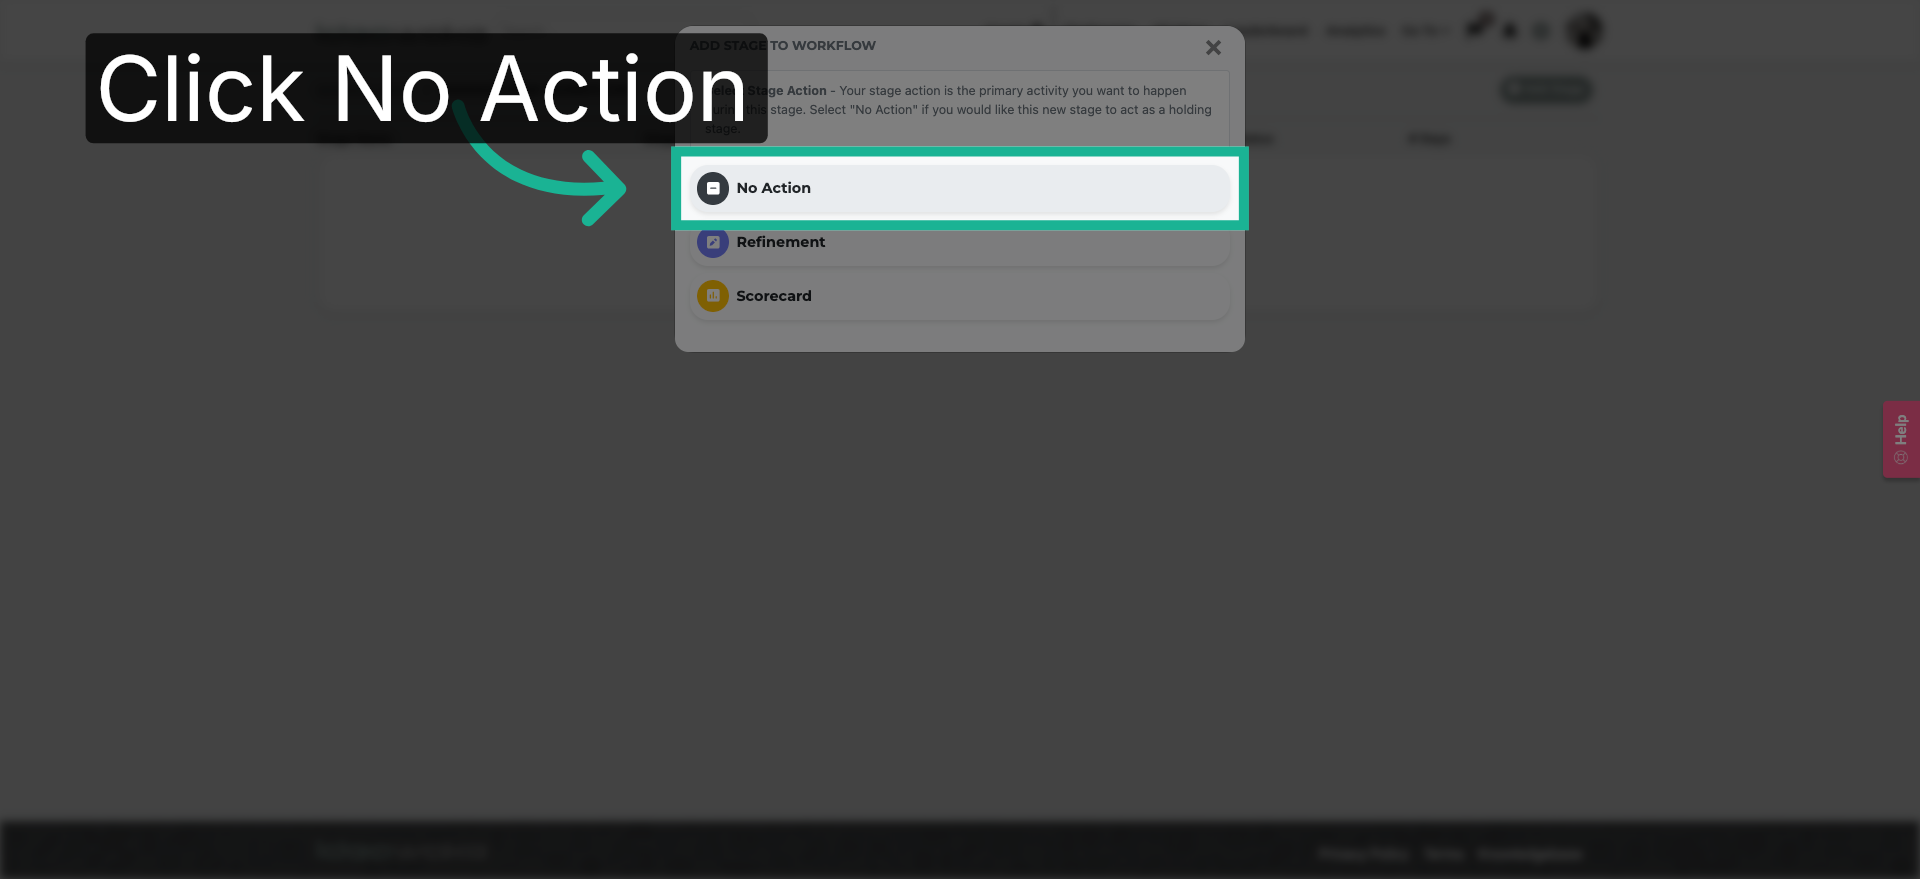
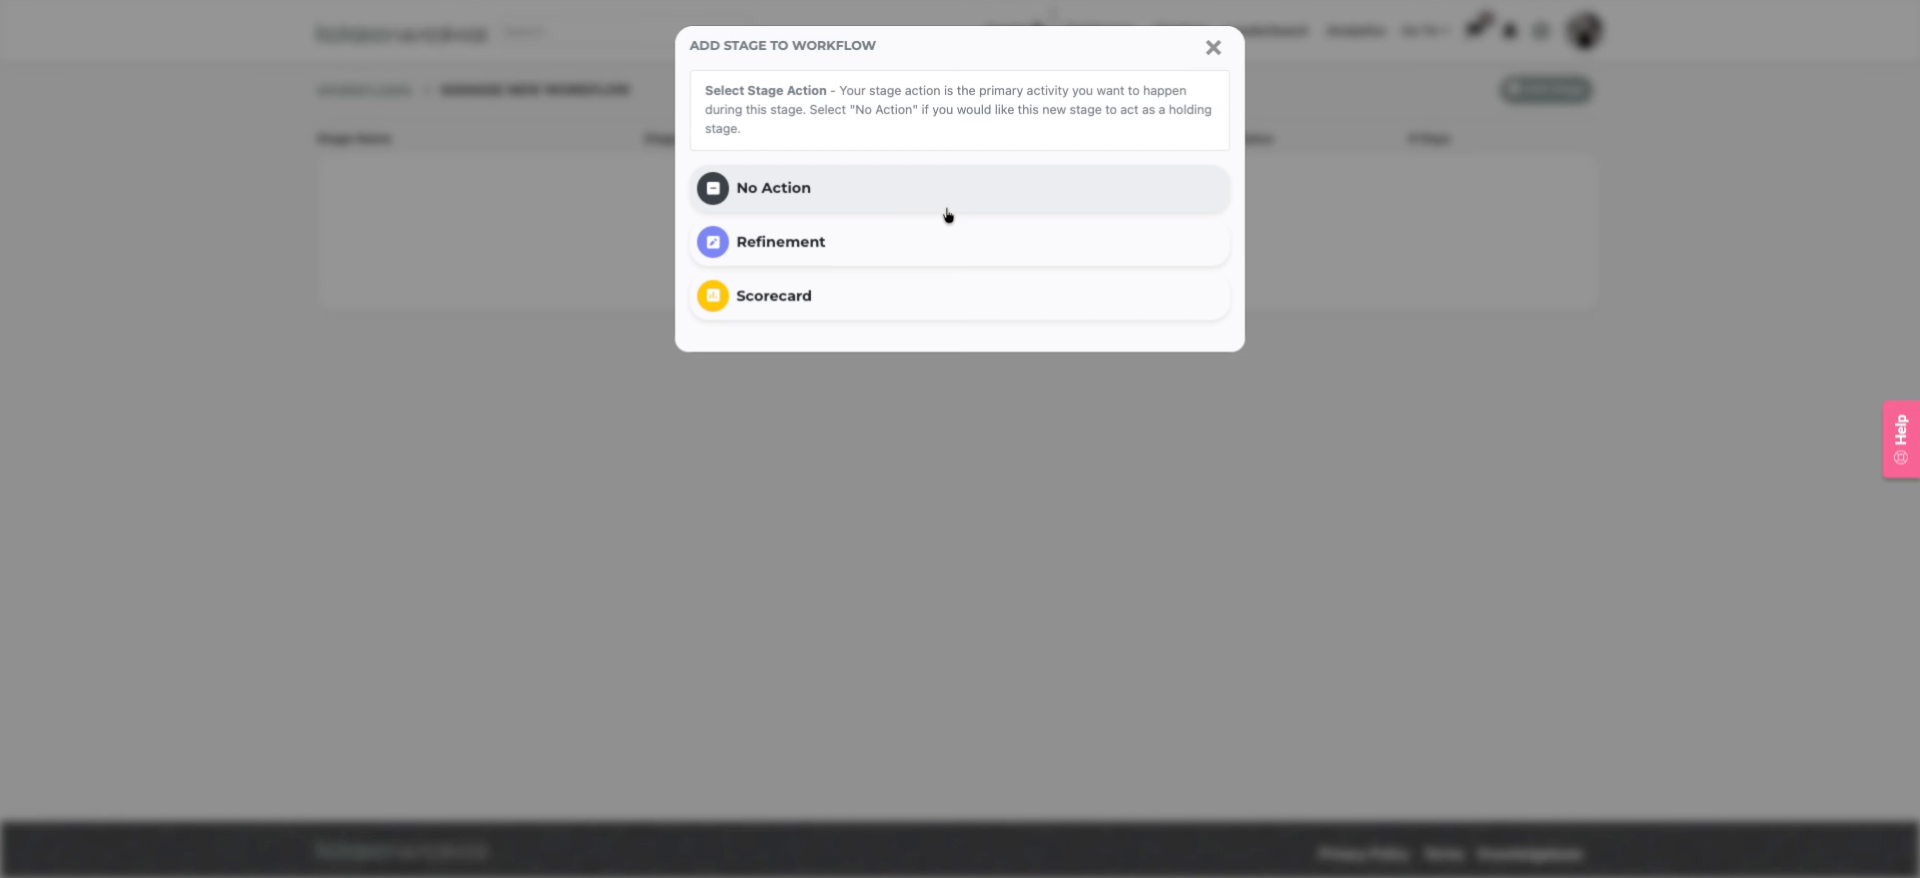
6. Select No Action Option
Click "No Action" to set the stage without an automatic action.
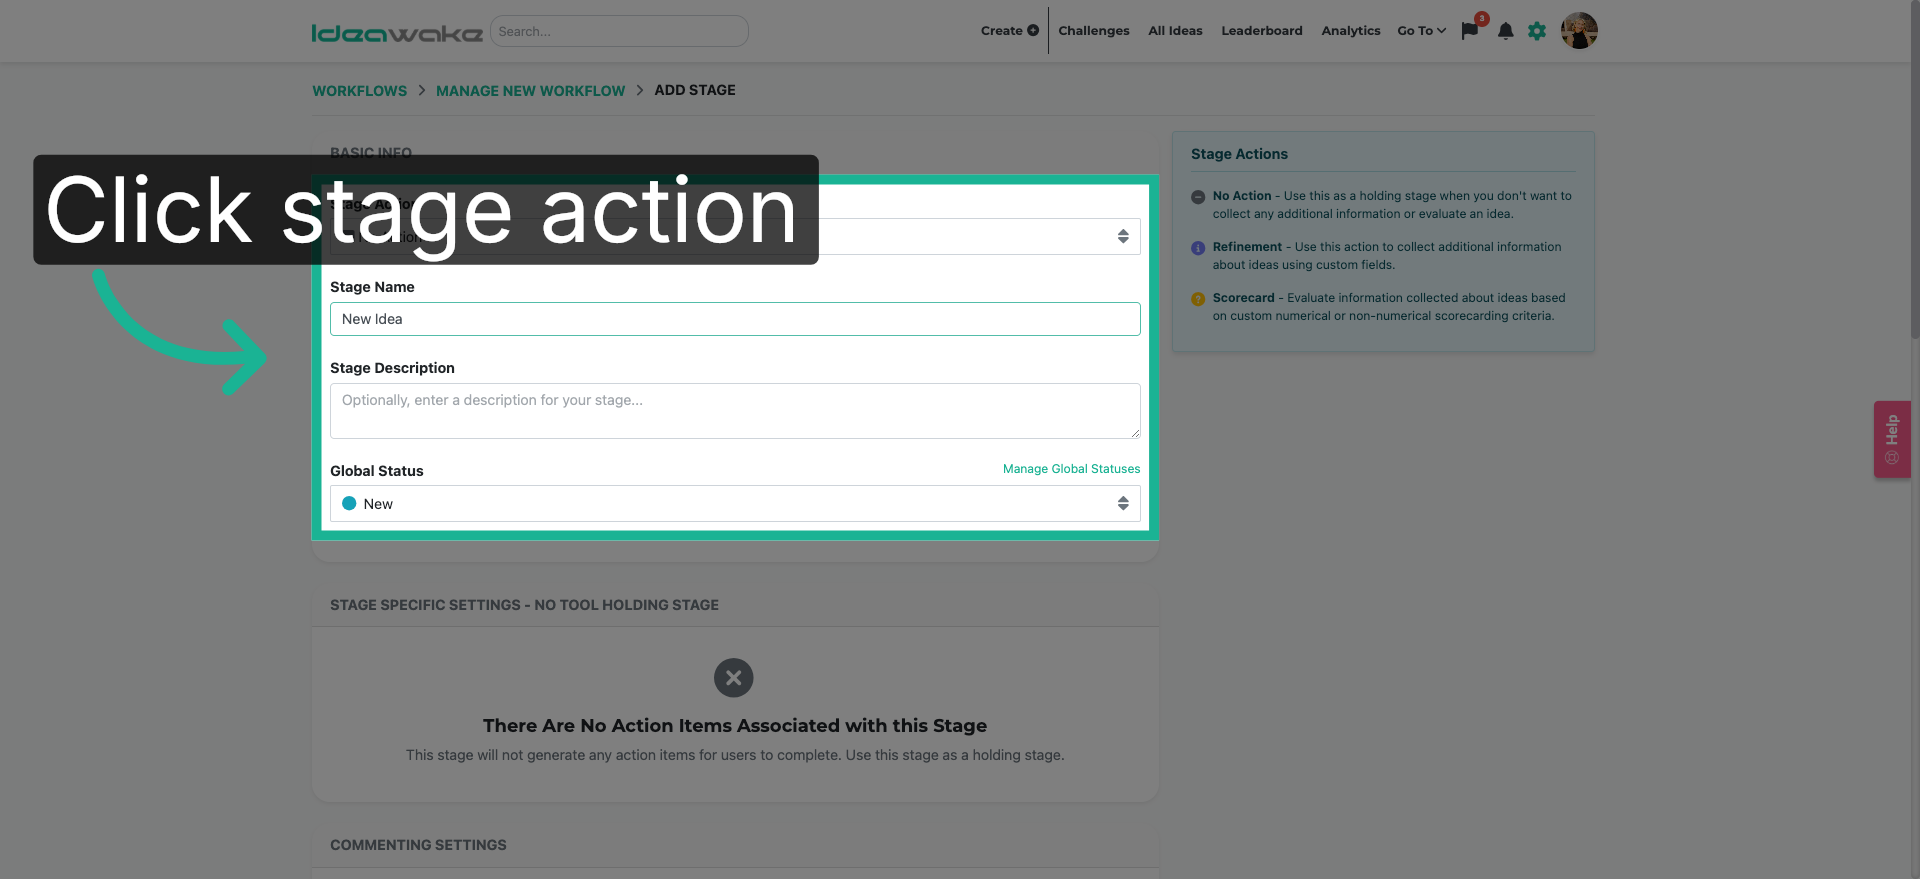
7. Name The New Stage
Fill "New Idea" to name the new stage appropriately.
8. Configure Stage Actions
Click the stage action options to customize the behavior of the new stage.
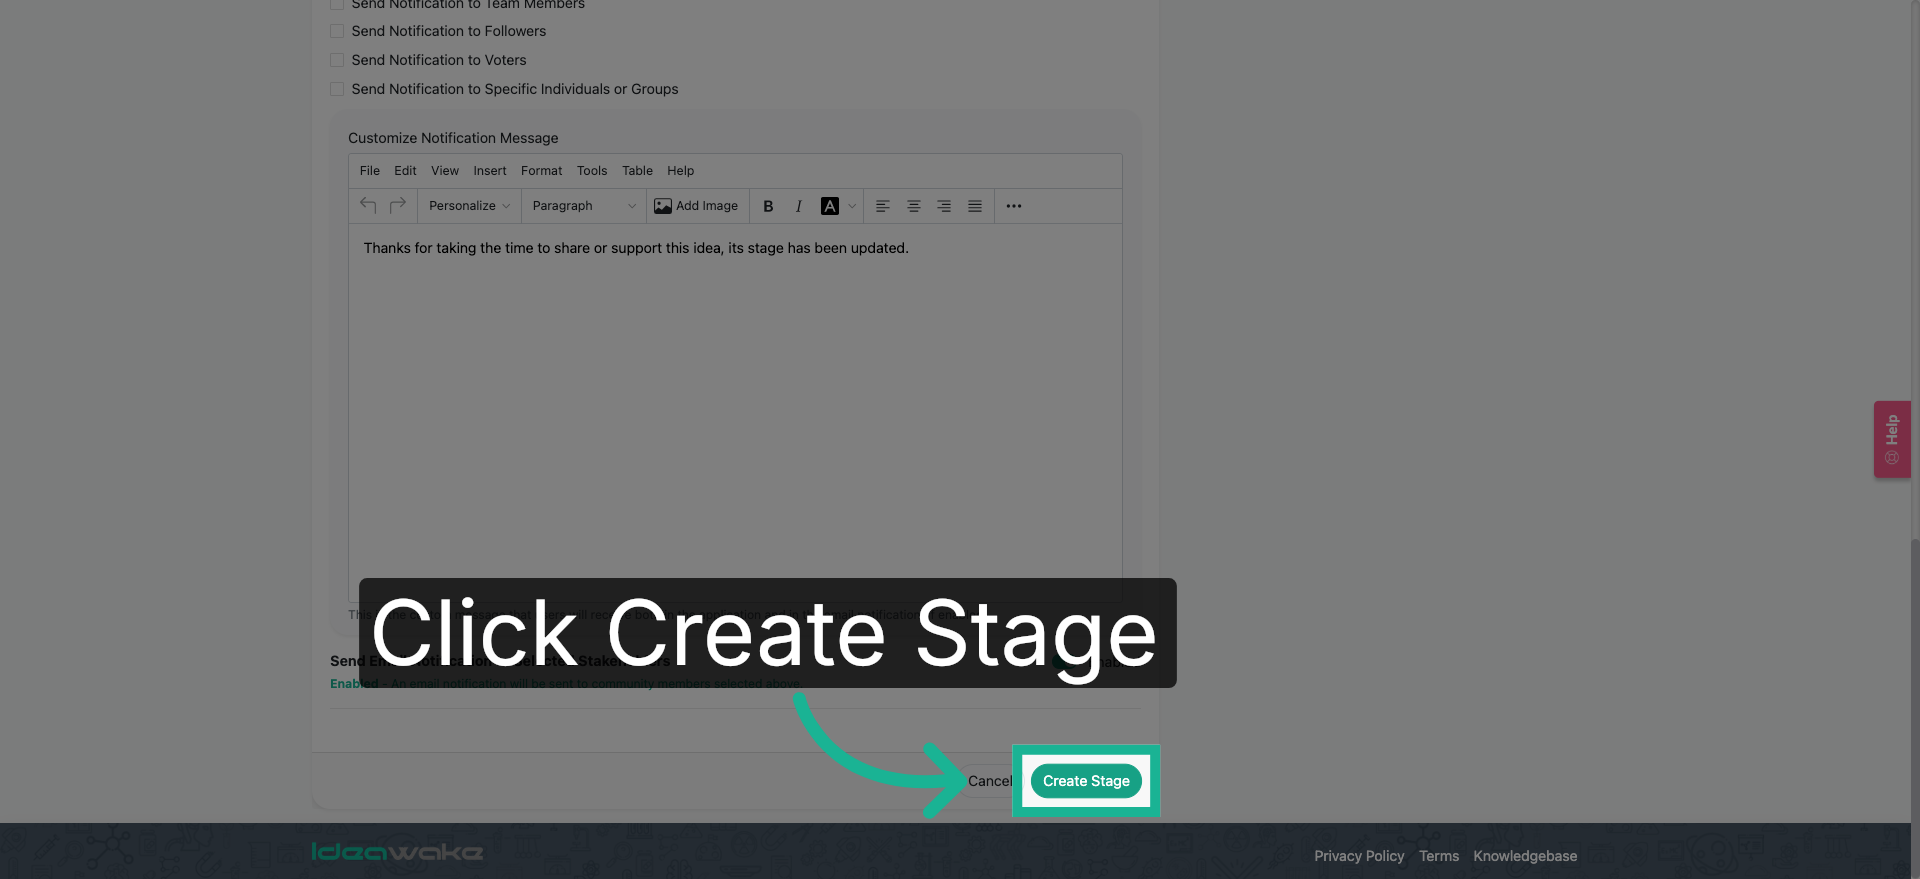
9. Create The Stage
Click "Create Stage" to finalize and add the new stage to your workflow.
You have successfully created and configured a new workflow in Ideawake by adding and customizing stages. This setup enables streamlined idea management within your organization.